Replacing the front USB and cable in the 8348-21C

Learn how to replace the front USB and cable in the IBM® Power® System S812LC (8348-21C) system.

Procedure

  1. Ensure that you have the electrostatic discharge (ESD) wrist strap attached. If not, attach it now.
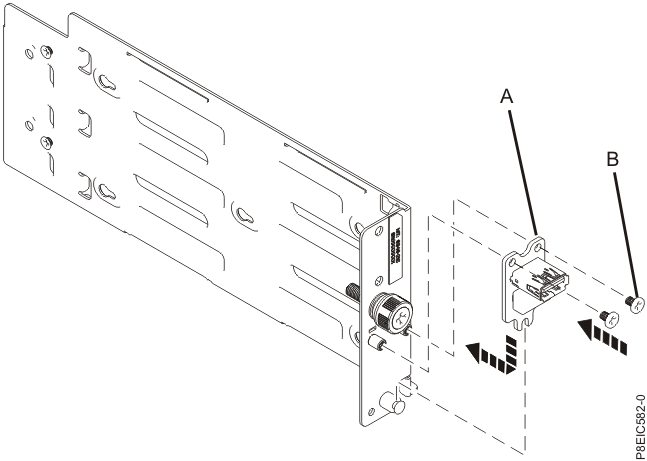
  2. Using the alignment pin, lower the USB card (A) and cable into the holder; replace the two screws (B) to secure the USB card, as shown in Figure 1.
    Figure 1. Replacing the USB card
    Replacing the USB card
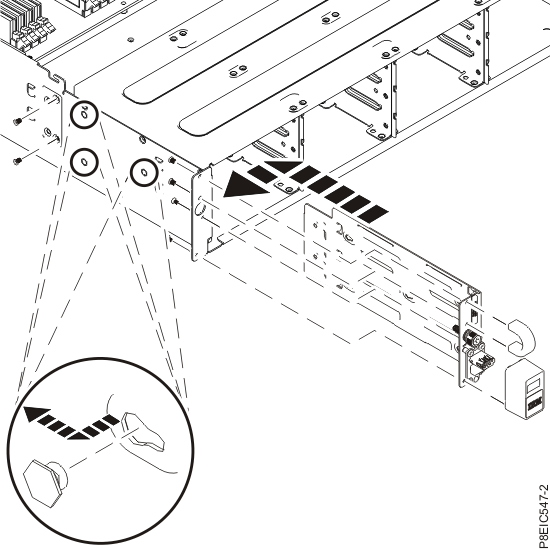
  3. Insert the front USB and cable into the chassis, as shown in Figure 2.
    Figure 2. Replacing the front USB and cable
    Replacing the front USB and cable
  4. Align the USB assembly with the pins on the inside of the chassis, then slide the USB assembly to the rear of the enclosure to secure it to the pins, as shown in Figure 2.
  5. Replace the two screws that secure the USB assembly to the side of the chassis, as shown in Figure 2.
  6. Replace the four screws that secure the USB bezel and the handle, as shown in Figure 2.
  7. Route the USB cable through the chassis.
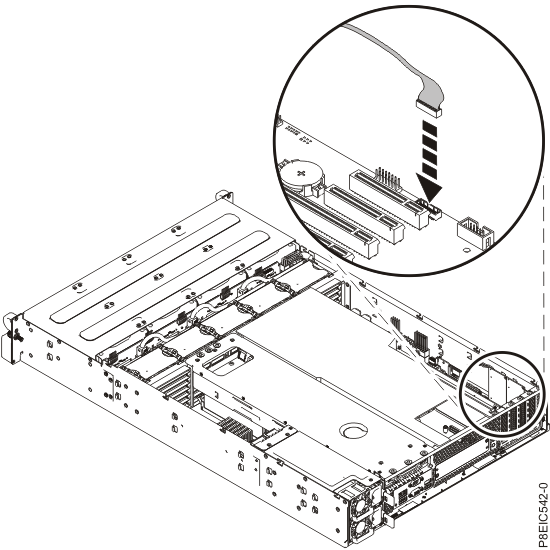
  8. Replace the front USB signal cable in the system backplane, as shown in Figure 3.
    Figure 3. Connecting the front USB cable
    Connecting the front USB cable
  9. Replace the disk drive backplane. For instructions, see Replacing the disk drive backplane in the 8348-21C.

What to do next

Prepare the system for operation. For instructions, see Preparing the system for operation after removing and replacing internal parts for the 8348-21C.


Last updated: Wed, May 24, 2017