Configuring Auto-Classify
Once crawling and indexing of the search collection used in this tutorial complete, you can auto-classify all of the documents in that collection. Technically, you can begin the auto-classification process while the search collection is being crawled and indexed, but you won't have access to all of the data that you can sample until the search collection is fully indexed.
To initiate the auto-classification process, first perform a search using your application. The easiest way to do this from the Watson™ Explorer Engine administration tool is to open the project for your application and click on the name of that project beside the "Project:" label in the Watson Explorer Engine administration tool's left-hand navigation menu. This displays a generic query screen for your application, as shown in Figure 1.
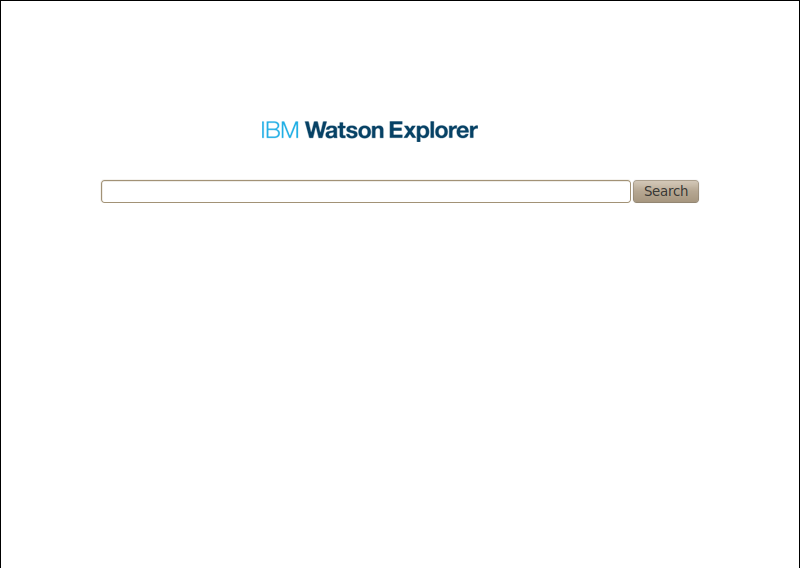
Once this screen displays, click search to display the initial set of search results for an empty query, as shown in Figure 2.
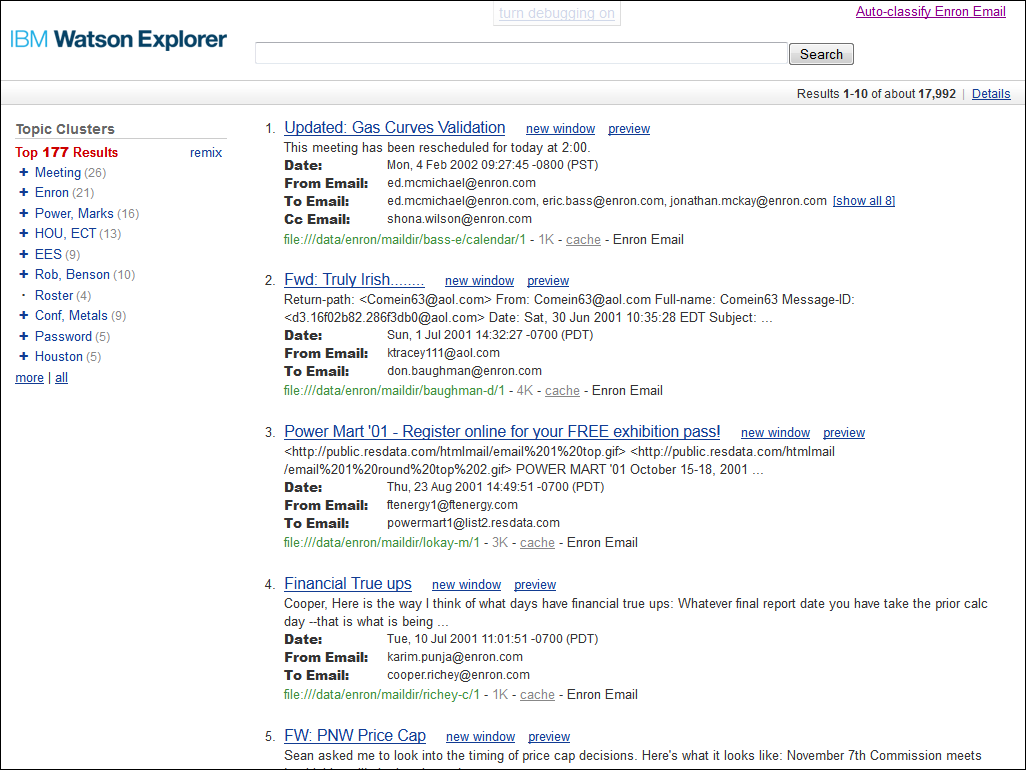
At this point you have a functional search collection on which auto-classification can be performed. However, many collections (including the one used in this tutorial) have large numbers of contents that may cause creation of clusters with unimportant data (e.g. email headers, dates, or document owners). In order to get useful results from collections like these, a knowledge base should be created to stop the unimportant data from being considered. If you wish to create a knowledge base before continuing with this tutorial, see the Knowledge Base Tutorial for details. Otherwise, note that the results obtained by the example data in this tutorial may not be optimal.
Click on the Auto-Classify Enron Email link in the upper right corner of the page to proceed to the auto-classification process, which is described in the next few sections.
To proceed to the next section, click Step 1: Classification Name and Sources.