Tutorial: Creating a proxy REST API definition
This tutorial shows you how to define and implement a REST API definition that proxies an existing service.
About this tutorial
In this tutorial you will complete the following lessons:
Note: The Sandbox catalog must be configured to use either a DataPower® API
Gateway, or a DataPower Gateway (v5
compatible), or both. See Creating and configuring Catalogs.
Creating a REST API definition
Add and define a REST API to return the branch details of an example BankA.
To add and define a REST API, complete the following steps:
- In the Welcome page, click the Develop APIs and Products tile.

- Click .

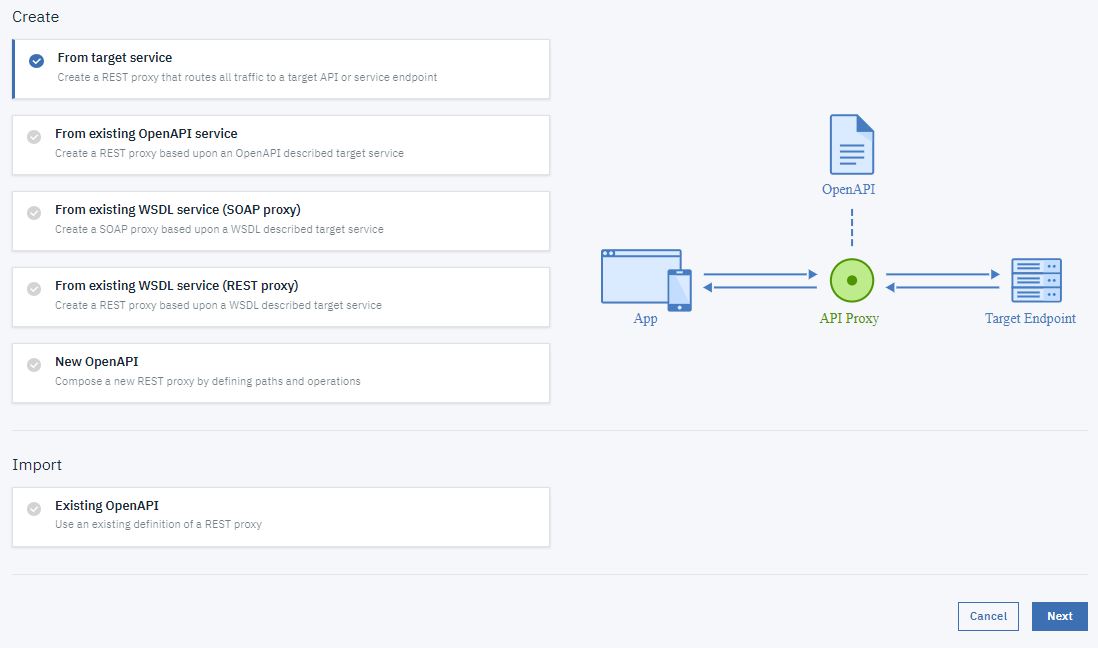
- Select From target service. Click Next.
- Enter the appropriate information to create a REST API definition.

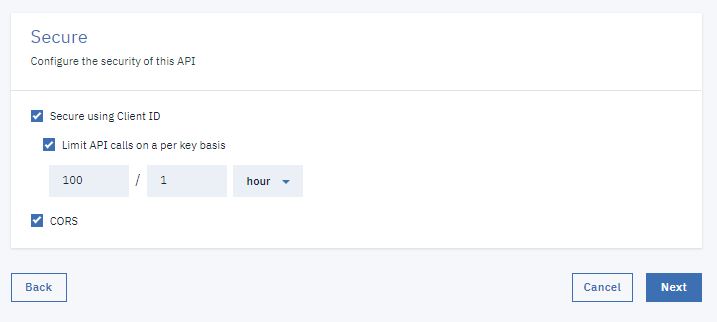
- In the Security dialog, take the following steps.
- Select Limit API calls on a per key basis.
- Click Next.
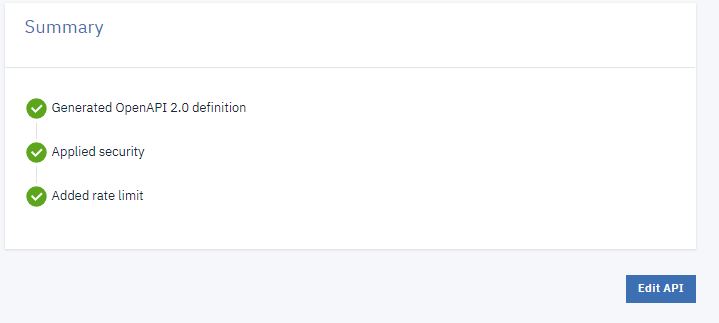
- You see the progress as the new API gets created. When it is done, you see a Summary. Click Edit API.
- Click Add.
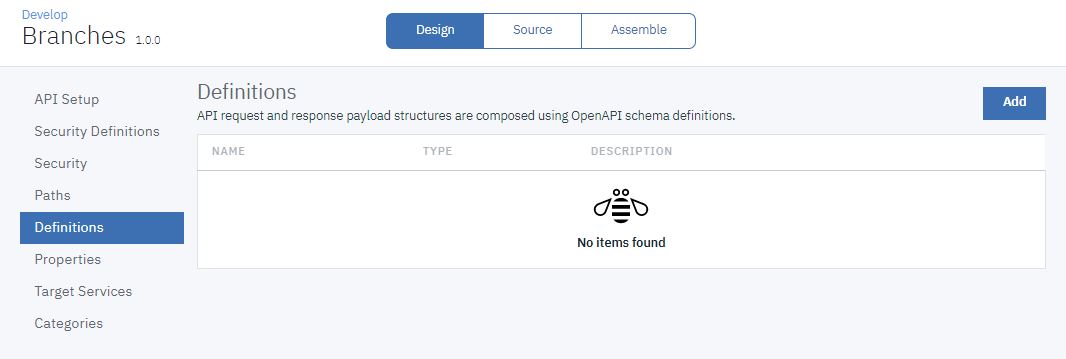
- Using the same Definitions panel, configure the Properties definition according to the following table. Create new properties by clicking Add.
Table 1. Properties Property Name Description Type Example street1 The first line of the address string 4660 La Jolla Village Drive street2 The second line of the address string Suite 300 city The city of the address string San Diego state The state of the address string CA zip_code The zip code of the address string 92122
This is an OpenAPI schema definition and is presented to developers in the Developer Portal to provide them with information about the type of data to expect in their response.
- Configure the branch definition to have the properties listed in the
following table by creating new properties and editing the default property. Create new properties
by clicking Add .
Table 2. Properties Property Name Description Type Example address The address of the branch address type The type of branch string atm id The ID of the branch string 9d72ece0-7e7b-11e5-9038-55f9f9c08c06 
Notice that for the address property, the type of the property references another definition within your API and the example is blank. In this manner, you can create complex data structures.
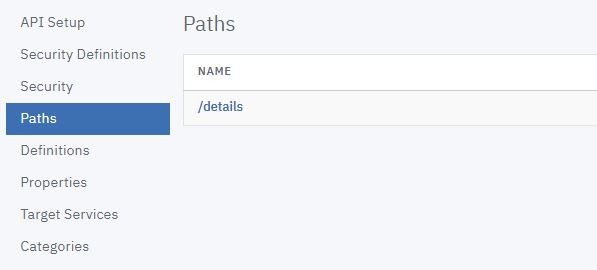
- In the side bar, select Paths to display the Paths
panel.

- Select GET and click Add.
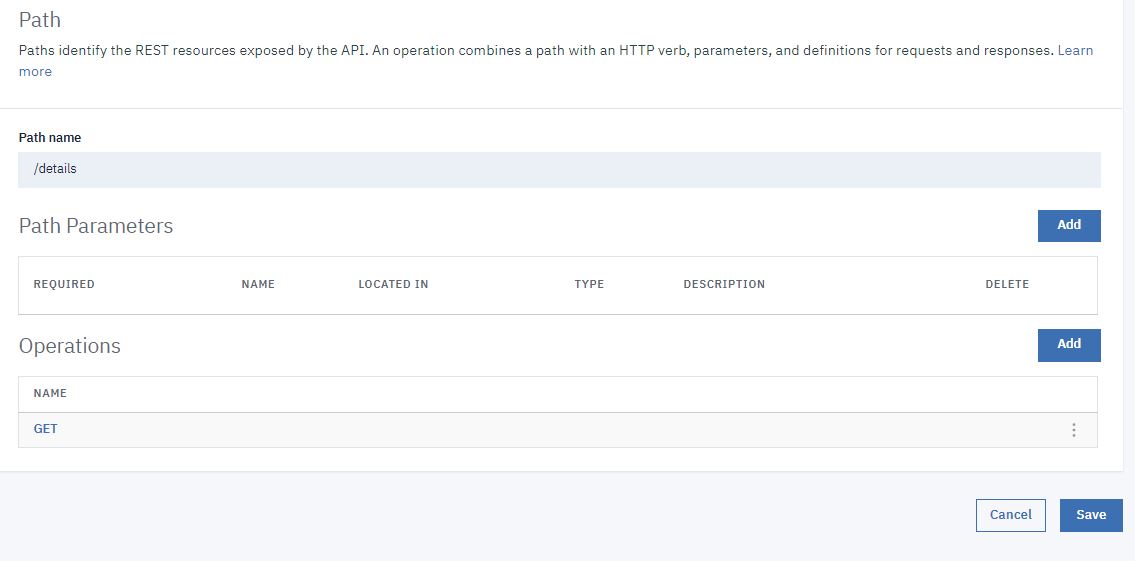
- Click
/details in the list of available paths.
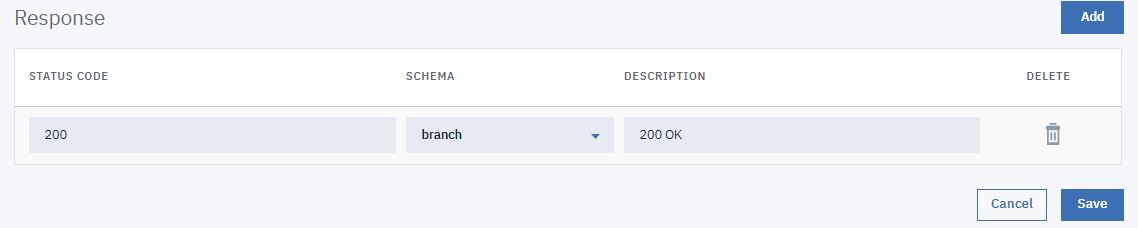
- Scroll down. In the Response section, click Add.
- Enter 200 in the STATUS CODE field.
- Select branch in the SCHEMA field.
- Enter 200 OK in the DESCRIPTION field.
Testing the REST API
Note: Due to Cross-Origin Resource Sharing (CORS)
restrictions, the assembly test tool cannot be used with the Chrome or Safari browsers on the macOS
Catalina platform.
To test the REST API, complete the following steps:
- Click the Test icon
 .
.

- On the test Setup pane, click Activate API.
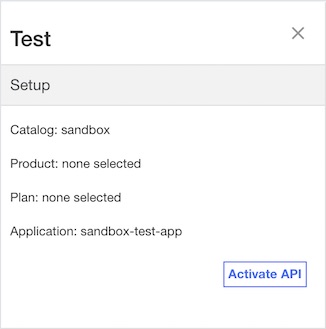
- The Test pane refreshes. A Product and Plan are automatically selected.

- Scroll down. Select the get /details Operation.

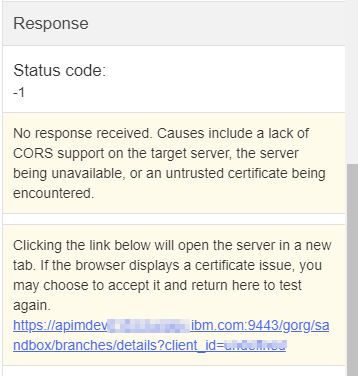
- Click Invoke. You may encounter a yellow error box with a URL embedded
in it. Click this URL to override a browser certificate error.
- Click Invoke again. The response contains branch data.

What you did in this tutorial
In this tutorial, you completed the following activities:
- Created a REST API definition.
- Tested a REST API.