Question & Answer
Question
QRadar support cases often require logs to investigate and resolve issues. This technical note explains how users can collect and submit information for IBM support cases for different areas of QRadar, such as software, hardware, WinCollect, or applications.
Cause
- What information do I need to submit to QRadar support for a software issue?
- What information do I submit for an event parsing issue?
- What information do I submit to QRadar support for a hardware issue?
- 3a. How to determine whether an appliance is IBM xSeries or Dell?
- 3b. IBM xSeries appliances: How to run a Dynamic System Analysis (DSA) report
- 3c. IBM xSeries appliances: How to run a Dynamic System Analysis (DSA) report for a nonbooting appliance
3d. How to run an IMM log for non-hard disk issues - 3e. Dell appliances: How to open a Dell Hardware Case and Generate logs by using the iDRAC.
- What information do I submit for a WinCollect agent issue?
- What information do I submit for an event pipeline issue?
- What information do I submit for a QRadar application issue?
Answer
1. What information do I submit to QRadar support for a software issue?
The following information can be submitted with customer service requests when you report software issues in QRadar:
- A detailed description of the issue, including the steps taken or changes made before the issue occurred.
- A screen captures showing the issue or on-screen error message.
- The steps taken by the user or administrator to try to resolve the problem.
- Logs exported from QRadar (see 1a).
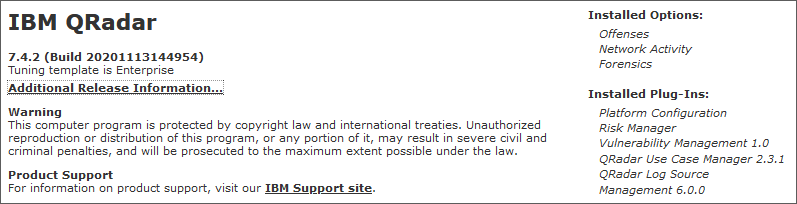
- Product version and build number. To view your version, from the QRadar Dashboard, open the hamburger menu then click About. Example:
Related article: In my case, do I need to submit logs from multiple hosts when an error occurs?
1a. How to collect log files for QRadar support from the user interface
- Log in to your QRadar console as an admin.
- Click the Admin tab.
- Click System & License Management.
- Select the QRadar appliances that you want to collect logs from in the user interface.
Note: You can use Shift + click or Ctrl + click to get logs from multiple appliances. If you do not select any appliance, the default action is to collect logs from the QRadar Console. If you are troubleshooting application issues on an App Host appliance, select both the App Host and Console appliance then collect logs for your case. - Select Actions > Collect Log Files.
- In most cases, unless you are experiencing application or extension issues, the default options can be used.
- If you are troubleshooting an issue with an application, such as an installation issue or apps that fail to start, you must open the Advanced Options and check the box Include Application Extension Logs.

Advanced Options- Unless advised by QRadar Support, there is no need to enable the Include Debug Logs check box.
- If you are having issues with a QRadar extension or installing an application, select the Include Application Extension Logs check box.
- If you recently upgraded your appliance, installed software updates, or are having issues with managed hosts, select the Include Setup Logs (Current Version) check box.
- Most administrators can leave the Collect Logs for this Many Days to the default of 1 day, but if you know that the issue occurred before then, adjust the time interval. If you select multiple hosts or to extend the day time frame, it takes longer to collect the logs.
- Encryption of log files now prompts for a user-defined password. If this option is selected the password must be passed onto IBM Support to facilitate decryption of the log files.
- Click Collect Log Files.

The log collection process starts and the status bar updates when log collection is complete. - Click Download and save the file.

Results
Attach the log to your support ticket. Administrators who experience issues downloading the file from the user interface can attempt to download the file by using WinSCP or another secure copy utility to move the logs from the /store/LOGS directory. For information on file size upload limitations, see IBM Support: Enhanced Customer Data Repository (ECuRep) - Send data.
1b. How to collect log files for QRadar from the command-line interface (get_logs.sh)
- SSH in to the Console appliance as the root user.
- Type the following command:
The script informs you that the log was created and provides the name and the location, which is always the /store/LOGS/ directory./opt/qradar/support/get_logs.sh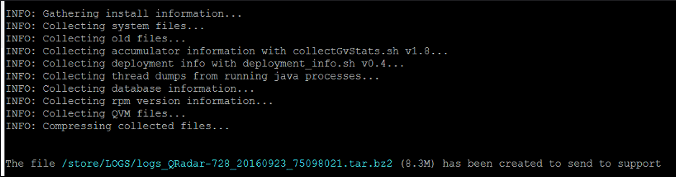
Note: For administrators having application or extension issues, use the -a option to collect application logs with your Console log information. - Copy the tar.bz2 file to a system that has access to an external network to upload your log file.
- For DLC appliances, compress the files from /var/log/dlc/* by using the command:
tar -zcvf DLC_logs.tar.gz /var/log/dlc/* - Copy the tar.gz file to a system that has access to an external network to upload your log file.
Results
Attach the log files and provide an explanation of which events appear to be parsing incorrectly in your ticket. For information on file size upload limitations, see IBM Support: Enhanced Customer Data Repository (ECuRep) - Send data.
1c. How to collect log files for QRadar on Cloud
2. What information do I submit for a DSM parsing issue?
To receive support for DSM parsing issues, submit the following information:
- The name of the appliance or software that generated the unknown, stored event, or incorrectly categorized event.
- A screen capture of the log source configuration. Double-click the log source to open the edit screen and take a screen capture.
- A screen capture of the incorrect event. Double-click an event in the Log Activity tab to view the Event Summary and submit a screen capture.
- The version of the software that is generating the events. If multiple appliance versions are in your network, list all versions.
- The DSM version that is installed on the customer's QRadar Console (see the following instructions).
- A Full XML export from the Log Activity tab on the Console (see the following instructions).
2a. How to verify what DSM version is installed
- SSH into the QRadar Console as the root user.
- To find the installed version, enter the following command:
yum info| grep -i nameofDSM
Result
Example output:yum info| grep -i 3Com Name : DSM-3ComSwitch From repo : /DSM-3ComSwitch-7.4-20200303185634.noarch Summary : DSM 3Com 8800 Series Switch Install Description : This program installs a 3Com 8800 Series Switch DSM plugin.This version information can be compared to what is posted on IBM Fix Central, but included it in your support request.
2b. How to export events for review by support
- Log in to the QRadar UI.
- Click the Log Activity tab.
- Click Add Filter.
- For the Parameter, select Log Source [Indexed] > Equals > Name of the log source with the parsing issue.
Note: If your log source is not assigned to a group yet, select Other, which displays all ungrouped log sources. - Click Add Filter.
- Click the View drop-down and select a time interval. For example, 7 hours.
- Review the filtered events to ensure that it contains your issue or concern.
- From the navigation menu, select Actions > Export to XML > Full Export (All Columns).
Note: XML is the preferred format for event reviews.
Results
Attach the XML event export and provide an explanation of the events that appear to be parsing incorrectly in the description of your service request.
3. What information do I submit to QRadar support for a hardware issue?
3a. How to determine whether an appliance is an IBM xSeries or Dell?
To verify your hardware manufacturer:
- Log in to the appliance as the root user directly or by using SSH.
- To determine the hardware manufacturer, type the following command:
dmidecode -t system
Result
Example output:
Review the output on screen for the manufacturer information. See the Manufacturer value to determine whether it is IBM or Dell.# dmidecode 2.12 # SMBIOS entry point at 0x7f6be000 SMBIOS 2.5 present. Handle 0x0030, DMI type 1, 27 bytes System Information Manufacturer: IBM Product Name: System x3650 M3 -[7945AC1]- Version: 00 Serial Number: KQ35RWH UUID: 09E10B2B-16C9-3B91-888B-73C34F82FC1D Wake-up Type: Other SKU Number: Family: System x
3b. IBM xSeries appliances: How to run a Dynamic System Analysis (DSA) report
Administrators who experience hardware issues on xSeries appliances can run the DSA utility and submit a report with the hardware support request.
Before you begin
Versions of the DSA utility required for my QRadar Appliance
- Using SSH, log in to the remote QRadar appliance that is experiencing the hardware error.
Note: You must first SSH to the Console, then open another SSH session to a managed host in the deployment. - To change the directory to the support folder, type:
cd /opt/qradar/support - To verify the permissions on the DSA utility, type:
ls -l *dsa* - If the permissions are rw-r-
r-, you must change the permissions to be able to run the DSA utility. To change permissions, type:chmod 755 <DSA_build>_x86-64.bin - To run a DSA report for your appliance, type:
./<DSA_build>_x86-64.bin
Result
The DSA utility creates a .gz file in /var/log/IBM_Support with the machine type, serial number, and date.xml.gz. For example: /var/log/IBM_Support/7944AC1_KQ97NYC_20150927-163515.xml.gz
Copy this file from the remote host and upload it to your support case.
Note: If your system will not boot, follow the instructions in the next section (3c) for non-booting appliances.
3c. How to run a Dynamic System Analysis (DSA) report for a nonbooting appliance
Administrators who experience hardware issues on xSeries appliances can run the DSA utility and submit a report with the hardware support request. The following procedure outlines how an administrator can collect a hardware report for an appliance that does not boot properly. This hardware report is required and must be submitted with the service request. This procedure can be followed for appliances that are suspended or frozen due to a hardware or software issue.
- Restart the QRadar Appliance.
- Select F2 to enter diagnostics.
- Hit ESC to stop the memory test if it starts.
- After a menu appears, arrow over to Quit, then select Quit to DSA.
- Choose the command-line option CMD.
- Insert a Fat 32 formatted USB flash drive. The output file is typically under 1 MB.
- Choose to collect DSA with no other options needed. Choose option 1 to collect DSA diagnostics.
- After 2 passes complete, exit back to the previous menu.
- Choose the option copy to local media.
- If USB flash drive is not seen, reseat and try again. If the USB flash drive is still not seen, try a different USB device.
Results
After the data is collected on the appliance, the files are saved to the USB flash device. The process of writing the files to the USB drive takes a few seconds.
3d. How to run a Dynamic System Analysis (DSA) report for a nonbooting appliance
Administrators who experience non-hard disk hardware issues on xSeries appliances can run the Download Service option from the IMMDSA utility and submit a report with the hardware support request in addition to the DSA For this procedure, refer to the following Lenovo link: Download service data option.
3e. Dell appliances: How to open a Dell Hardware Case and Generate logs by using the iDRAC
- A description of the hardware issue.
- A screen cap or provide the text of the error message.
- PowerEdge - How to generate servers logs with the iDRAC?
- How to export a SupportAssist Collection and the RAID Controller Log from iDRAC 7 and 8?
4. What information do I submit for WinCollect agent issues?
- A .zip file that contains the /config and /logs directory for the WinCollect agent.
- A description of the issue, Windows operating systems, and any hostnames or IP addresses that are affected. Reference these example support queries:
- I'm having an issue collecting events from 4 Hyper-V computers with Windows Server 2008 R2. The WinCollect agent name is _____ and the hostnames I'm trying to collect events from are hostA (198.51.100.1), hostB (198.51.100.2), hostC (198.51.100.3), and hostD (198.51.100.4). These Windows systems are in our DMZ.
- I added 250 log sources by using the log source bulk add feature with WinCollect, and they recently stopped sending events. The last event time is The WinCollect agent name is ____ and the log sources that I want investigated are hostA (198.51.100.1), hostB (198.51.100.2), hostC (198.51.100.3), and hostD (198.51.100.4). Here is a screen capture of the log source configuration.
- I installed a new WinCollect agent on hostnameX with the command prompt installer, but it did not work. I tried several more times, but the WinCollect agent does not automatically create my log source. Attached is a text file with the installation command I used, see WC_install.txt.
- Log in to the Windows operating system that hosts the WinCollect agent.
- Click Start > All Programs > Administrative tools > Services.
- Select the WinCollect service.
- Click Stop.

- Click Start > All Programs > Accessories > Windows Explorer.
- Navigate to the WinCollect installation directory. The default path is
C:\Program Files\IBM\WinCollect - To select multiple folders, press Ctrl and select the config and logs folders.

- Right-click on one of the selected folders and select Send to > Compressed (zipped) folder.
Results
Attach the log files and provide an explanation of your issue. For information on file size upload limitations, see IBM Support: Enhanced Customer Data Repository (ECuRep) - Send data.
- Log in to the Windows operating system that hosts the WinCollect agent.
- Open the WinCollect 10 console.
- Click the gear icon to open the settings window.
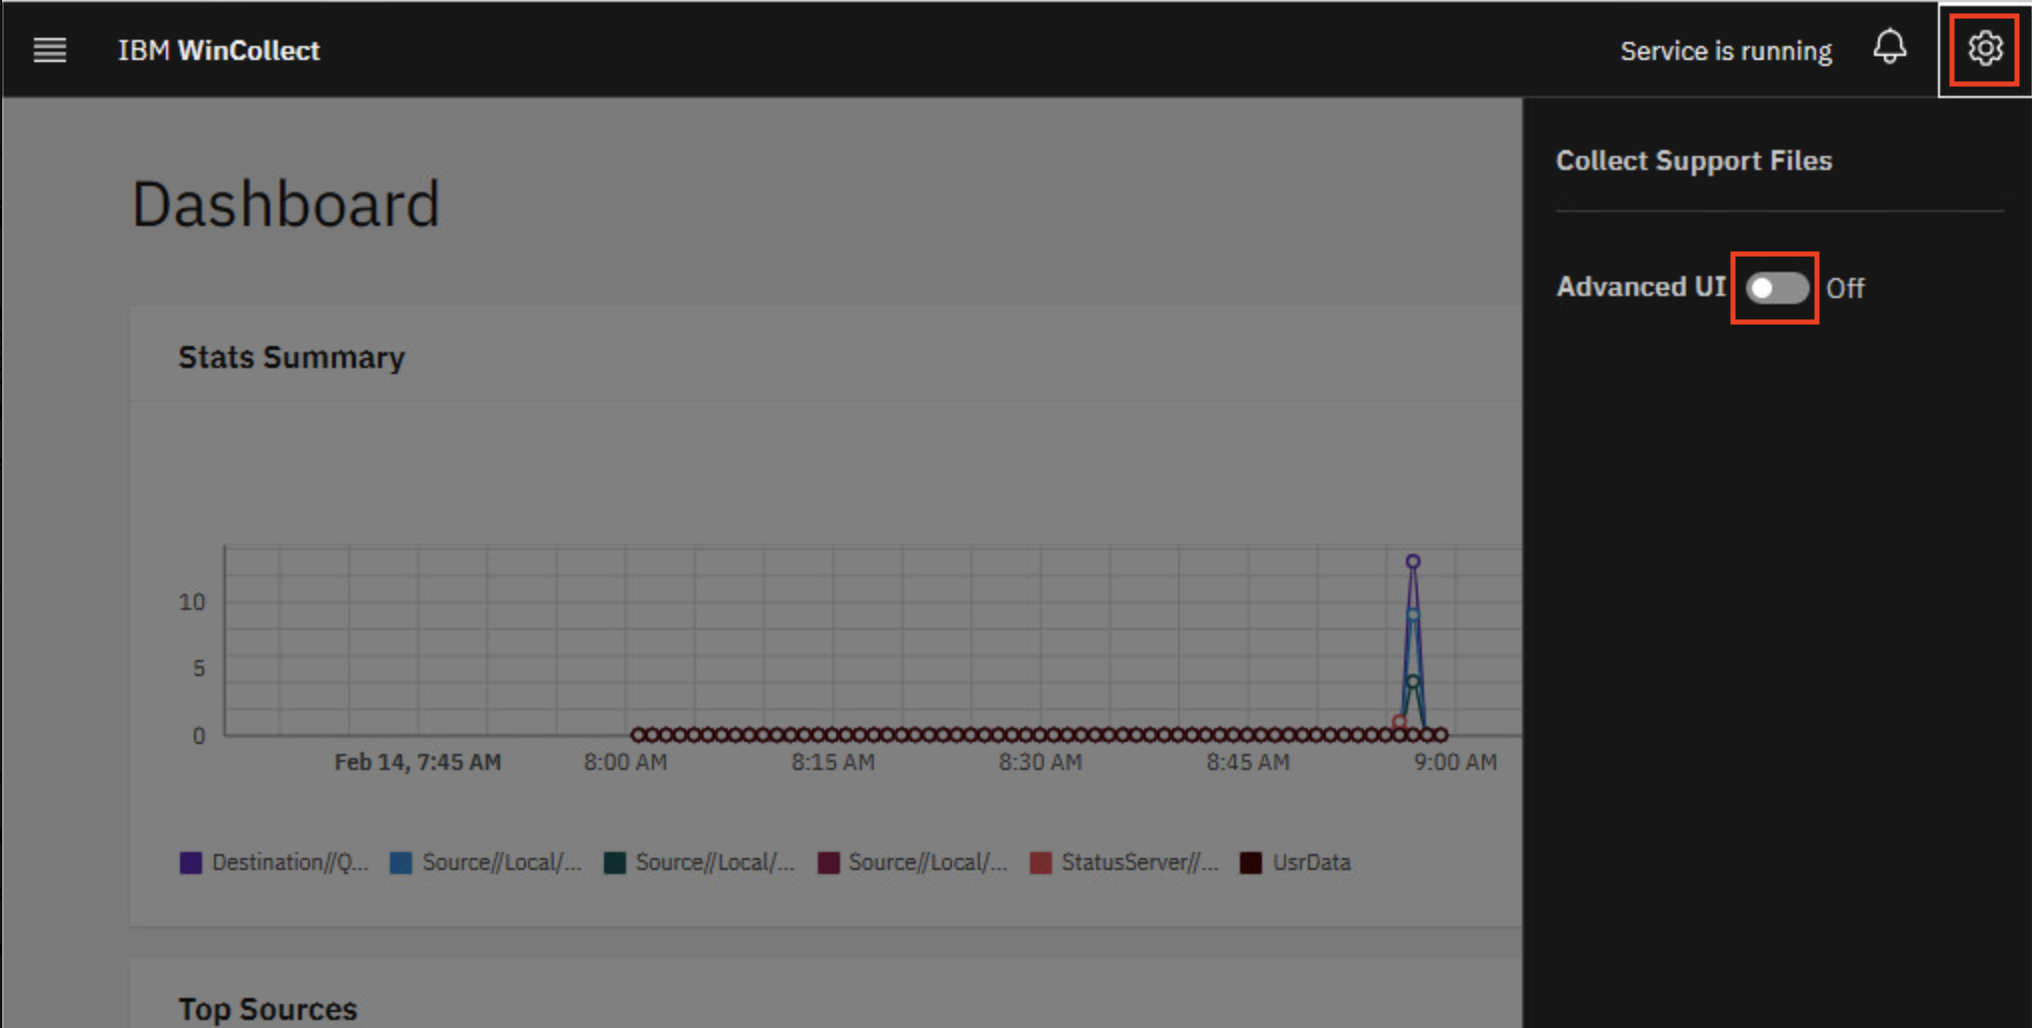
- Enable the Advanced UI.
- Click Collect Support Files.
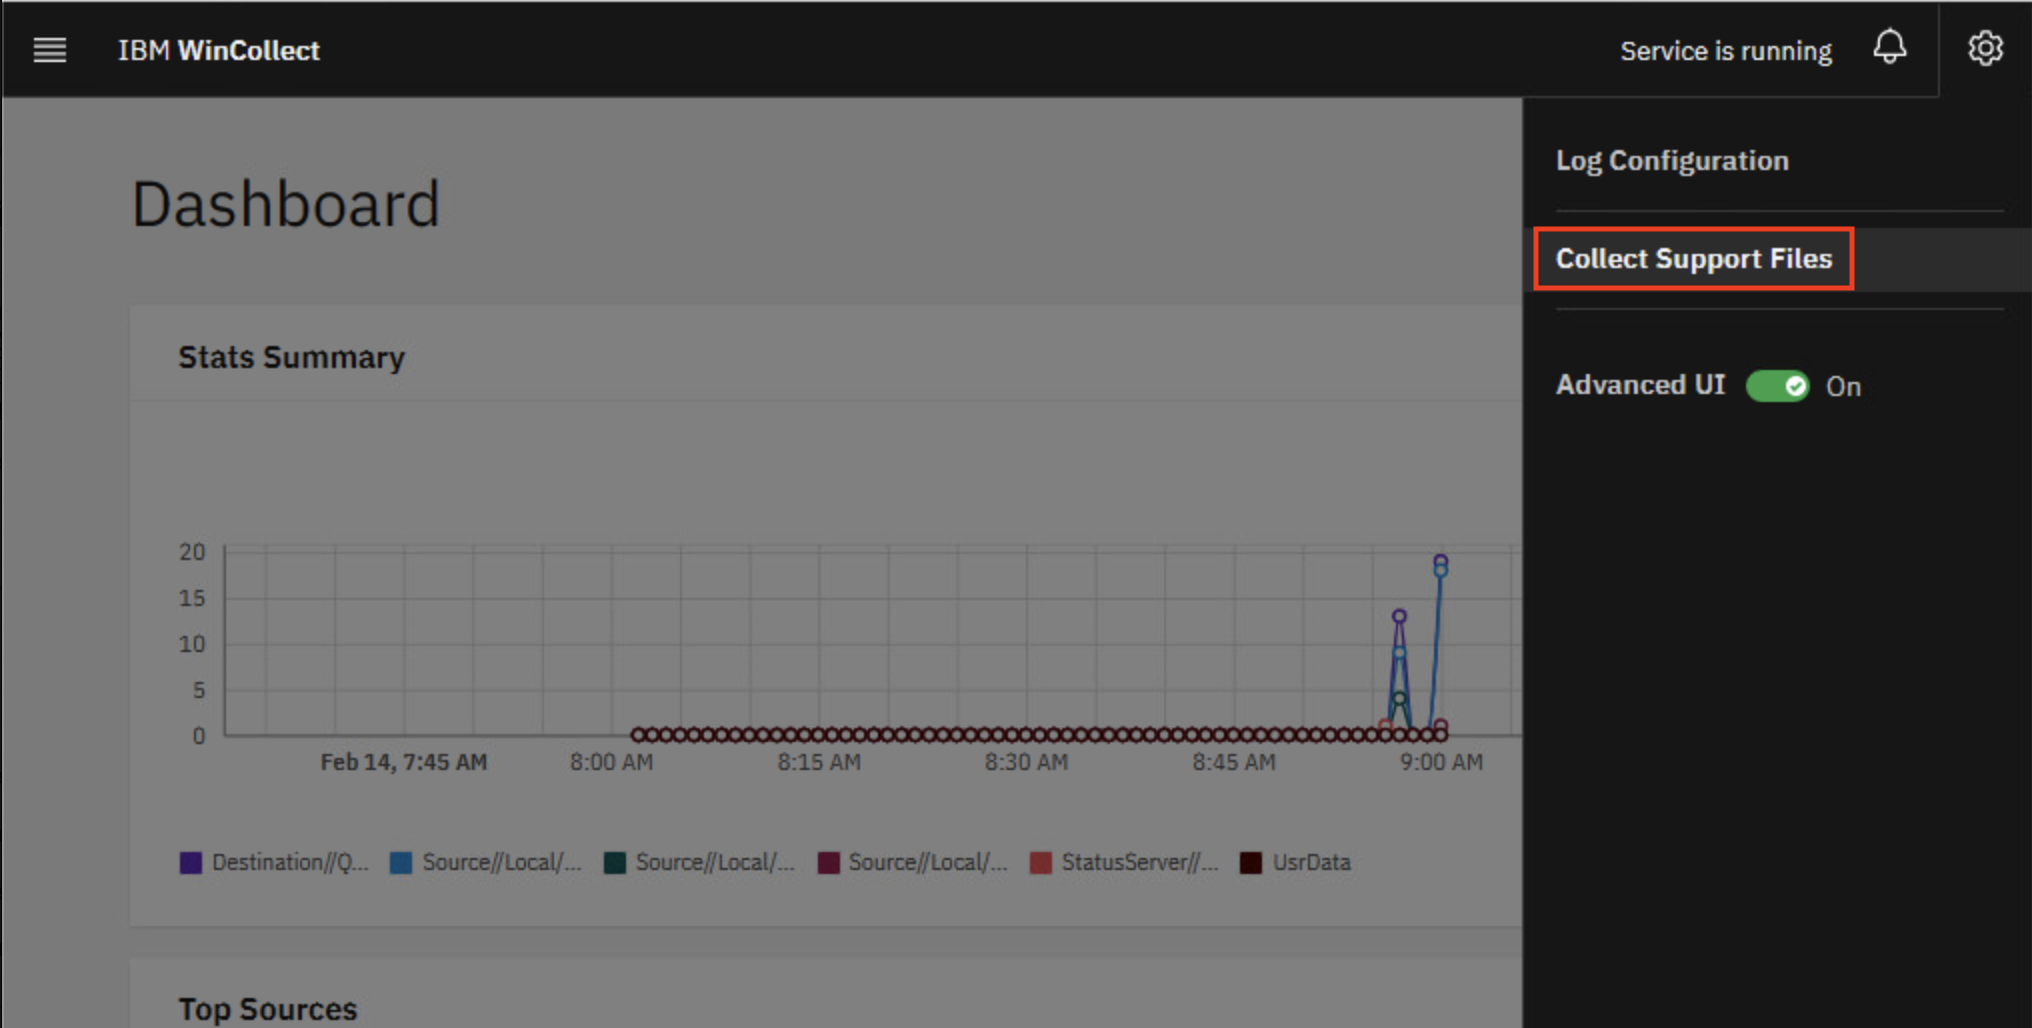
- Click Collect and compress files.
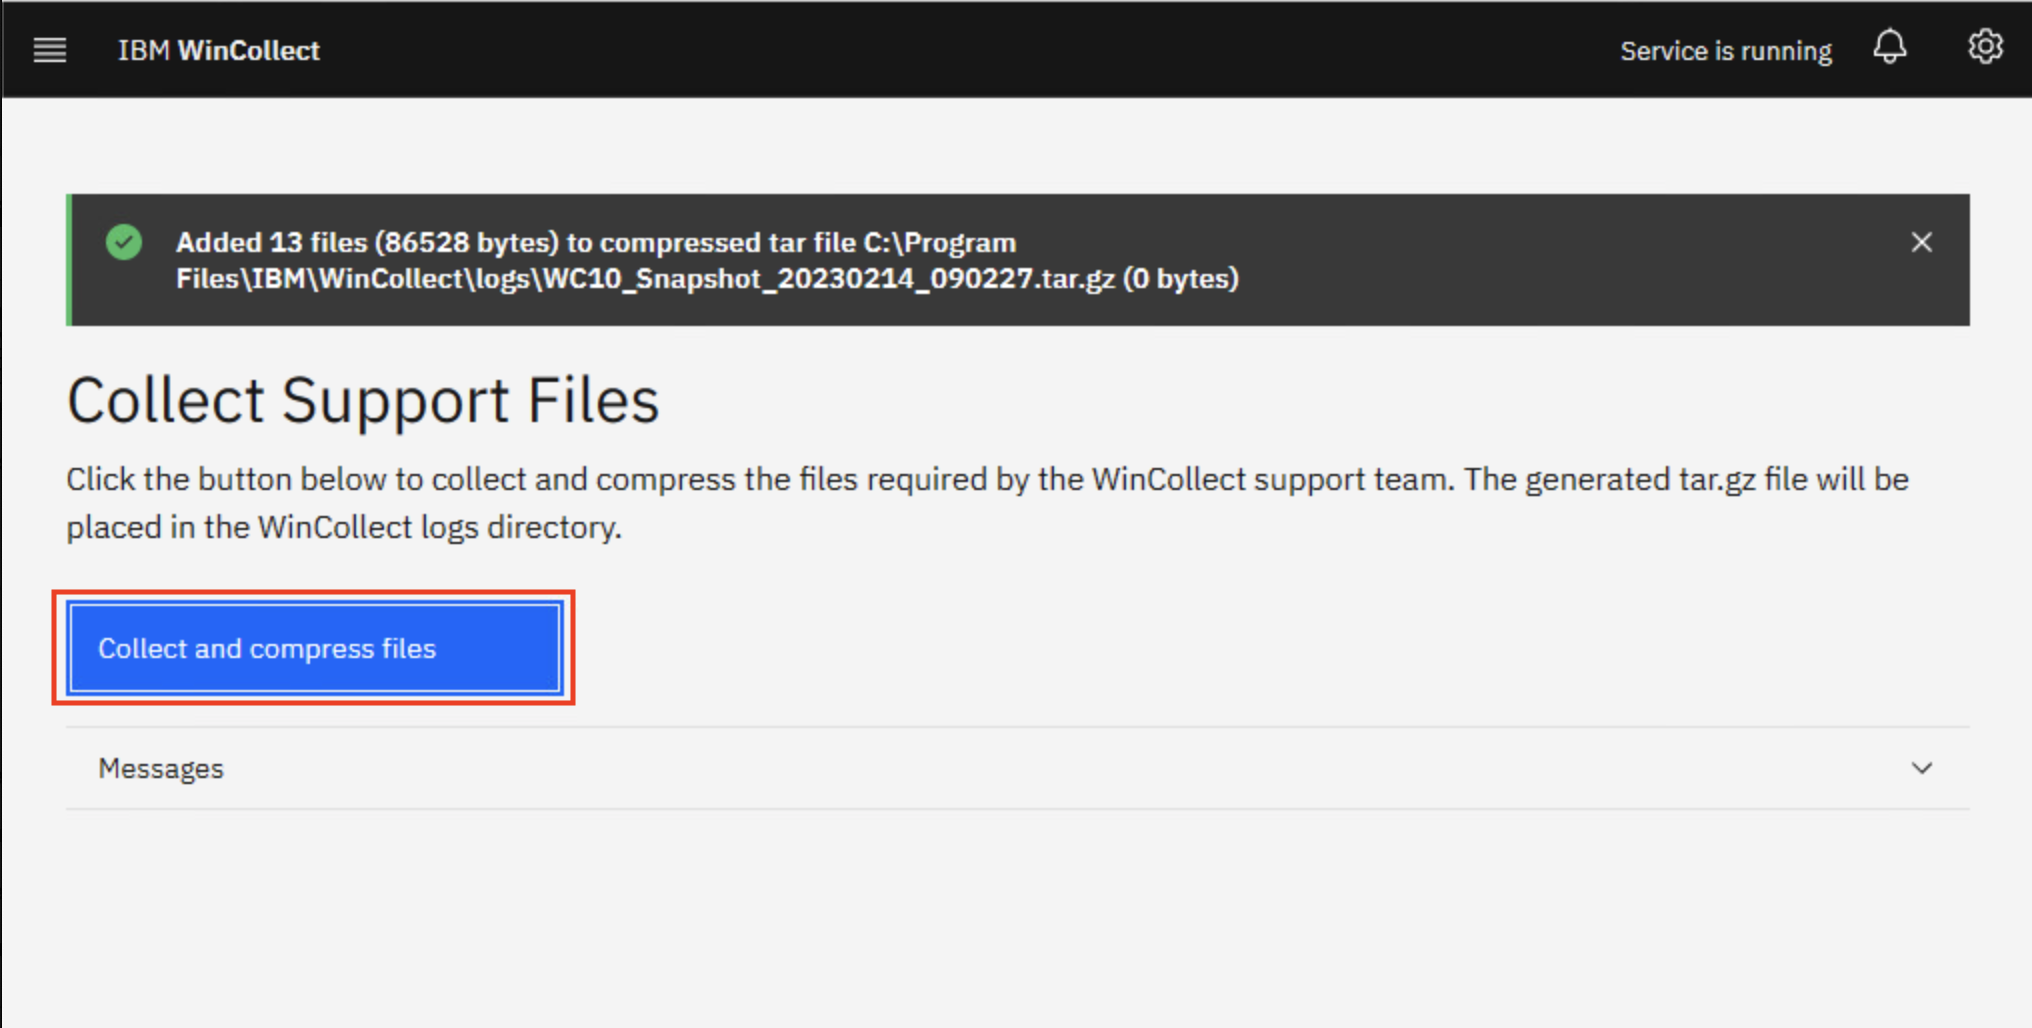
- Open the file path provided and copy them.
Results
Attach the log files and provide an explanation of your issue. For information on file size upload limitations, see IBM Support: Enhanced Customer Data Repository (ECuRep) - Send data.
5. What information do I submit for Event Pipeline agent issues?
QRadar Support offers two tools that can be run from the Console appliance: the findExpensiveCustomProperties.sh and findExpensiveCustomRules.sh tools.
Procedure
- SSH into the QRadar console.
- Enter one or both of the following commands depending on whether you are having issues with custom properties, rules, or both. If you are unsure, run both.
/opt/qradar/support/findExpensiveCustomProperties.sh
/opt/qradar/support/findExpensiveCustomRules.sh
Result
The output of the tools is generated in the directory where you ran the tool. A file is output as Custom(Properties|Rules)-{date}-(..).tar.gz. Upload the results of the find expensive tools to your support case.
6. What information do I submit for a QRadar application issue?
Procedure
At minimum, for any application issue you must supply QRadar logs with the -a option enabled.
- Use SSH to log in to the Console appliance (or All-in-One) as the root user.
- To collect QRadar logs with application information, type:
Note: The -a option collects application logs on your Console and App Host, if present in the deployment. The application logs from both hosts are saved in the Console's get_logs output in the /store/LOGS/ directory./opt/qradar/support/get_logs.sh -a - Run recon ps and copy the on-screen output to a text file.
- Run qappmanager and copy the on-screen output to a text file.
Results
Attach all relevant logs and text files to your case for QRadar Support to review. For detailed steps and example output of how to submit information to investigate an application issue, see QRadar: Collecting logs and other information required to resolve a application case.
Related Information
Was this topic helpful?
Document Information
Modified date:
18 October 2023
UID
swg21626887