Tutorial: Creating Accounts and Applications on the Developer Portal
This tutorial shows you how to create a developer account and register an application on the Developer Portal.
Before you begin
You must have a Developer Portal installed, and created and published at least one API product.
If you do not have a Developer Portal available, complete the tutorial Creating a Developer Portal.
If you do not have an API product available, complete the tutorial Importing an API.
About this task
In this tutorial you are going to complete the following lessons:- Creating a developer account in the Developer Portal
- Creating a developer application in the Developer Portal
- Testing the Branches API in the Developer Portal
Note: The administrator account cannot create an App, or register to an App. To create or register
to an App, you must have a developer account. A developer account that has been assigned
administrator privileges can create and register Apps.
Creating a developer account in the Developer Portal
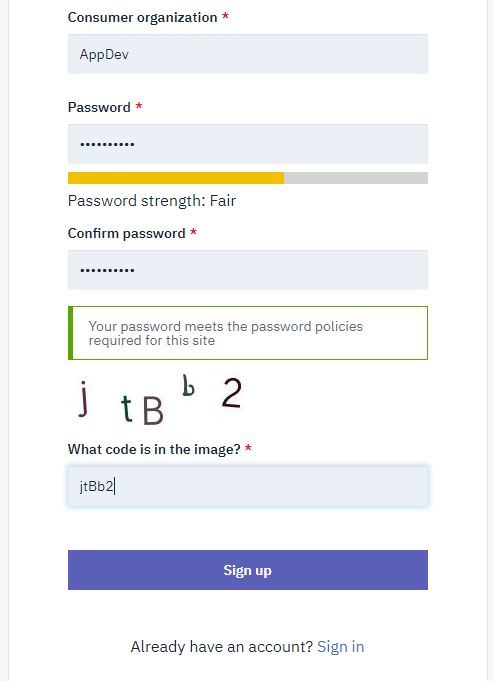
Take the following steps to create a developer account:
- Complete the sign up form. The email address you provide must be functional. Click
Sign up. A confirmation message is sent to the email address provided in the
form.
Creating a Developer Portal Application
To create and register a new App:
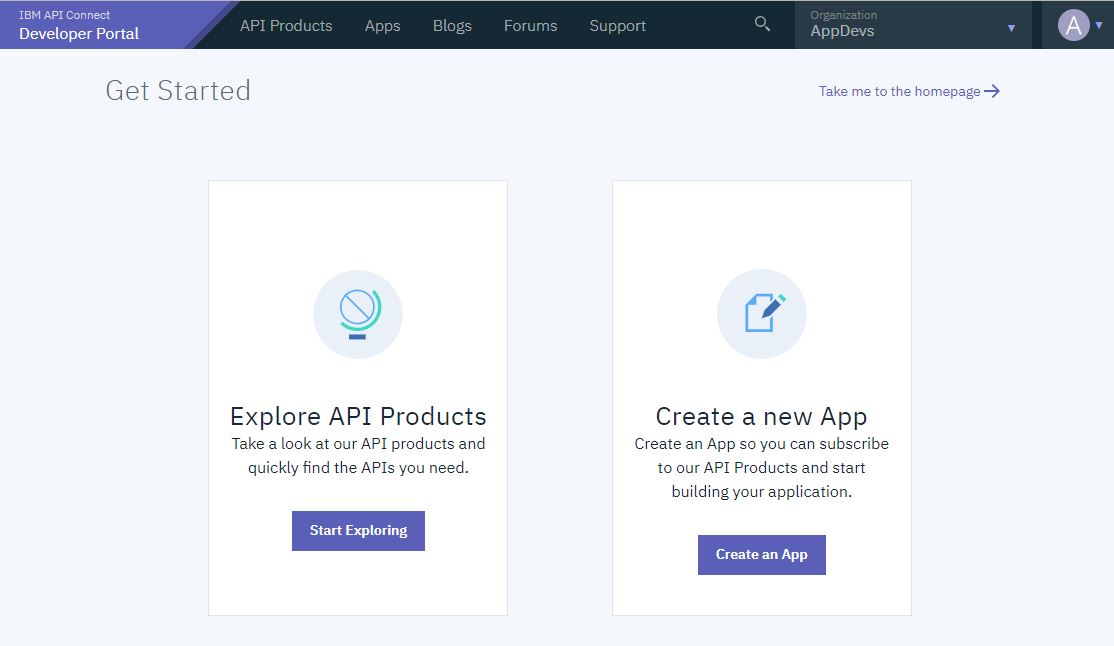
- In the Developer Portal,
click Create an App. Note: You cannot register new applications if you are logged in as the administrator.
- Enter the following values for the application that is being registered.
Table 1. Values for registering the application Field Name Value Title AppOne Application OAuth Redirect URL(s) http://example.com 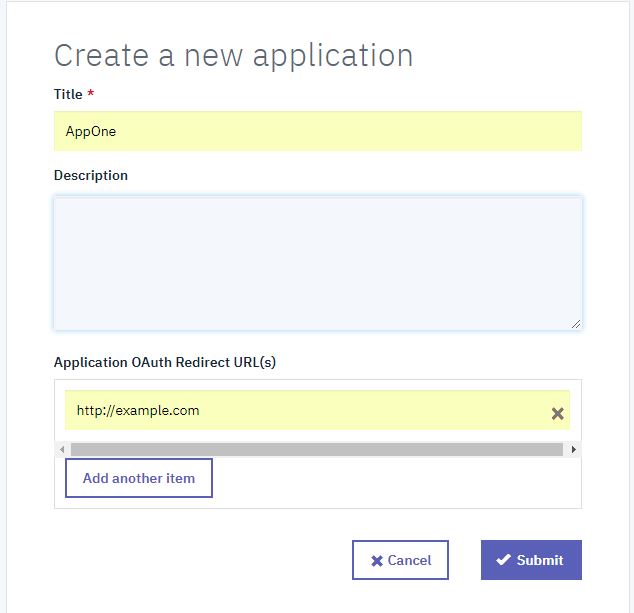
- The opportunity to discover the key and secret for the new app is presented. Click
Show to see and take note off these values.

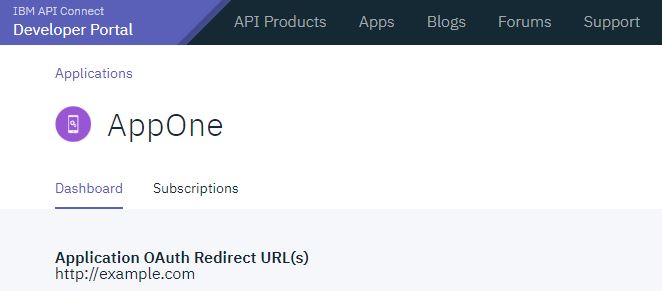
- Click Continue.
You see a usage statistics page.
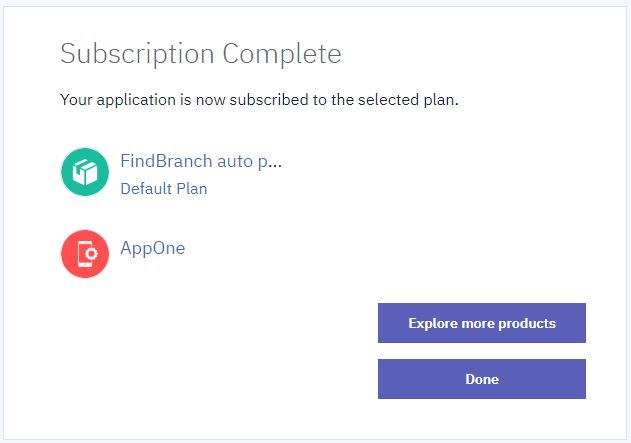
Subscribing to an API in the Developer Portal
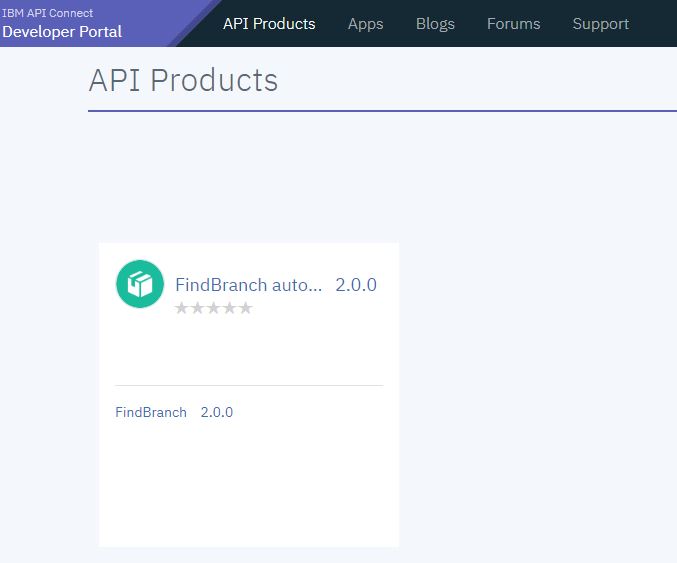
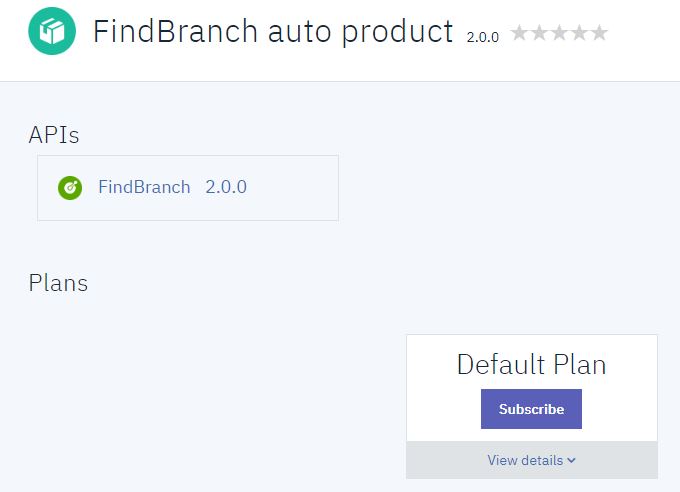
- Click FindBranch.
- Click Subscribe.
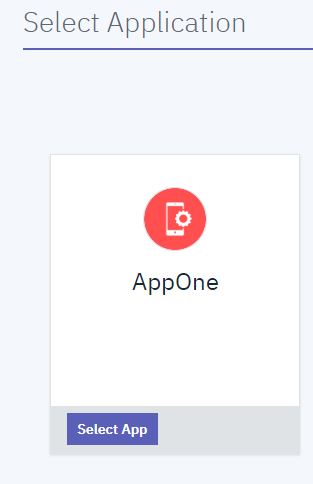
- Under the Application heading, click Select App
for your new application.
- Click Next.
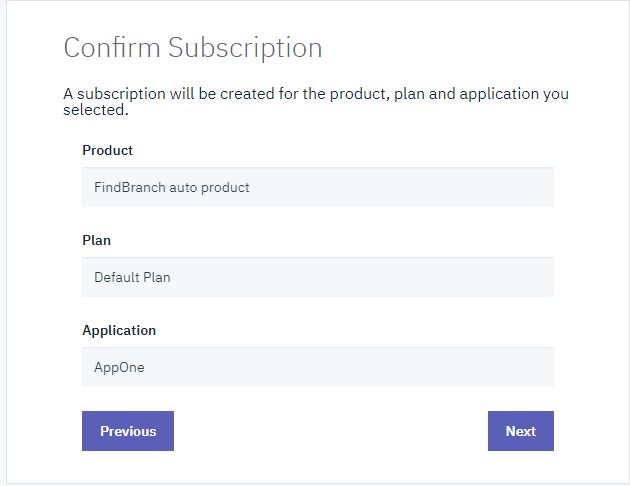
- Click Done.
Testing An API in the Developer Portal
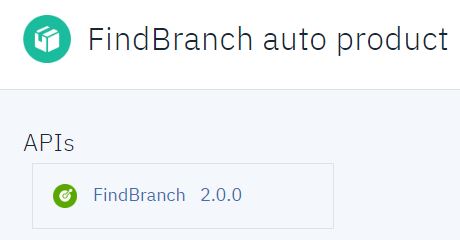
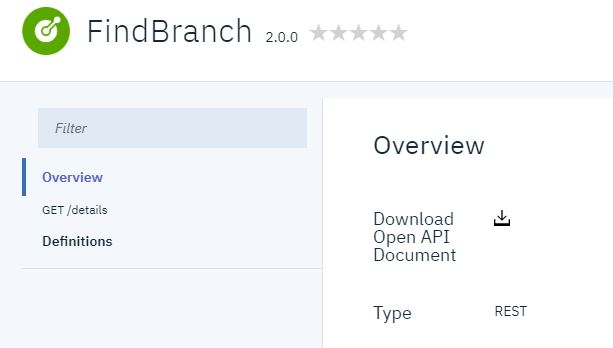
- Click a Product, such as FindBranch auto product , then select the
FindBranch API from the list.
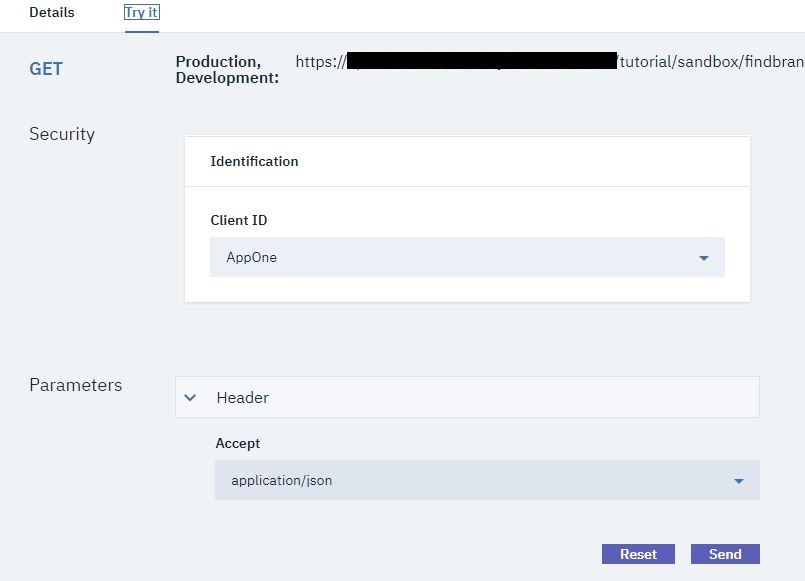
- Click GET /details.
- Click Try it.
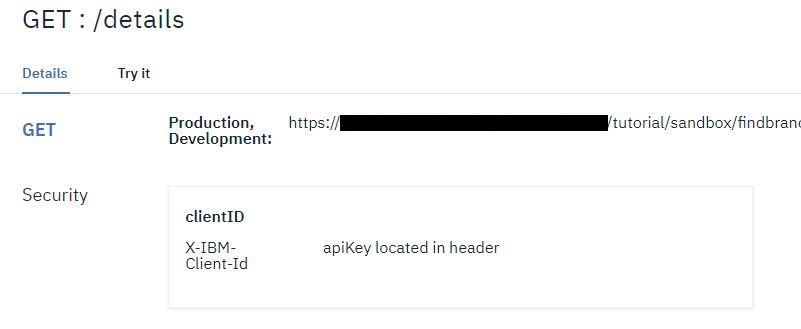
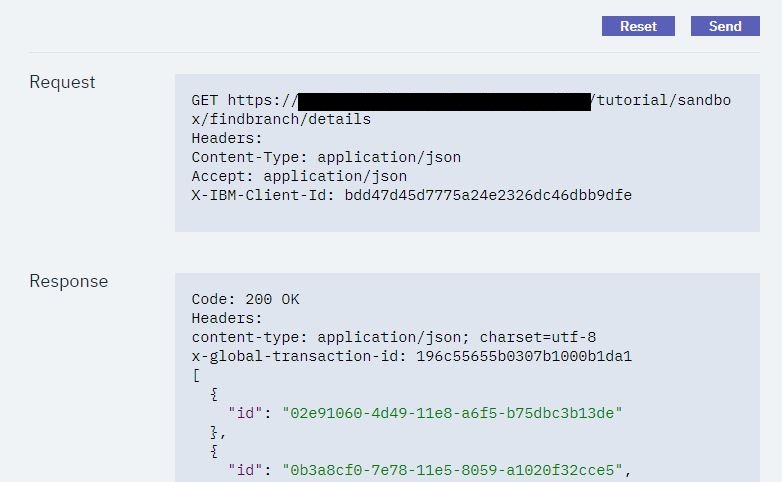
- Click Send.
 Note: If no response is received, navigate to the URL that is displayed at the beginning of the Try this operation section, in a new browser tab. Accept the security certificate, and then call the operation again.
 - A returned response of 200 OK and the message body are displayed, indicating that
the REST API operation call was successful.
What you did in this tutorial
In this tutorial, you completed the following activities:
- Created a developer account in the Developer Portal.
- Created and registered a new App, and subscribed it to a Plan.
- Tested an API in the Developer Portal.