Tutorial: Implementing OAuth Security
This tutorial shows you how to create a native OAuth provider using API Manager.
About this tutorial
In this tutorial you will complete the following lessons:
Before you begin
In this tutorial you will implement and test OAuth security. To complete this tutorial, you must have the following available:
- An existing published API. If you do not have an API available, complete the Tutorial: Importing an API tutorial.
- An existing client application. If you do not have a client application available, complete Tutorial: Creating a Client Application.
- An external application, such as cURL, used to send requests to the OAuth token provider endpoint.
Note: The Sandbox catalog must be configured to use either a DataPower® Gateway (v5
compatible) or a DataPower API
Gateway or both. See Creating and configuring Catalogs.
Create a Native OAuth Provider
To create a native OAuth provider by using API Manager, complete the following steps:
- Click the Resources icon
 in the side bar.
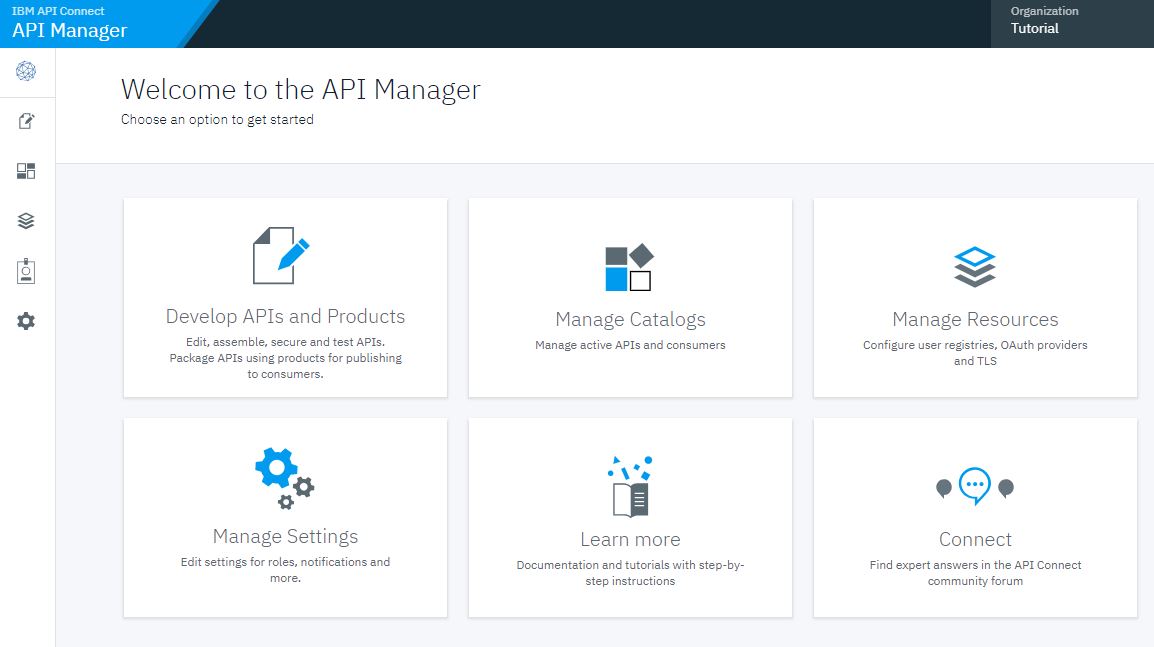
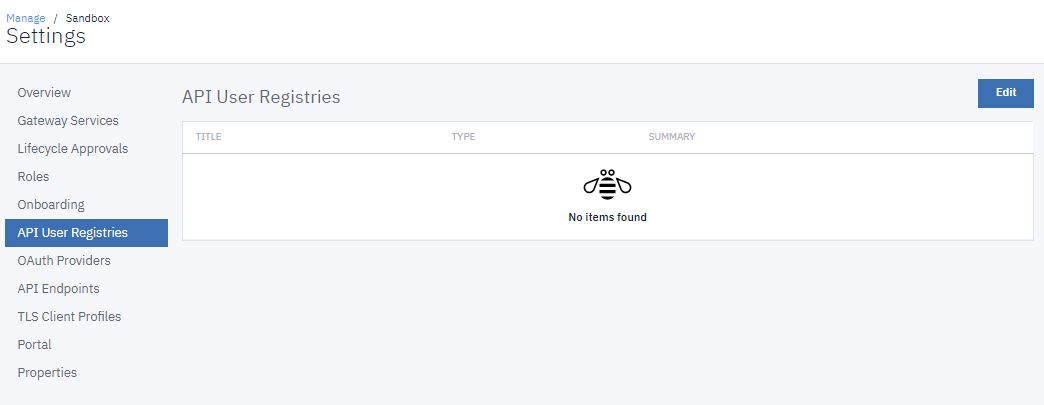
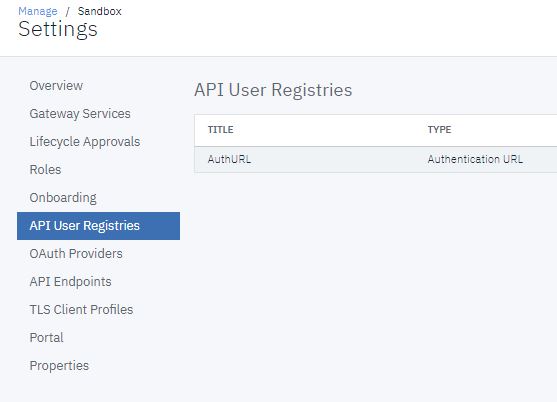
- On the User Registries page, click Create.

- Click Authentication URL User Registry.
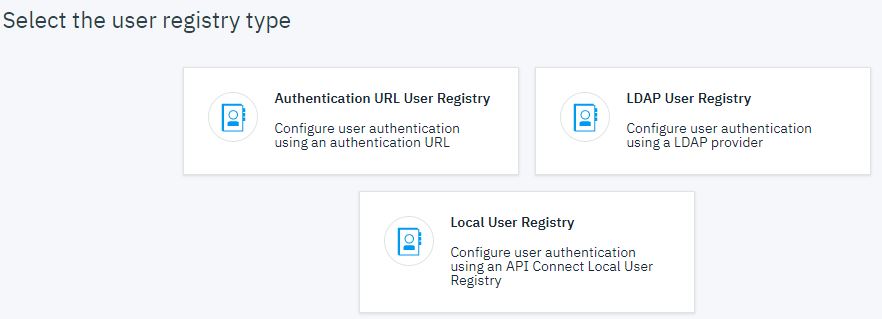
- Click Save.

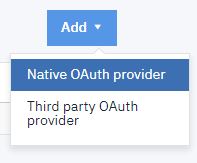
- Click OAuth Providers.

- Click .
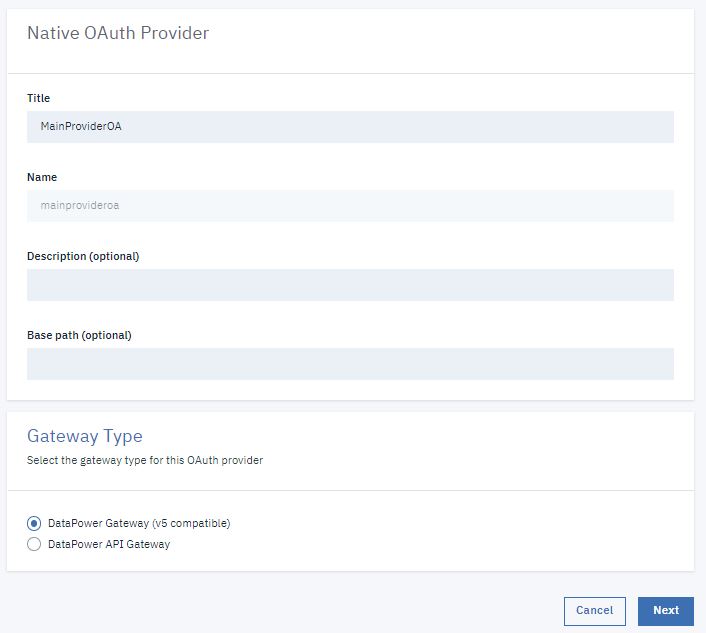
- In the Gateway Type section, select the gateway type in use by the catalog.
This defaults to DataPower Gateway (v5 compatible). You may need to change this selection.
Note: The gateway type selected here must match the gateway type used by the API that uses this provider.Click Next.
- Select Resource owner - Password in the Supported grant
types field. Deselect any others if necessary.
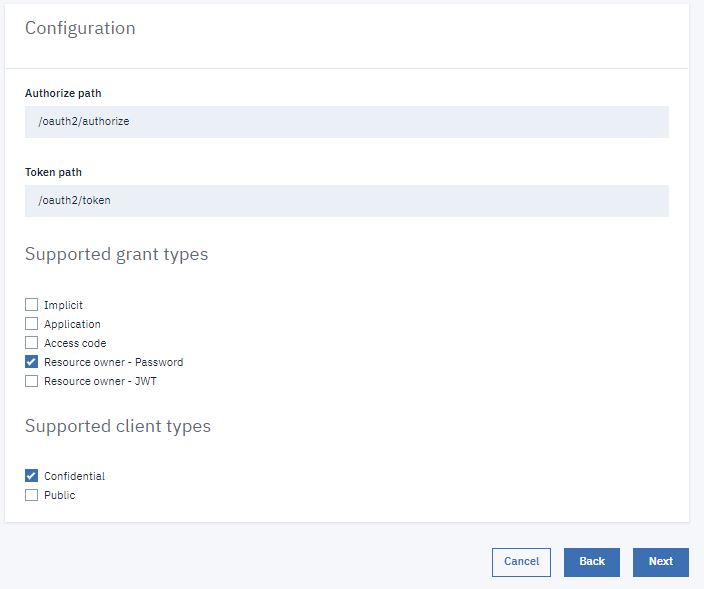
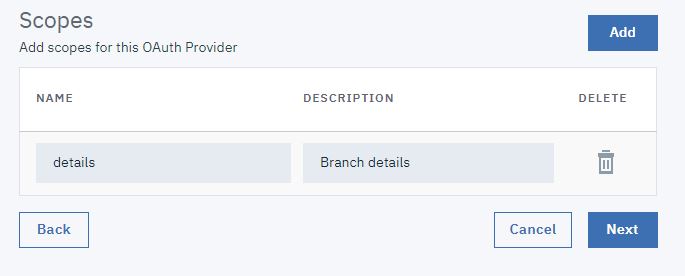
- In the Scopes section, enter details in the first
NAME field. Enter Branch details in the first
DESCRIPTION field.
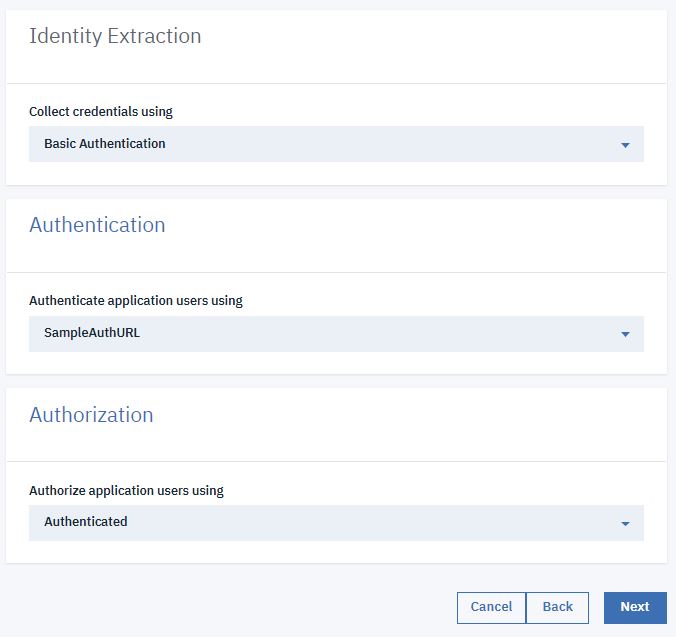
- Under Authentication, select the AuthURL Authentication method.
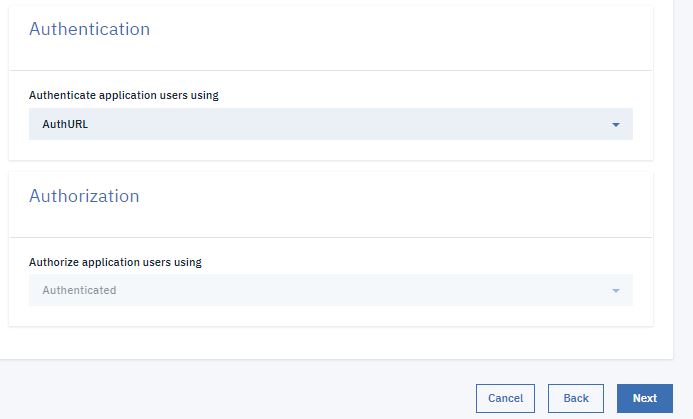
- Do not alter the default Authorization setting (Any Authenticated). Click Next.
- A Summary page appears. Scroll down and click Finish.
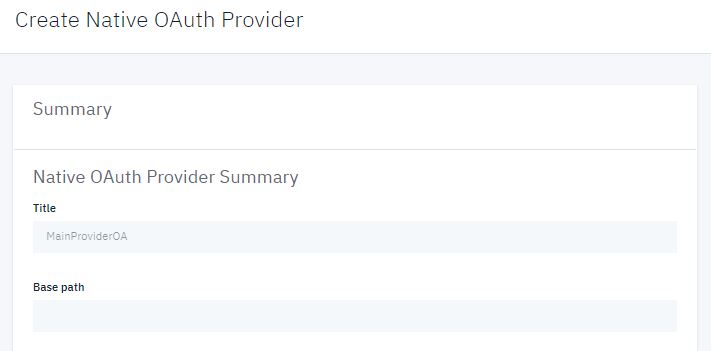
- The Info page appears. Scroll down and select Enable debug response headers. Click Save.

- Click the Manage icon
 in the side bar.
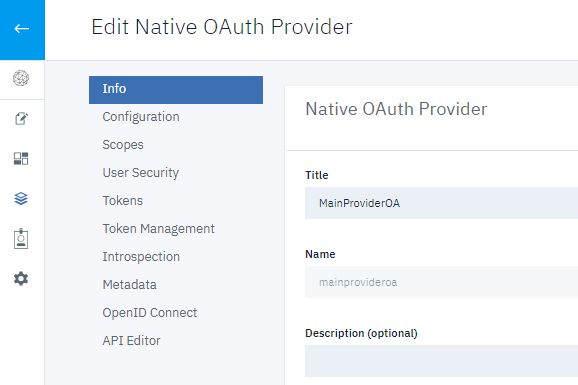
- Click the Sandbox catalog icon.
- Click the Settings icon
 in the side bar.
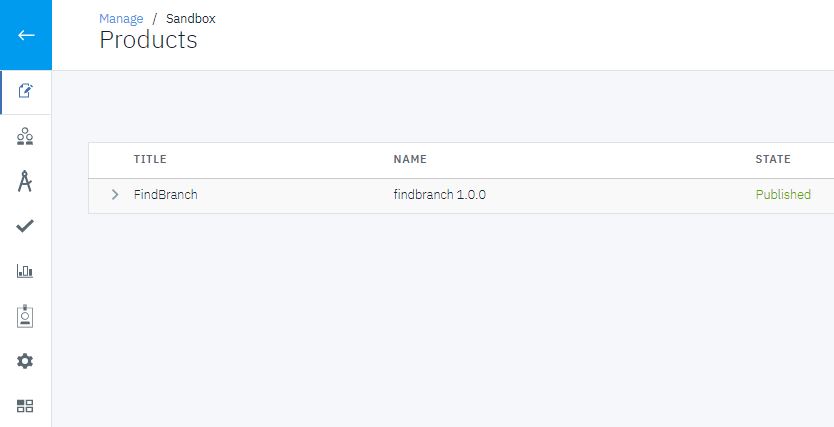
- Click Edit.
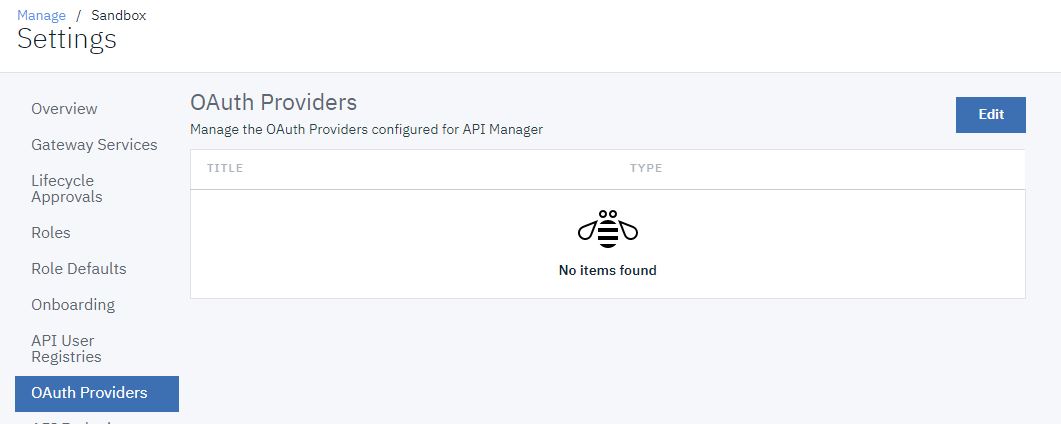
- Click OAuth Providers.
- Click Edit.
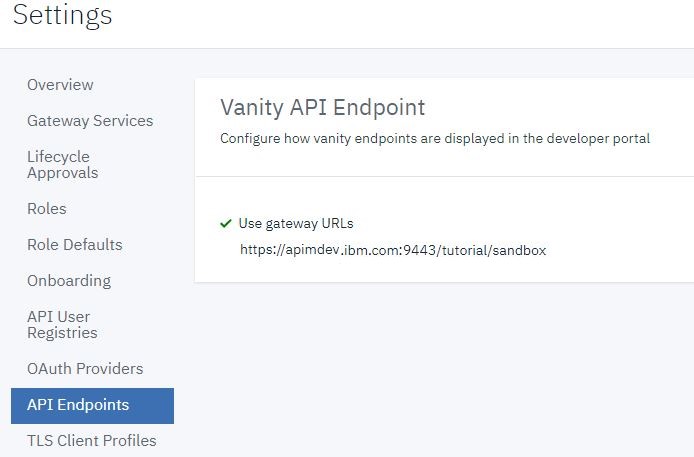
- Click API Endpoints .

- Make a note of the gateway URL. You will need this to obtain an OAuth token.
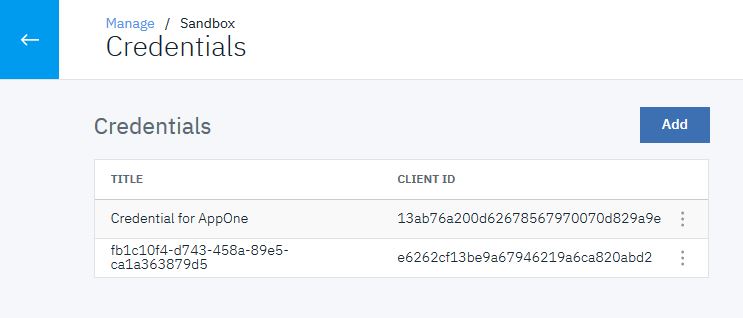
Verify or create test application credentials
You will need the client ID and client secret for an application to test the OAuth functionality. You obtained this information during the
completion of the Tutorial: Creating a Client Application tutorial listed in the Prerequisites.
Note: These steps are necessary only if you did not make note of the credentials for the client application you previously created.
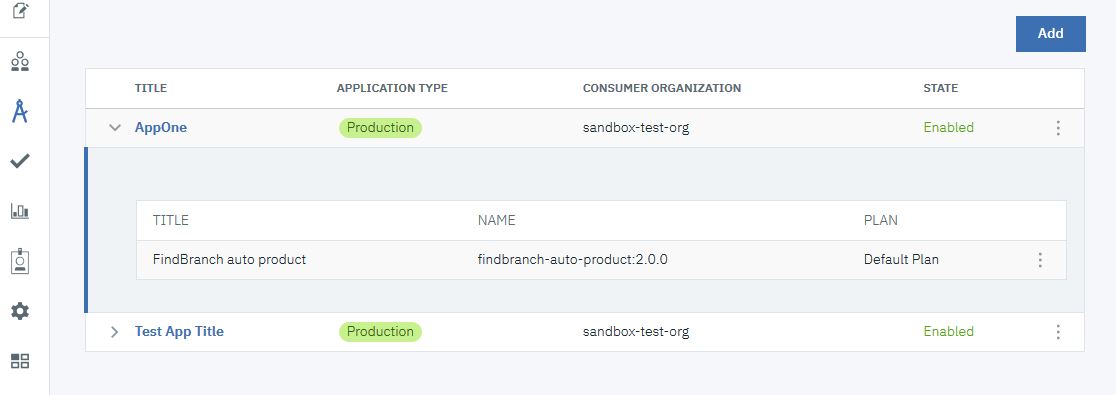
- Click the Applications icon
 in the side bar.
 - Click the Down arrow icon alongside the AppOne
application. The findbranch product should be listed.
- Click the Options icon
 alongside AppOne. Select Credentials.
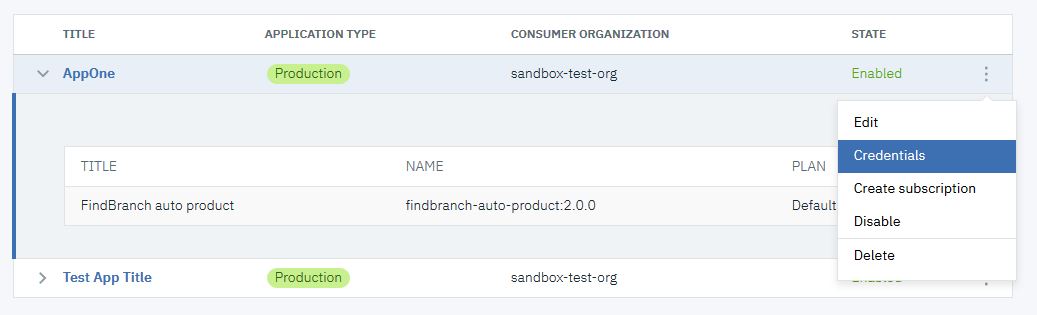
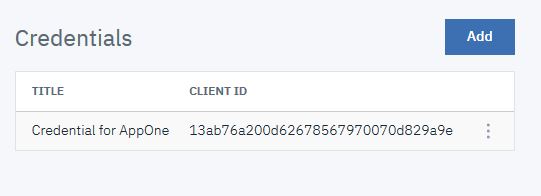
- Click Add.
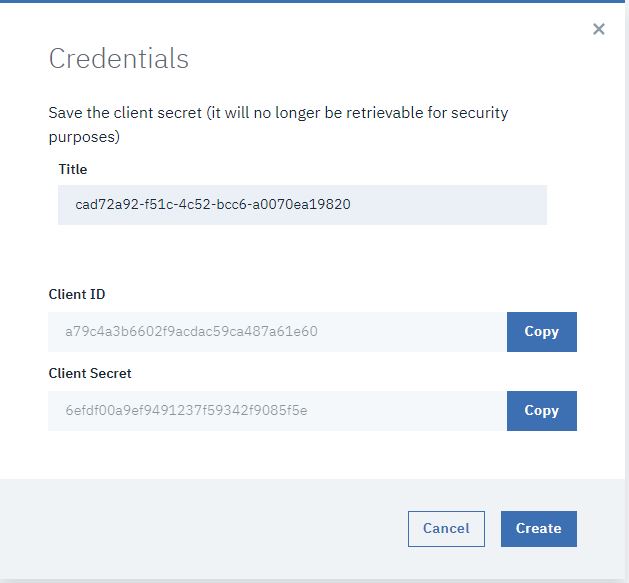
- Copy both the Client ID and client Secret. You will need these values to obtain an OAuth token.
Click Create.
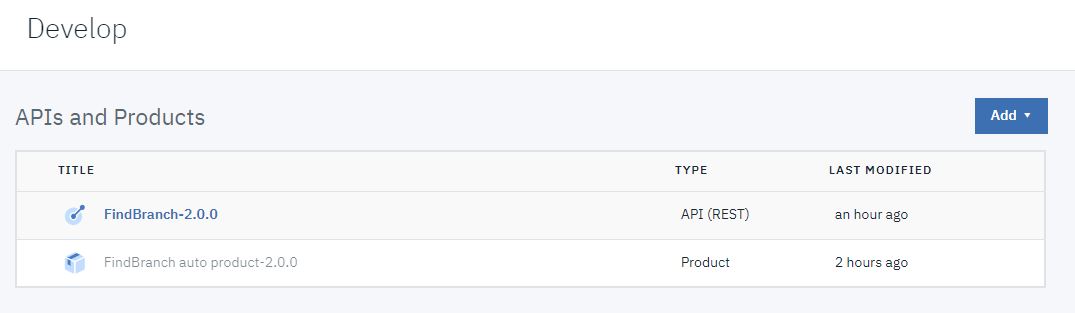
- Click the Back arrow until you see the Manage page.
- Click Develop
 in the side bar.
Adding OAuth Security to an API
You add OAuth security enforcement to an existing API by creating a security definition for OAuth and
then including that definition in the security applied to the API. Follow these steps.
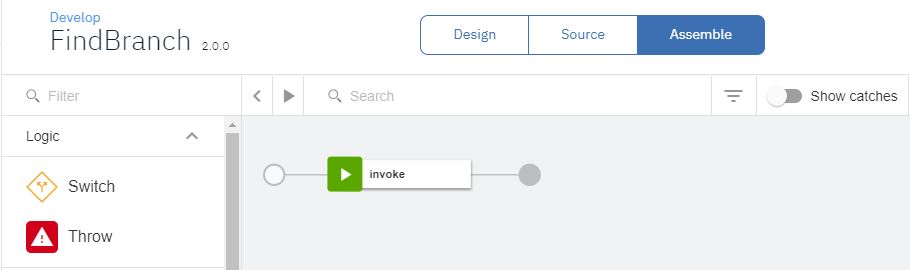
- Click the existing API to which you want to add OAuth security. This tutorial uses the
FindBranch API. Note: The gateway type used by this API must match the gateway type used by the OAuth Provider you just created. The gateway type for the API is shown at the foot of the API Setup page.
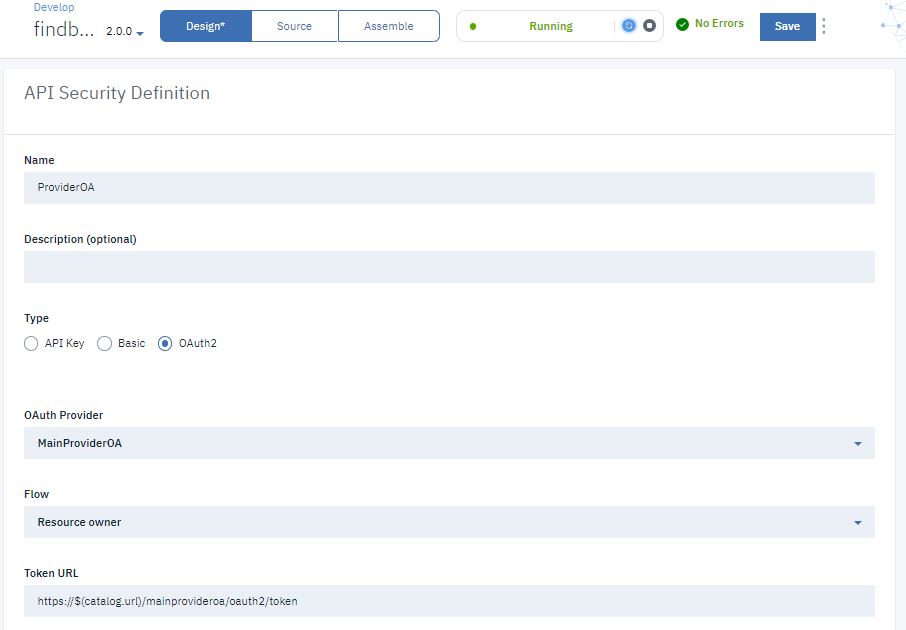
- Click Security Definitions.
- Click Add.

- Enter ProviderOA in the Name field.
- Under Type, click OAuth2.
- Select MainProviderOA in the OAuth Provider field.
- Select Resource owner in the Flow field.
- Click Save.
- Click Security.
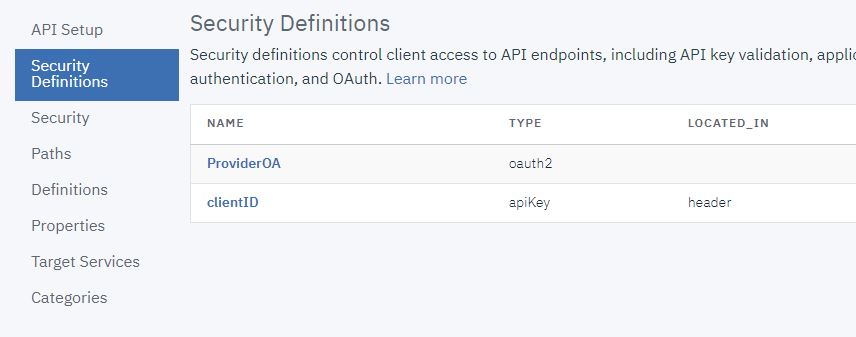
- Under Security Definitions, select ProviderOA, and
select details.
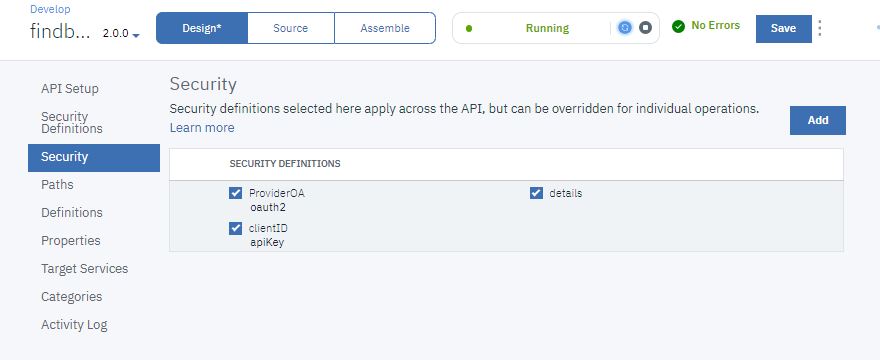
- Click Save.
Test OAuth Security
Note: Due to Cross-Origin Resource Sharing (CORS)
restrictions, the assembly test tool cannot be used with the Chrome or Safari browsers on the macOS
Catalina platform.
To test the new OAuth security added to the API, complete the following steps:
- Click the Test icon
 .
. 
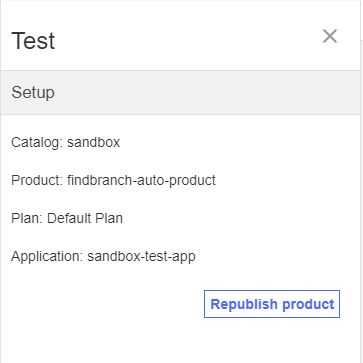
- On the test Setup pane, click Republish product.
- You must now resubscribe the test application to the test product. Right-click the Manage
icon , and select Open Link in New Tab.
Take the following steps to navigate to the catalog applications page.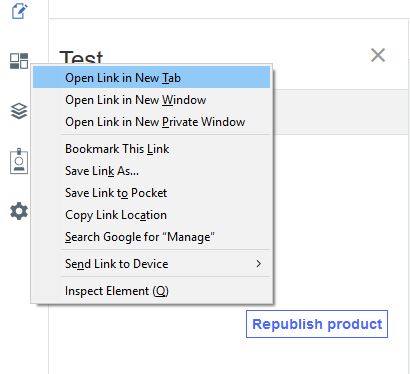
- Log in to the Manager page again.
- On the home page, click Manage.
- Click Sandbox to open the catalog.
- Click Applications to open the list of available applications.
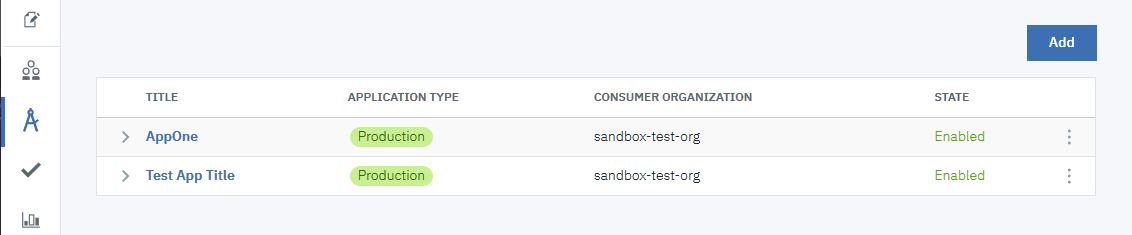
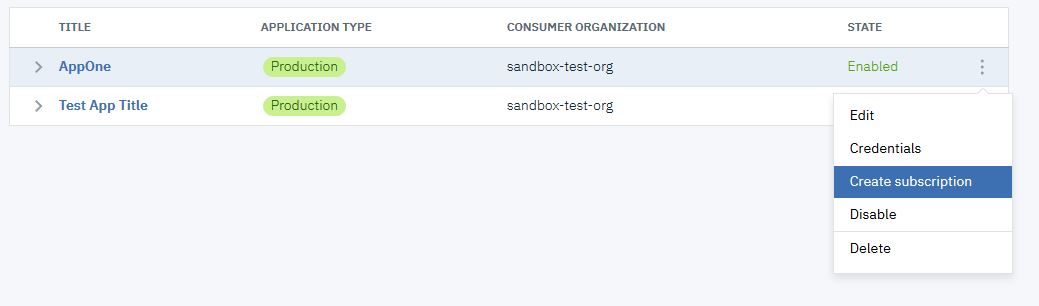
- Click the Options icon alongside the AppOne application. Select Create Subscription .
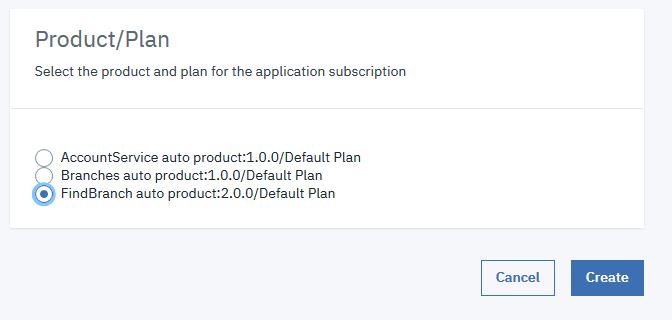
- Select FindBranch. Click Create .
You must now return to testing the republished API. Close the currently open browser tab to return to testing the API you just republished.
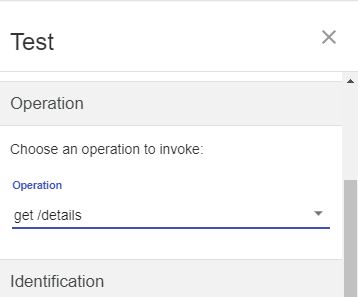
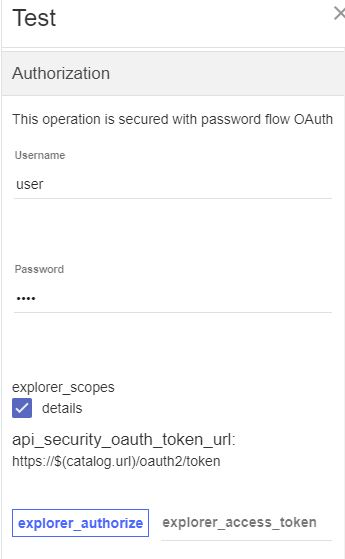
- Select get /details in the Operation
field.
- Enter the client secret you created previously in the clientSecret field.

- Enter user in the Username field. Enter
pass in the Password field.
- Obtain an OAuth token. In this case, cURL is used to obtain the token using the following
command.
curl -k https://gateway_url/org_name/sandbox/mainprovideroa/oauth2/token -d
"grant_type=password&scope=details&username=user&password=pass&client_id=app_client_id&client_secret=app_client_secret"
- Enter or paste the access token in the explorer_access_token field. Here
is an example token.
AAIgMzU4MjRmMjY0NmY3OTllZjRjM2Y3OWU1ZDQwZGYwYWOxkwNYTnIxWaHu8Htf1OUAQUEGl3TLJVHayXjPJE5Rxd7clNdBEYRAEkuHIWX8hR2KF4AA9_SuOCNxJsETDaiJ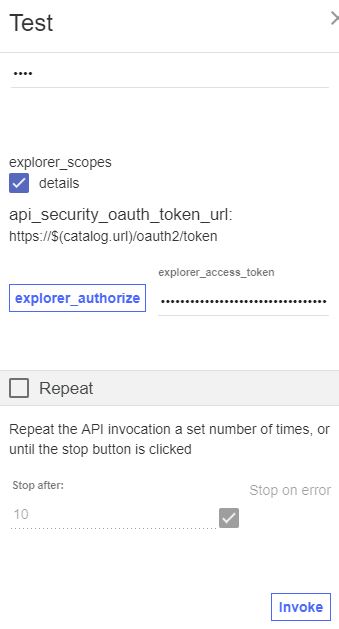
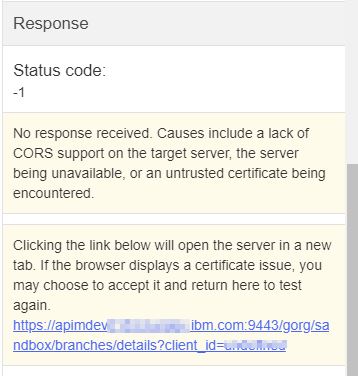
- Click Invoke. You may encounter a yellow error box with a URL embedded
in it. Click this URL to override a browser certificate error.
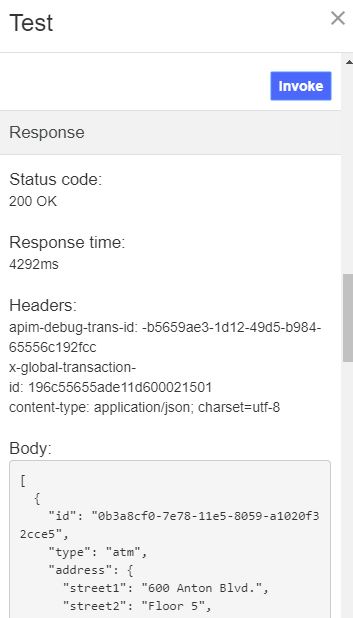
- Click Invoke again. The response contains branch data.
What you did in this tutorial
In this tutorial, you completed the following activities:
- Created an OAuth Provider.
- Made the OAuth provider available within the catalog.
- Added OAuth security to an existing API.
- Tested the OAuth security.