Install a monitoring agent on Windows systems
Procedure
- Either download the software from Passport Advantage (see the download information on the ITCAM for Transactions Information Center) or use a product DVD.
- Log on to the Windows system using a user ID with the administrator
authority. You must have administrator privileges to install Response Time monitoring
agents.Important: On Windows systems, install agents using a local Administrator account rather than a domain account, such as an account defined by Active Directory. If the default Administrator account is not available, create a new local user account and add that account to the local Administrators’ group. You can then install agents using the new local user account.
- Start the installation wizard by double-clicking
the setup.exe file in the \WINDOWS subdirectory.
The Welcome window is displayed.
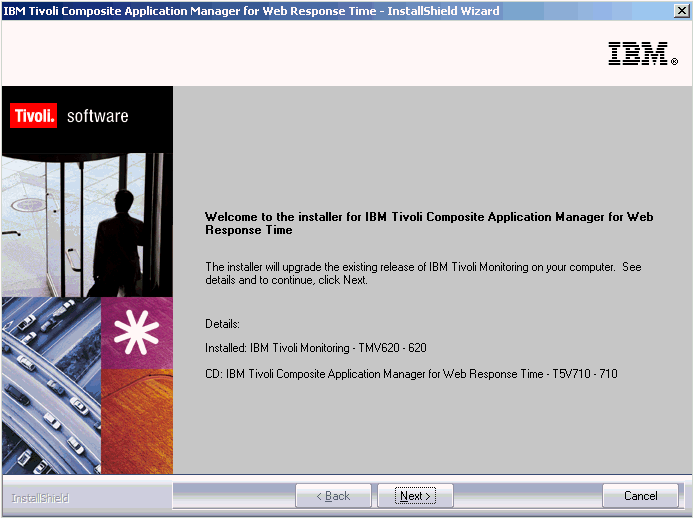
- Click Next. The Install
Prerequisites window is displayed.
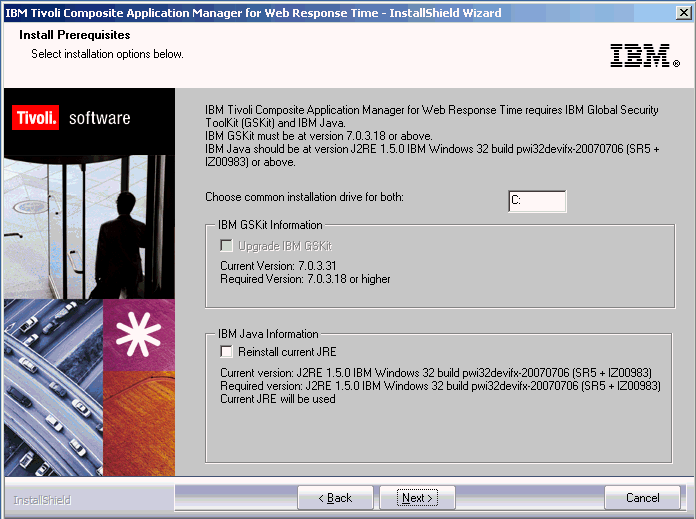
- Follow the instructions in the Install Prerequisites window and select the appropriate check boxes for the required versions of IBM Global Security ToolKit (GSKit) 7.0.3.18 or higher and IBM Java version 1.5.0 IBM Windows 32 build pwi32devifx-20070706 (SR5 + IZ00983). In the Choose common installation drive for both field, enter the drive on which to install the software, and then click Next to proceed with the installation process. Once installation of the prerequisite software is complete, you will be automatically returned to the IBM Tivoli Composite Application Manager for Transactions InstallShield Wizard.
- The Software License Agreement window is displayed. If you accept the terms of the license agreement, click Accept to continue, otherwise click Decline to stop the installation process. You must accept the terms of the license agreement to continue the installation process.
- Choose the directory where you want to install the product. The
default directory is C:\IBM\ITM. Click Next to
display the User Data Encryption Key window.Note: If there is an IBM Tivoli Monitoring monitoring agent on the computer, you cannot change the installation directory.
- Type a 32-character encryption key and click Next. You can use the default key. Do not use the = or ' or | characters in your key.
- Click Next to display
the Select Features window.
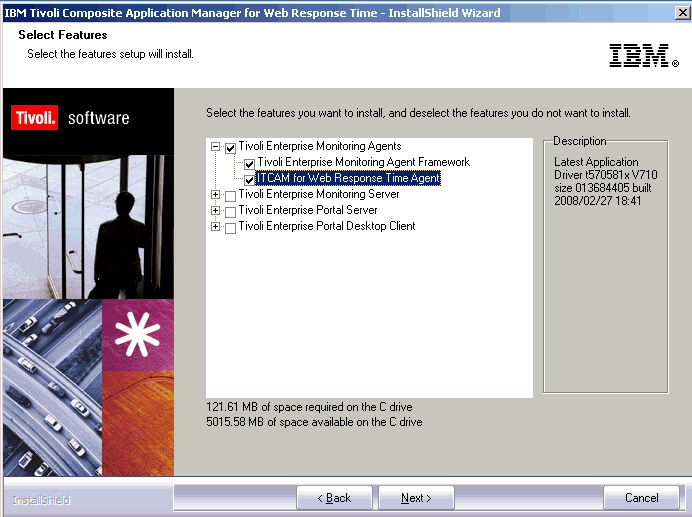
- Expand Tivoli Enterprise Monitoring Agents,
and select the agents that you want to install from the provided list
by selecting the check box next to the agent name. Leave the Tivoli
Enterprise Monitoring Agent Framework check box selected.Remember: Depending on your operating system, some agents are not supported for installation. Before selecting one or more agents to install, ensure that they are supported on your operating system by checking the Prerequisites pages in the ITCAM for Transactions Information Center.
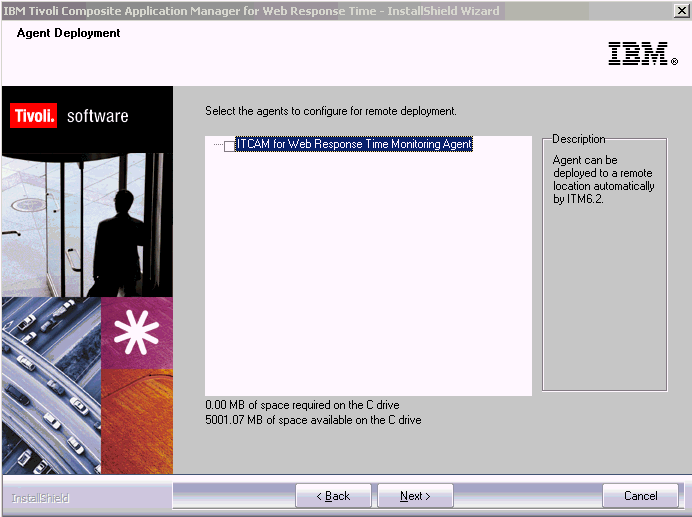
- Click Next to display
the Agent Deployment window. If you are installing
locally, do not select any agents. If you are deploying an agent to
a remote server, select the agent to enable remote deployment. See Working remotely for further information.
- Click Next to display the Response Time Information window.
- Click Next to display
the Start Copying Files window.
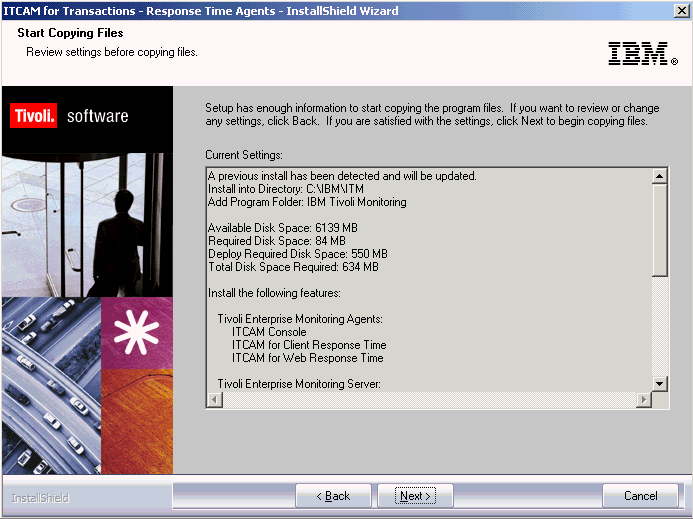
- Click Next to continue, or click Back to modify your selection.
- A message is displayed stating that you will not be able to cancel the installation or upgrade after this point. Click Yes to continue. Files will now be copied to your computer. This might take several minutes. A Setup Status window provides status messages about the installation progress.
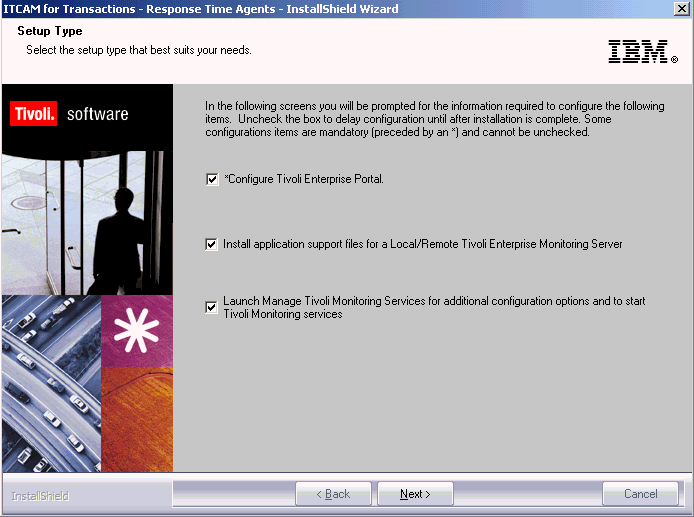
- Before the Setup is complete, a Setup
Type window is displayed.
- The Configure Tivoli Enterprise Portal field is preceded by an asterisk, this indicates it is selected by default and cannot be cleared.
- If you are not using SDA, select Install application support files for a Local/Remote Tivoli Enterprise Monitoring Server.
- Go to the Follow-up or related tasks section. Choose the Tivoli Enterprise Monitoring agent that you want to configure and continue the installation or configuration.
Follow-up or related tasks
Make
sure to perform the following follow-up tasks:
- Configure the monitoring agent that you just installed. Complete the configuration during installation.
- Verify installation of Response Time monitoring agents
- Configuring the Eclipse help server
- Configure IBM Tivoli Monitoring to forward events to Tivoli Enterprise Console. (Optional) Tivoli Enterprise Console event mapping
- Install a language pack. (Optional) . You can install local language support on each computer on which the Tivoli Enterprise Portal is located Installing and uninstalling the language pack
- Optional: Install Rational Performance Tester and Rational Integration Support. For more information, see Installing Rational products.