更新清单
创建应用程序后,必须使用应用程序角色更新 Azure Active Directory 中的清单。
过程
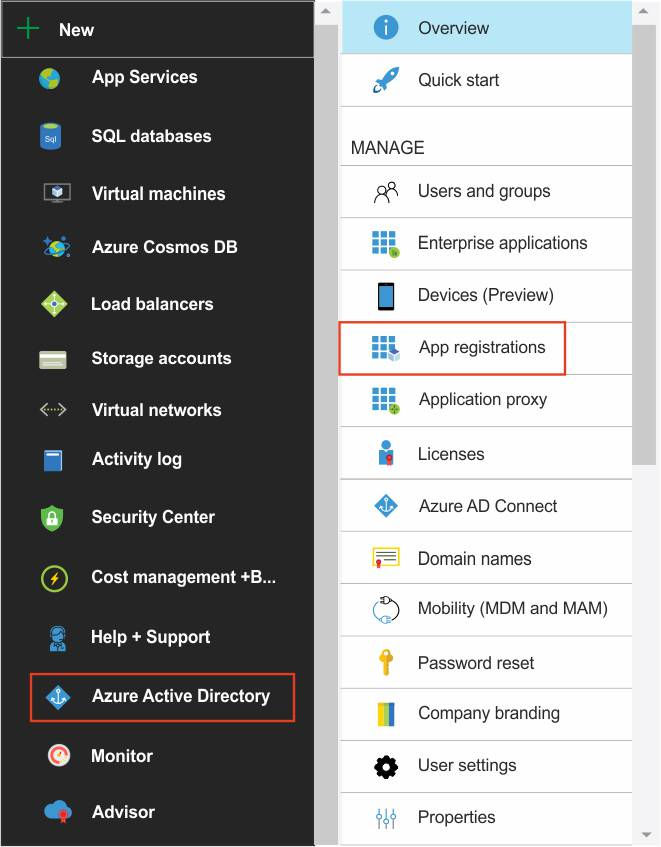
- 选择您的应用程序。
- 在 appRoles 部分中添加两个应用程序角色,分别代表管理员和普通用户 Verify 。 应用程序角色的标识需要是全局唯一标识 (GUID)。
 例如,
例如,{ "allowedMemberTypes": [ "User" ], "description": "Security_Verify_Admin", "displayName": "Security_Verify_Admin", "id": "081bc638-ed68-4cb5-a862-bf7c8d5afd3e", "isEnabled": true, "value": "admin" }, { "allowedMemberTypes": [ "User" ], "description": "Security_Verify_User", "displayName": "Security_Verify_User", "id": "00d291f1-4b8a-432d-bcd7-5193b3bd749e", "isEnabled": true, "value": "user" } - 将您在第 4 步中创建的管理员和标准角色,分别分配给您在“配置 Azure Active Directory 作为身份提供商”步骤 9 中添加的管理员组和标准组。
