Tutorial: Generate a JSON Web Token (JWT)
This tutorial shows you how to define and implement a REST API definition that generates a JSON Web Token (JWT).
About this tutorial
In this tutorial you will complete the following lessons:
Note: The Sandbox catalog must be configured to use either a DataPower® Gateway (v5
compatible) or a DataPower API
Gateway or both. See Creating and configuring Catalogs.
Generate a JWT
Create a REST API to generate and return a JSON Web Token (JWT).
To add and define this REST API, complete the following steps:
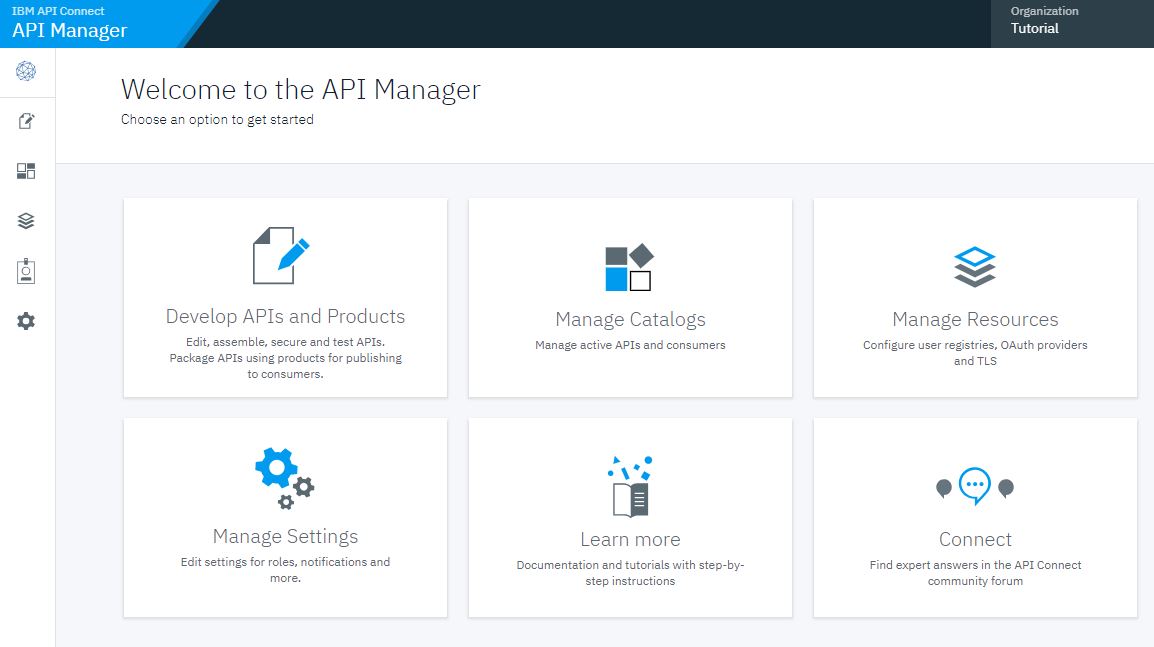
- In the Welcome page, click the Develop APIs and Products tile.
- Click .
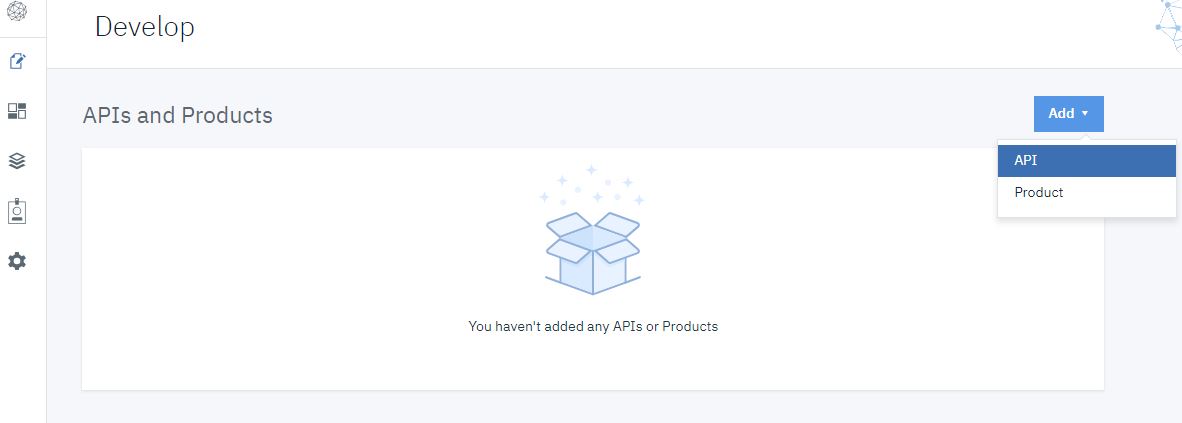
- Select New OpenAPI. Click Next.

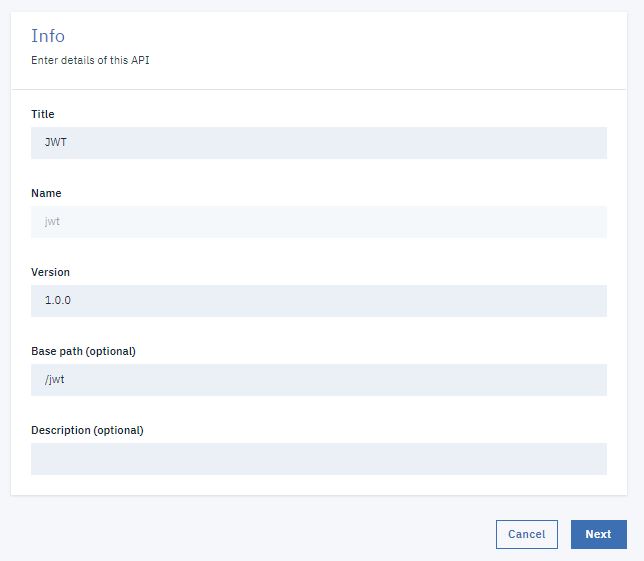
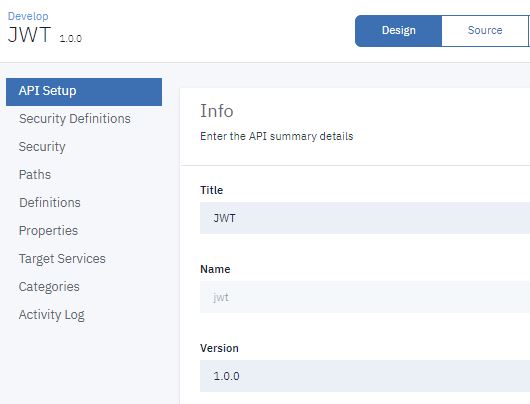
- Enter the appropriate information to create a REST API definition.
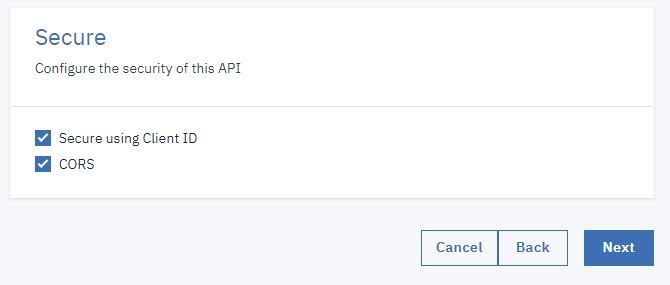
- Make no changes on the Secure screen. Click Next.
- You see the progress as the new API gets created. When it is done, you see a Summary. Click
Edit API.

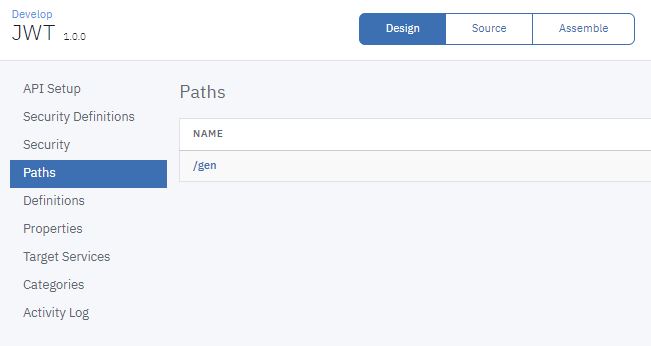
- In the side bar of the Design page, select Paths to display the Paths
panel.
- Select GET and click Add.
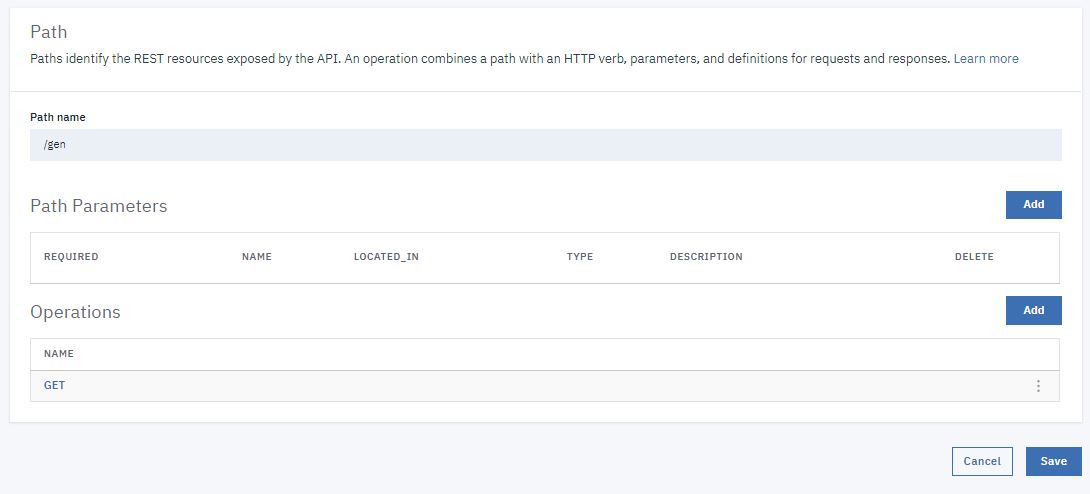
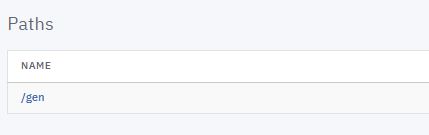
- Click /gen in the list of available paths.
- Scroll down. In the Parameters section, click Add.
- Select REQUIRED.
- Enter iss-claim in the NAME field.
- Select header in the LOCATED IN field.
- Select string in the TYPE field.
- Enter Enter https://myidp.ibm.com to match in the DESCRIPTION field.

- Click Add to add a second parameter.
- Select REQUIRED.
- Enter aud-claim in the NAME field.
- Select header in the LOCATED IN field.
- Select string in the TYPE field.
- Enter Enter ClientID1 to match in the DESCRIPTION field.

- In the Response section, change the description of the pre-supplied
200 status code to 200 OK.

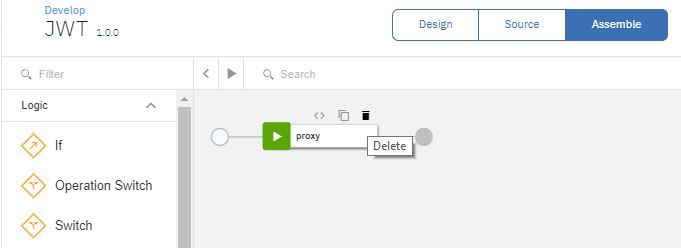
- Click Assemble.
- Hover the mouse over the existing Proxy or Invoke action and click the trash can
icon to delete it.
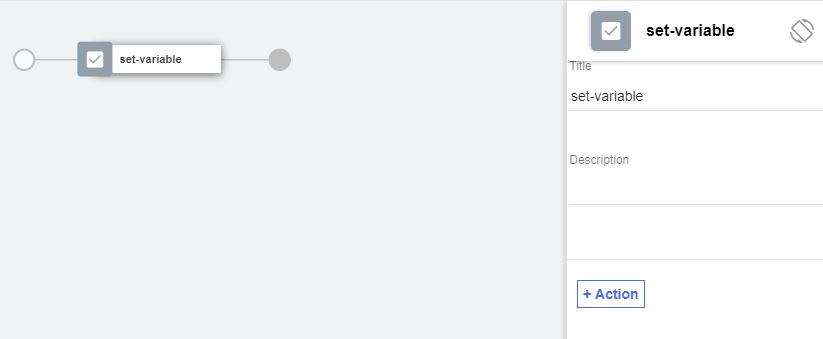
- Drag the Set Variable action onto the processing flow line. A
configuration panel automatically opens.
- Enter a JWK in the Value field. Here is an example.
{ "alg": "HS256",   "kty": "oct",   "use": "sig",   "k":
"o5yErLaE-dbgVpSw65Rq57OA9dHyaF66Q_Et5azPa-XUjbyP0w9iRWhR4kru09aFfQLXeIODIN4uhjElYKXt8n76jt0Pjkd2pqk4t9abRF6tnL19GV4pflfL6uvVKkP4weOh39tqHt4TmkBgF2P-gFhgssZpjwq6l82fz3dUhQ2nkzoLA_CnyDGLZLd7SZ1yv73uzfE2Ot813zmig8KTMEMWVcWSDvy61F06vs_6LURcq_IEEevUiubBxG5S2akNnWigfpbhWYjMI5M22FOCpdcDBt4L7K1-yHt95Siz0QUb0MNlT_X8F76wH7_A37GpKKJGqeaiNWmHkgWdE8QWDQ",
"kid": "hs256-key" }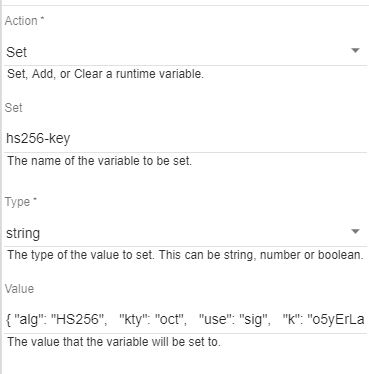
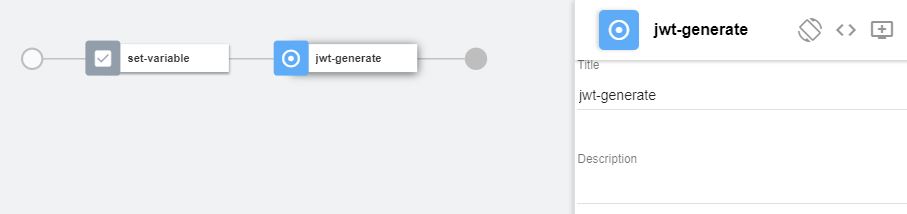
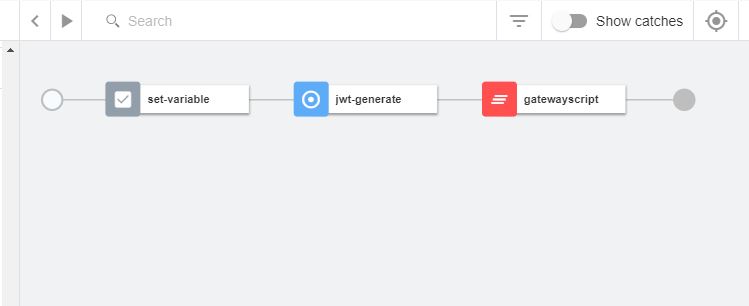
- Drag the Generate JWT action onto the processing flow line after the
set-variable icon. A configuration panel automatically opens.
- Enter request.headers.aud-claim in the Audience Claim field.
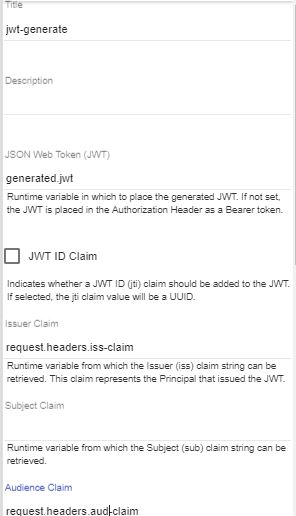
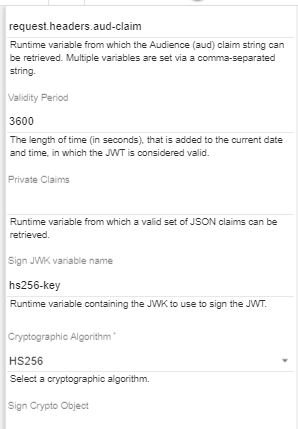
- Select HS256 in the Cryptogrpahic Algorithm field.
- Enter the following
code:
var apim = require('apim');
apim.setvariable('message.body',apim.getvariable('generated.jwt'));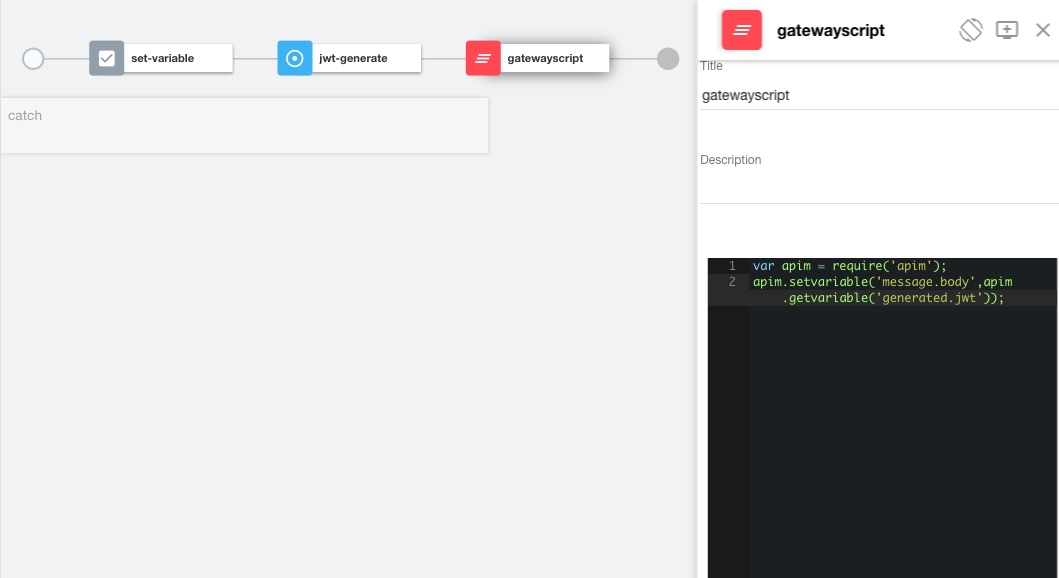
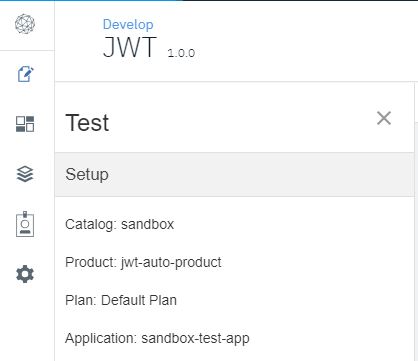
Testing the REST API
Note: Due to Cross-Origin Resource Sharing (CORS)
restrictions, the assembly test tool cannot be used with the Chrome or Safari browsers on the macOS
Catalina platform.
To test the REST API, complete the following steps:
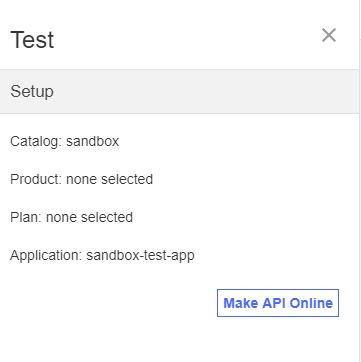
- Click the Test icon
 .
.
- Click Activate API.
- Enter ClientID1 in the aud-claim field.
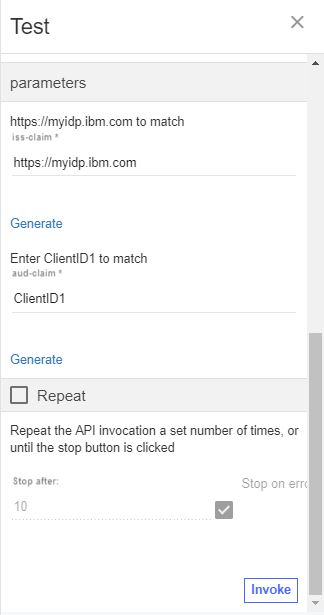
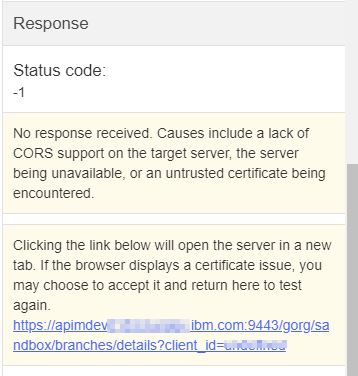
- Click Invoke. You may encounter a yellow error box with a URL embedded
in it. Click this URL to override a browser certificate error.
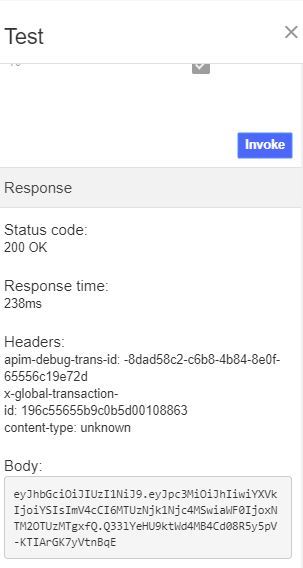
- Click Invoke again. The response contains the generated JWT.
Manage your API definition
Now that your new API works correctly, you can manage this API. To see your immediate options, take the following steps.
- Click the Develop icon
 on the navigation bar.
- Click the Options icon
 alongside the JWT API.
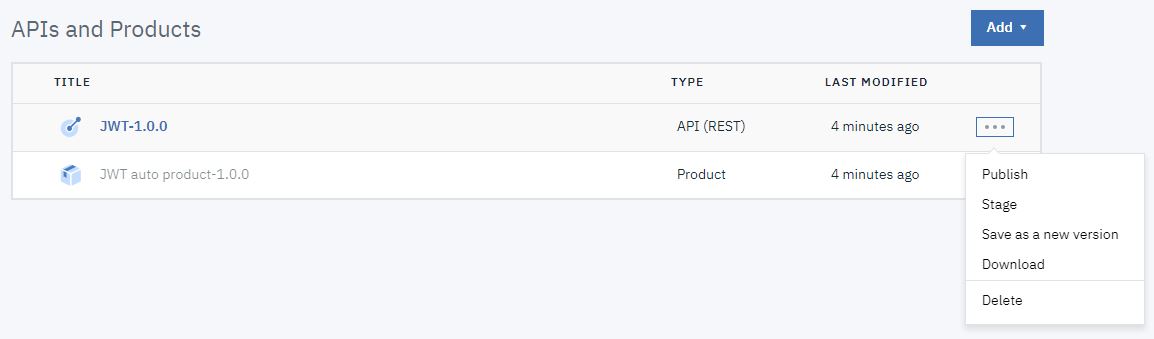
What you did in this tutorial
In this tutorial, you completed the following activities:
- Created a new API definition that generates a JSON Web Token (JWT).
- Tested the new API.