Installing a QRadar data gateway
You connect to IBM® QRadar® on Cloud through a data gateway. Install the data gateway on a physical appliance, or on a virtual machine.
Before you begin
Ensure that your appliance meets the data gateway system requirements. See System requirements for data gateways.
Schedule a maintenance window for this task and ensure that users do not deploy changes while the data gateway is being added to your deployment.Ensure that you have the following information:
- The token for QRadar on Cloud.
- The full host name of the console that you connect to through your gateway appliance.
About this task
Notes:
- Data gateways must be installed one at a time. If you are installing more than one data gateway, wait until you complete installation of one before you install the next one.
- You set a root password as part of the installation process. You cannot change this password until after the installation process is complete. The root password is also the gateway host password.
Procedure
-
Follow the instructions in the installation wizard.
-
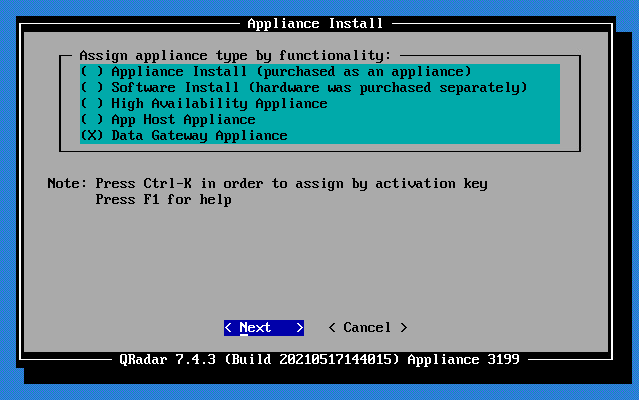
In the Appliance Install window, select Data Gateway
Appliance.
-
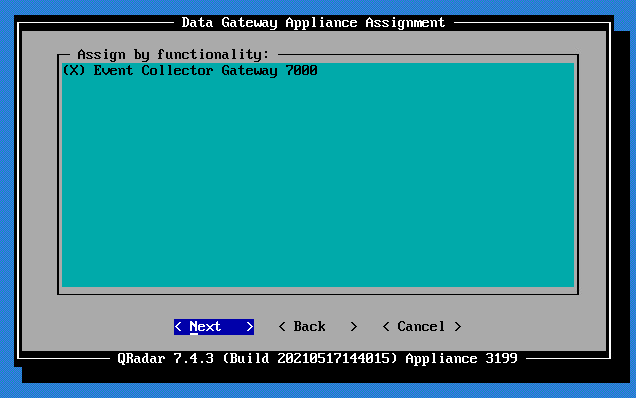
In the Data Gateway Appliance Assignment window, select Event
Collector Gateway 7000.
After you configure the installation parameters, a series of installation messages are displayed. The installation process can take several minutes.
-
In the Appliance Install window, select Data Gateway
Appliance.
- If an Interim Fix is available for your QRadar on Cloud environment,
download the Interim Fix from Fix Central (https://www.ibm.com/support/fixcentral). Tip: To see if an Interim Fix is available for your QRadar on Cloud environment, log in to the Console as a saas-admin user, go to the navigation menu (
 ) and click
About.
) and click
About.
What to do next
After you install your Data Gateway, you cannot access it by using SSH. To enable the Data Gateway by using SSH, see Can a Data Gateway be accessed by using SSH? (https://www.ibm.com/support/pages/qradar-cloud-support-faq-and-common-questions)