Troubleshooting
Problem
This document provides information about resolving a problem when the error "issuer is not in the certificate database or is not trusted" is received when importing a digital certificate into Digital Certificate Manager.
Resolving The Problem
When importing a digital certificate into Digital Certificate Manager (DCM), it may fail with an error message that the issuer is not in the certificate store or is not trusted. The following process shows how to extract the CA certificate from the server certificate. After importing the CA root certificate (and any intermediate CA certificates), the server certificate can be imported.
Extracting the Root CA Certificate from a Digital Certificate
If the certificate file on your Microsoft Windows PC has an extension of .cer or .crt, it can be opened with the Windows certificate viewer. Do the following:
| 1. | Double click on the file and you will see a window similar to the following: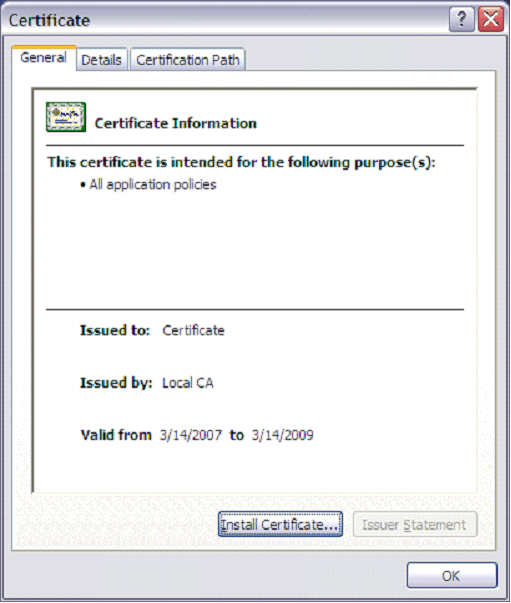 |
| 2. | Click on the Certification Path tab: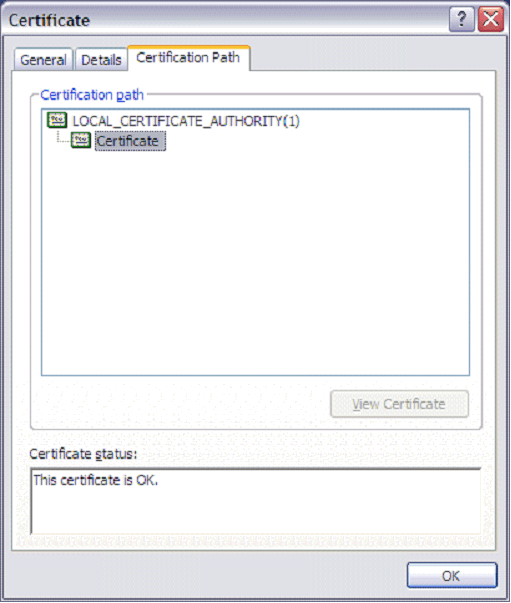 |
| 3. | You will see the certificate and the issuing certificate(s). Highlight the top level certificate (or the one you want to generate); this enables the View Certificate button. Click on View Certificate. A new window will open up and display the certificate that was highlighted: 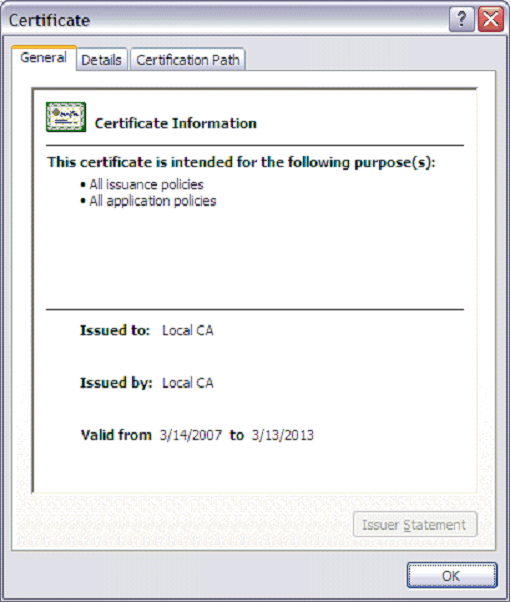 |
| 4. | Click on the Details tab.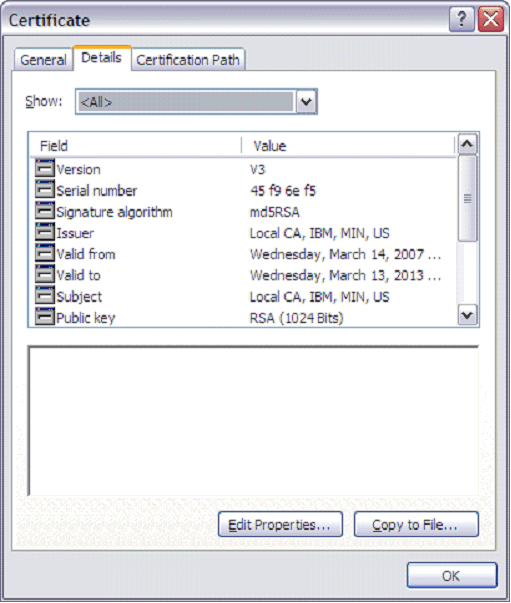 |
| 5. | Click on the Copy to File button. This opens a wizard: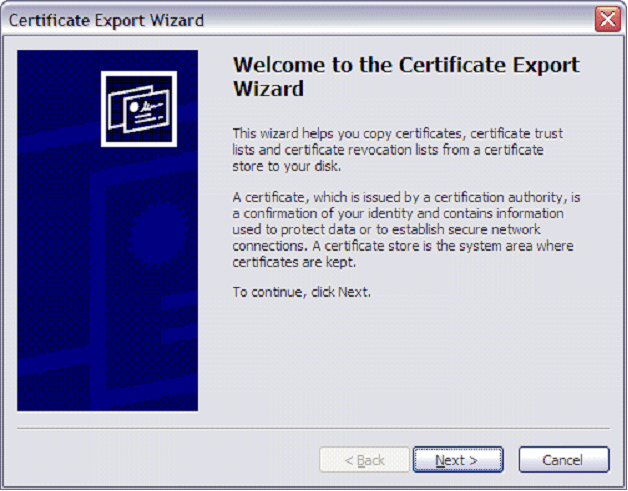 |
| 6. | Click Next. |
| 7. | Select Base-64 encoded X.509 (.CER):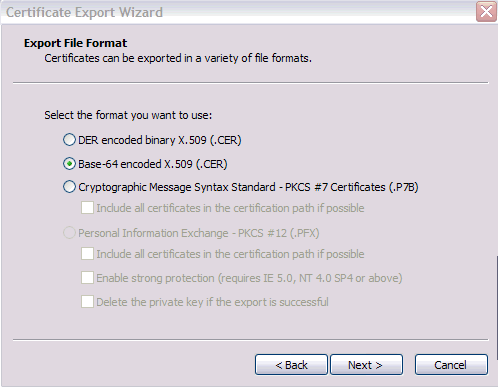 |
| 8. | Specify a file name. You can click on Browse to select the path: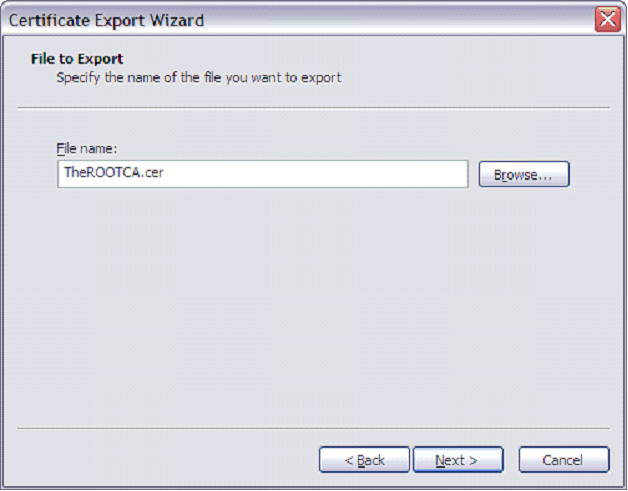 |
| 9. | Click Next. |
| 10. | Click on Finish: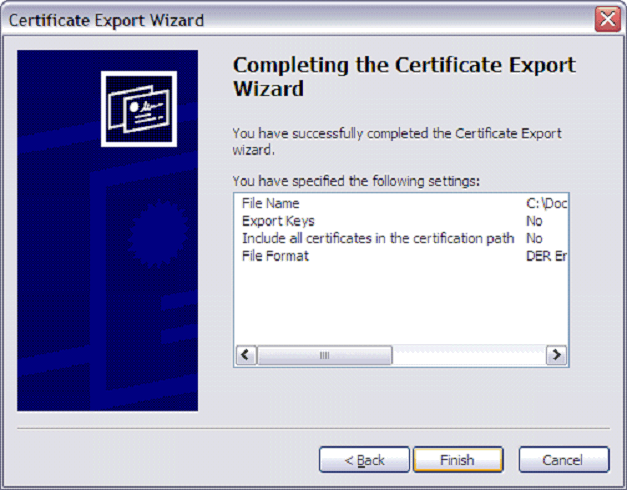 The file with the name and path you specified will be created and you will get a Success message: 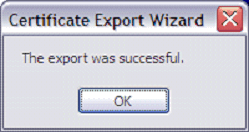 |
| 11. | Move this file to the Integrated File System (IFS) on the IBM System i, and import it as a CA certificate using the following instructions: How to Import a CA Certificate into Digital Certificate Manager |
| 12. | Repeat this process for each intermediate CA certificate in the certification path. |
| 13. | Import the server certificate. |
Historical Number
457540658
Was this topic helpful?
Document Information
Modified date:
18 December 2019
UID
nas8N1014239