Technical Blog Post
Abstract
How to create a shared library and associate it with the application server or enterprise application on WebSphere Application Server
Body
Using the Administration Console, you can set up a shared library with the following steps:
Create a shared library:
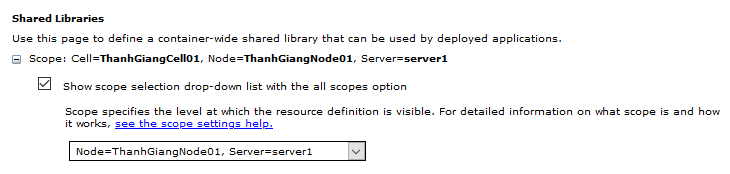
3. Click New and fill out the correct information, including the Name and appropriate Classpath. Click Apply.

NOTE: Select the checkbox "Use an isolated class loader for this shared library" if you want to configure an isolated shared library.
4. Click OK, save the configuration
_____________________________________________________________________________________________________________________
Associating the shared library with the server:
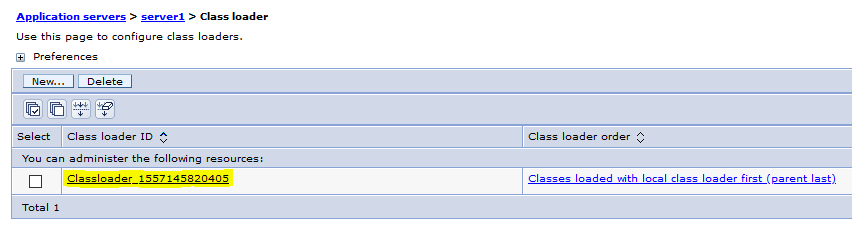
1. Click Servers > Server Types > WebSphere Application Servers > Server_name > Java and Process Management > Classloader
2. Click New.
3. Select the appropriate Classloader order– The classloader order "Classes loaded with parent loader first" is set by default. If you are overriding files that might appear higher in the WebSphere hierarchy, then select Classes loaded with local class loader first (parent_Last).

4. Click OK.
5. At this point, the classloader has been created. Click on the new classloader that has been created.
6. Click on Shared library references under Additional Properties.
7. Click Add.
8. Under the drop-down, select the newly created shared library.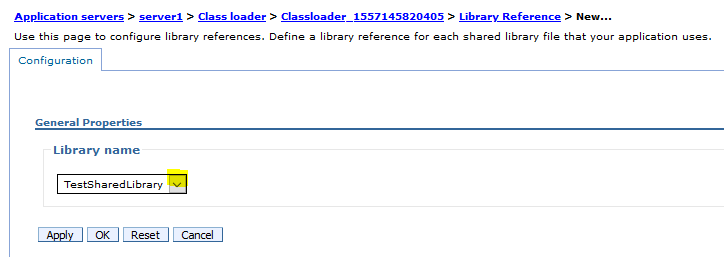
9. The shared library is now associated with the newly created WebSphere Application Server classloader. Click OK, save the configuration, syncNode, and then restart the server for the change to take effect.
_____________________________________________________________________________________________________________________
Associating the shared library with the Enterprise application (EAR) level:

3. Select the newly created library and click on the right arrow to add the shared library to the Selected textbox. Click OK.
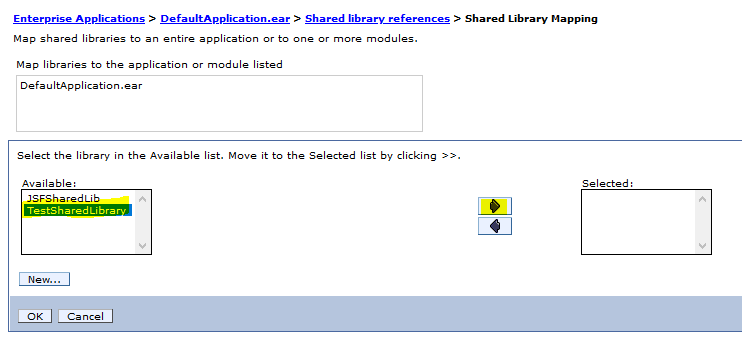
4. The shared library is now associated with the application. Click OK, save the configuration, and then restart the application for the change to take effect
_____________________________________________________________________________________________________________________
Associating the shared library with the Web module (WAR) level:
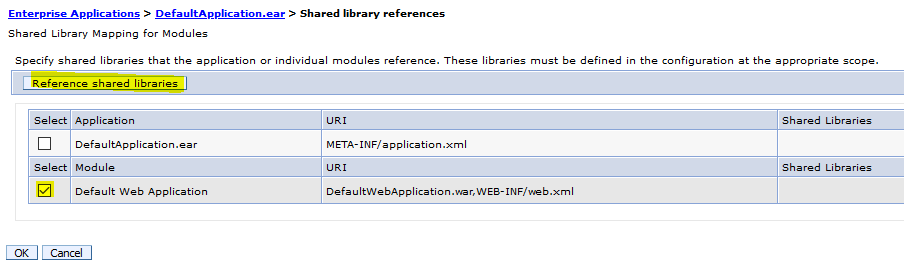
3. Select the newly created library and click on the right arrow to add the shared library to the Selected textbox. Click OK.
4. The shared library is now associated with the web module. Click OK, save the configuration, and then restart the application for the change to take effect.
title image (modified) credit: (cc) Some rights reserved by blickpixel
UID
ibm11080423