Question & Answer
Question
How do you change the MTU of a Host Ethernet Adapter?
Answer
In order to change the MTU of an Host Ethernet Adapter we must first make the change on the HMC gui and then the command line.
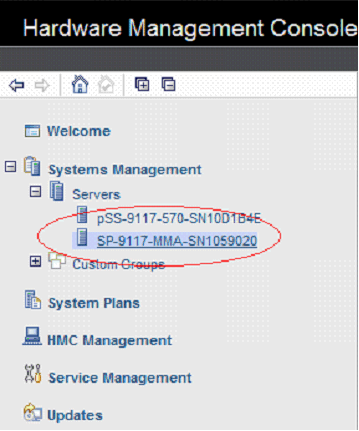
Step1: First on the HMC gui we want to highlight the server on the left hand side.

Step2: We want to go down to TASKS on the bottom right and expand Hardware Information. Then expand Adapters and select Host Ethernet.

Step3: We will select the physical port we want to make the change to and hit configure.

Step4: Next we will see another window come up and here we will change the Maximum receiving packet size to 9000 jumbo frame. Hit OK when your done.

Step5: We will hit ok on this menu as well in order for the change to take affect.

Step6: We will verify and make sure that the MTU size is set to 9000. In order to do that we have to go back and select the Host Ethernet link under Hardware information. Look at step 2 for verification. A window will open up and that should show us the new MTU size on the right hand side.

Step7: We will now open up a terminal window to complete this process. To do this we will select the lpar that the port is allocated to. Now we can do this in two different ways. One way is to open the terminal window from the TASKS section on the bottom. We will need to expand the plus sign for Console Window first. Then we shall click on Open Terminal Window. The second way to do this is by selecting the little arrow next to the LPAR name and highlighting the Console Window. There we can select Open Terminal Window.

Step8: When we make the change on the logical port we have to make sure that the interface of the adapter is not configured or it will give us an error when we try to make the change. In our example we will use ent0.
Type: smitty chgenet and select ent0

Step9: Next we will scroll down to where it says: Request Transmit and Receive Jumbo Frames and highlight it.

Step 10: Hit f4 or esc and 4 to bring up another menu with your options to select. We will select yes from our options.

Step 11: Now we will verify that it is set to yes and then we will hit OK again.

Step 12: Verify that ent0 is set to 9000 mtu. You can do this by typing the following command:
lsattr -El en0
You’ll see on the right hand side it will say: “Maximum IP Packet Size for This Device” with a value of 9000.
Was this topic helpful?
Document Information
Modified date:
17 June 2018
UID
isg3T1011715