Record and import data into the AZUTC006.cbl test case
In the Test Case Editor, you can record data from a CICS application running in CICS, and import the data into a test case, and then generate, build, and run the AZUTC006.cbl test case outside of CICS to see the test results for the imported data.
Recording and importing data
Before you begin
This procedure uses a sample program included with IBM® Developer for z/OS®. It also uses a
z/OS project that was created by the sample setup procedure.
Before using this procedure:
- Set up the sample files by using the instructions in Setup instructions.
- Create/modify a test case for the sample file by using the instructions in Create/modify a test case from EPSCMORT.cbl.
Procedure
-
On the main toolbar, click the
 Record Data button.
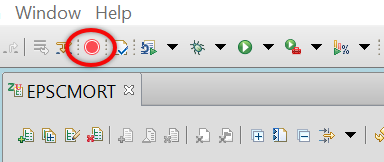 The Record data for the test case window opens.
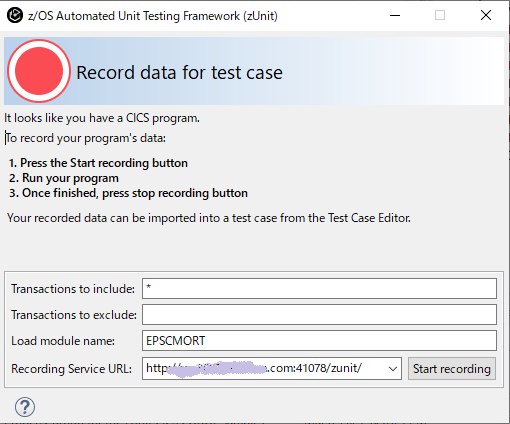
-
Click Start recording.
The
You are now recordingmessage displays in the window.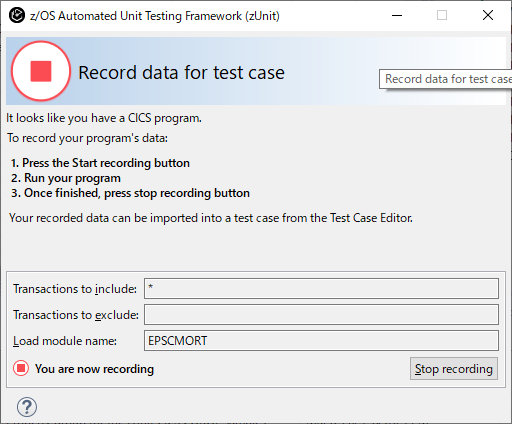 Note: You can close this window during the recording. To re-open it, click theRecord Data button on the main toolbar.
 - Enter the following values for the sample:
- Amount of Loan: 20000000
- Length of Loan in Years: 10
- Interest Rate: 2.5
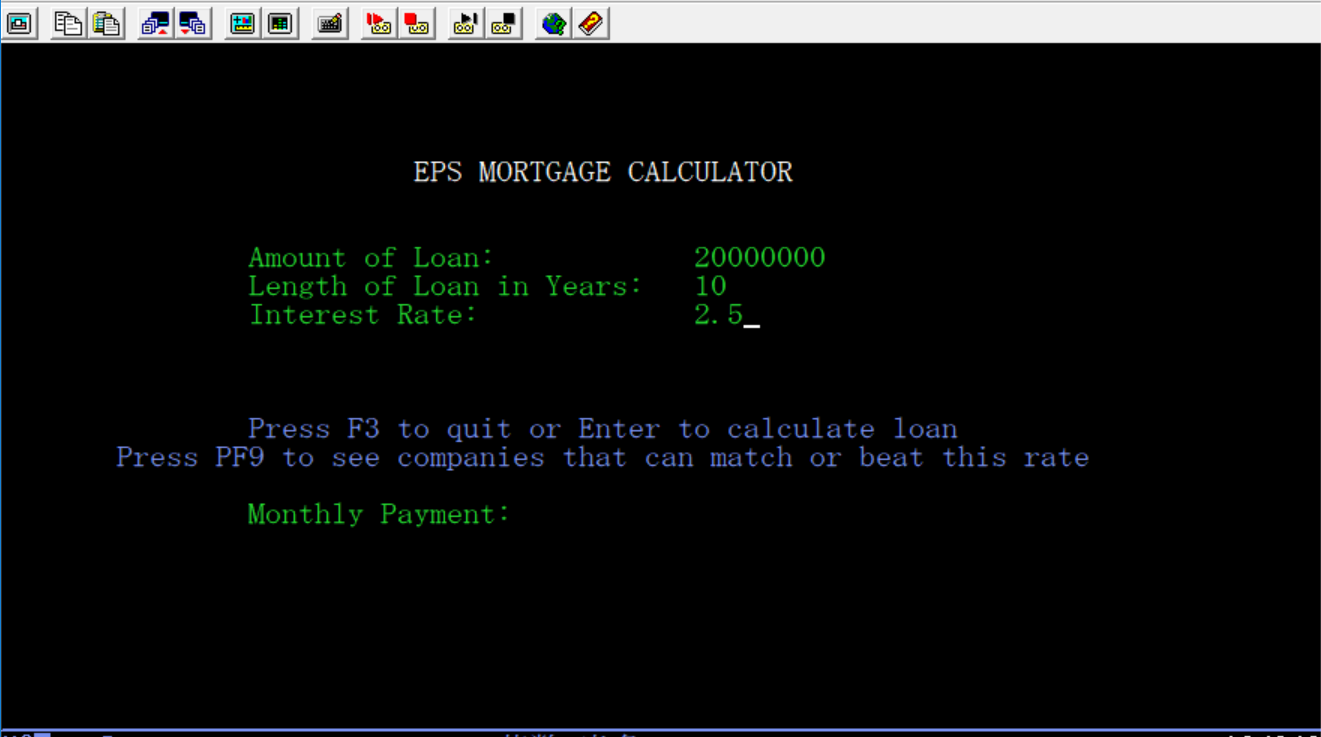
-
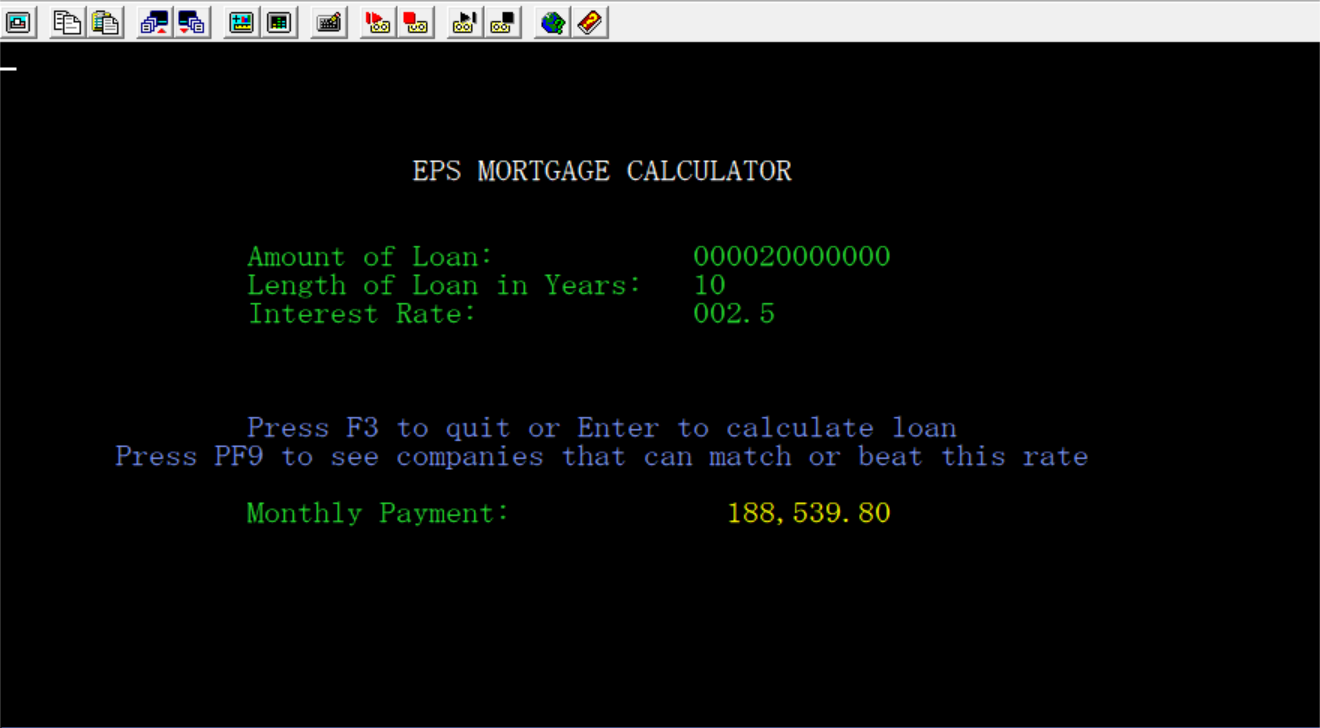
Press Enter. The calculated Monthly Payment from the transaction is displayed in the terminal.
-
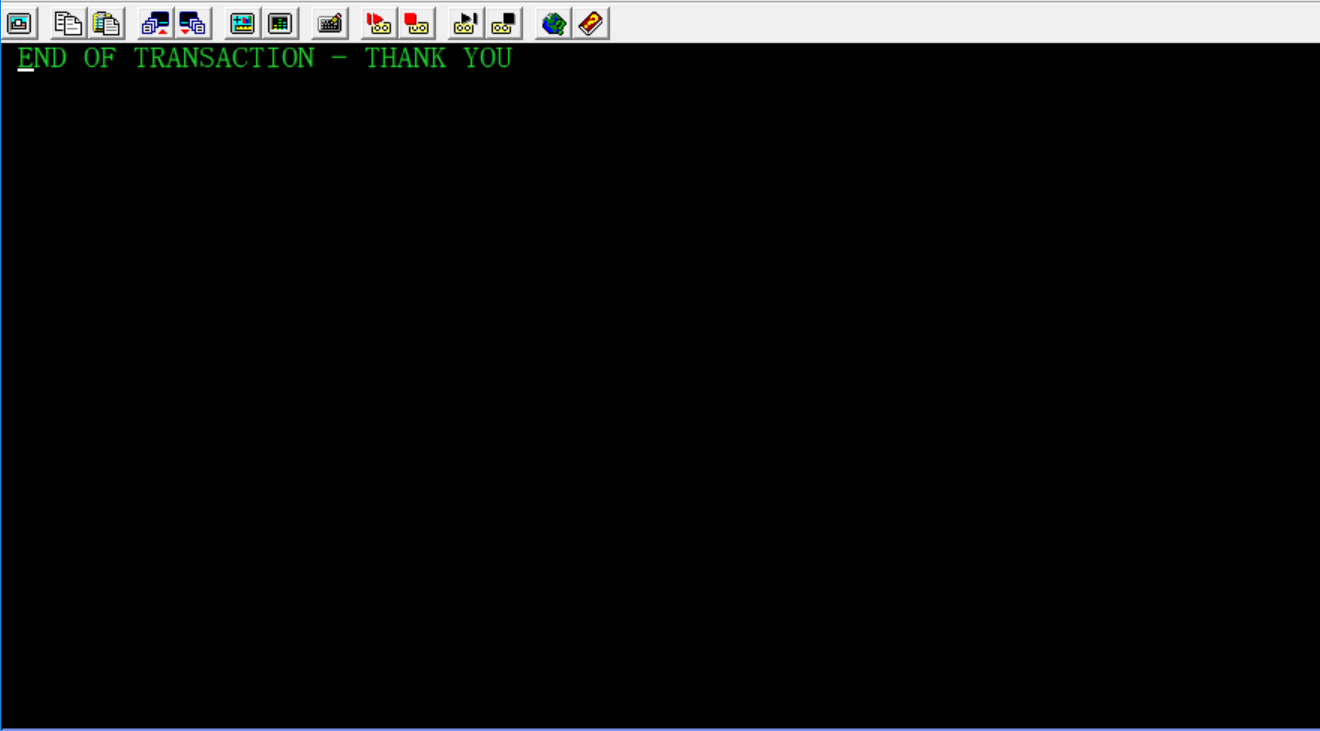
Press F3 to end the transaction.
- In the Export Playback File window, click
Create, and then click Import All.
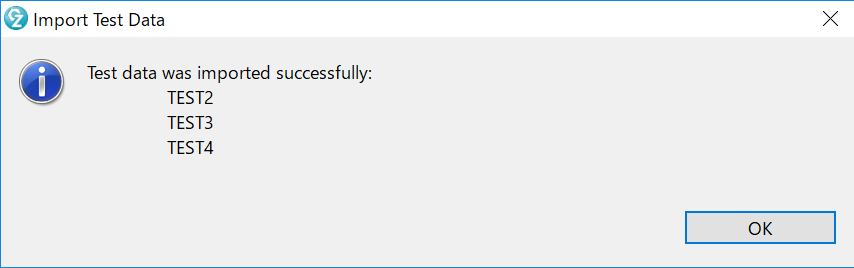
The recorded data for the three conversations are imported as three tests (TEST2, TEST3, and TEST4). A message pop-up is displayed. Click OK to close the message.
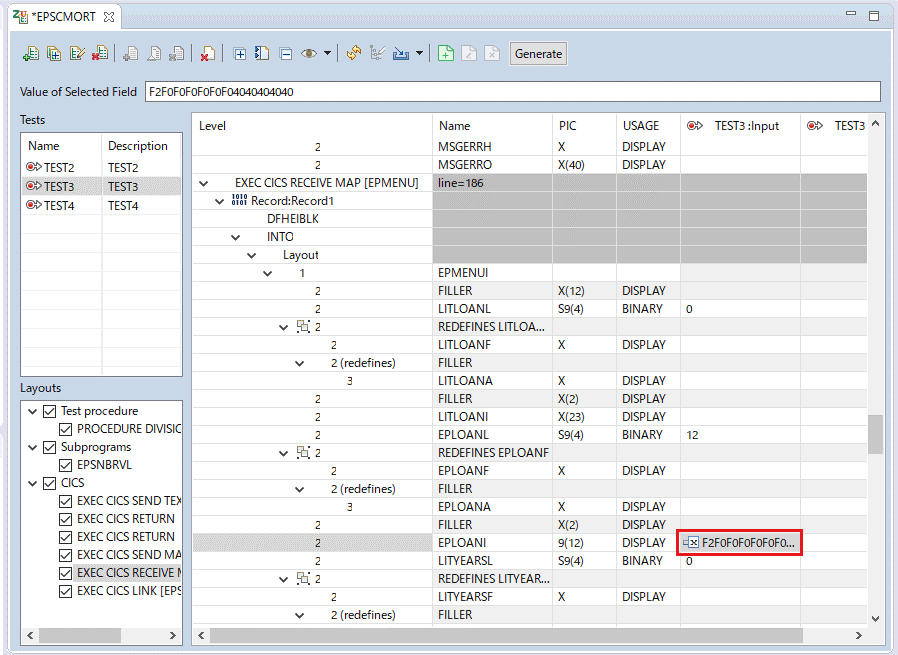
-
In the Tests list, select TEST3, and then, in the
Layouts view, double-click
EXEC CICS RECEIVE MAP.The values you entered are shown as Input to the parameters of the INTO option:- EPLOANI: F2F0F0F0F0F0F04040404040 (hexadecimal data type)
- EPYEARSI: 10
-
Generate the test case program.
-
Click Generate.
 The Test Case Editor prompts you to save your changes.
 -
Click Yes.
The Generate test case programs window opens. You can see the list of the test case and stub programs that ZUnit generates from the source program.
-
Deselect the EPSNBRL subprogram. Leave the Generate test case for main
program box unchecked. Select the Generate test case radio
button.
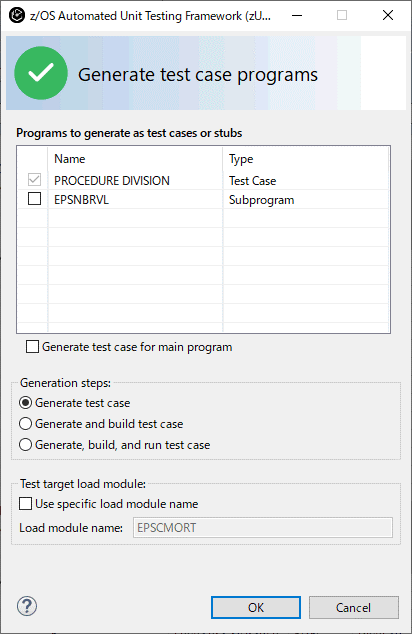
-
Click OK.
ZUnit generates the test case and stub programs to simulate CICS calls.
-
Click Generate.
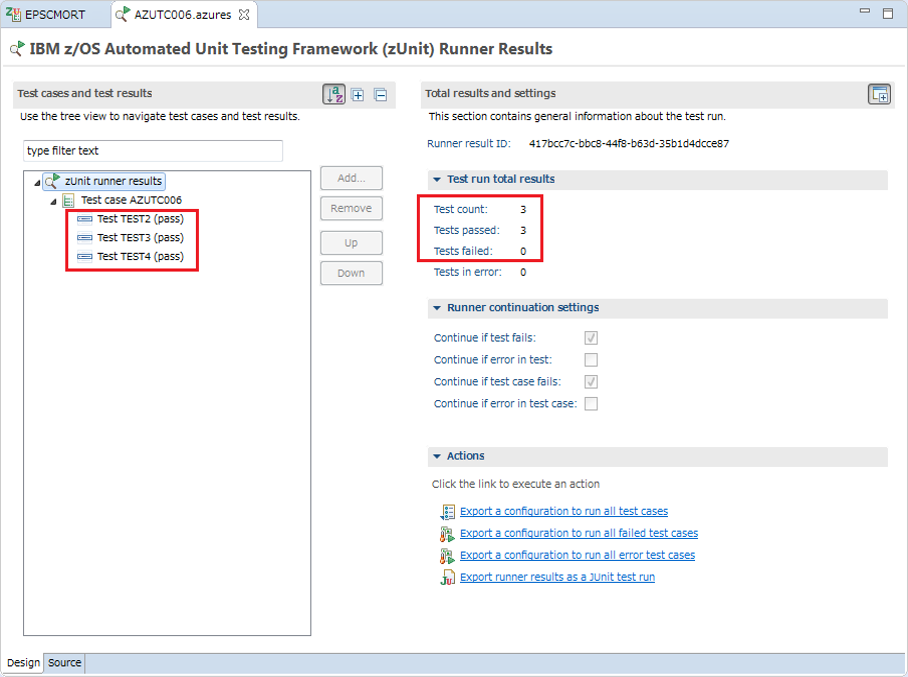
Results
The ZUnit test runner starts and runs TEST2, TEST3, and TEST4. When it completes, the
ZUnit Runner Results view opens and shows that all three tests passed the
run.