subscribe iconSubscribe to this information

Install or replace a model 52x power supply with power on

Learn how to install a second power supply, or replace one of two power supplies present in the system. Use the procedure in this section to accomplish this task.

This procedure is intended to be used with a model with two power supplies. The system power can remain on under the following conditions:
  • When installing a second power supply.
  • When one of the two power supplies present in the system must be replaced.

If your system is managed by the Hardware Management Console (HMC), use the HMC to complete the steps for installing a power supply. For instructions, see Install a feature using the Hardware Management Console.

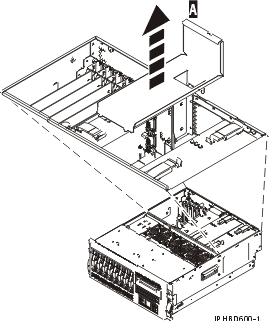
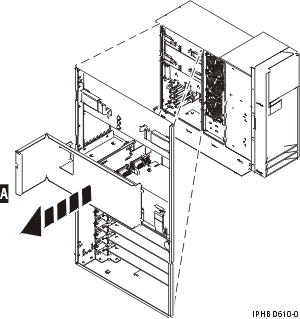
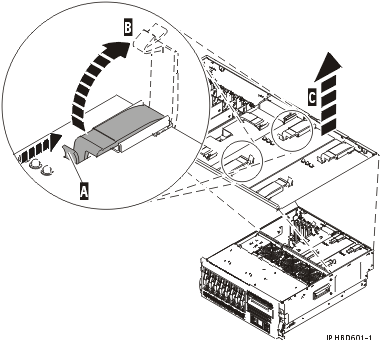
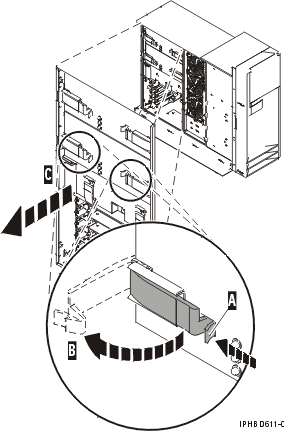
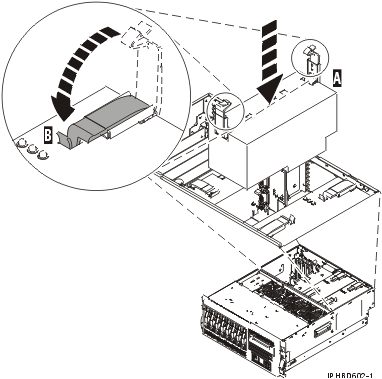
To install a second power supply or to replace a failing power supply when two are present in the system, do the following procedure:

  1. Perform the prerequisite tasks described in Before you begin.
  2. On a rack-mounted system unit, open the back rack door.
  3. If a failing power supply is present, identify the power supply that needs to be replaced. For instructions, see Identify a failing part.
  4. Disconnect the power cable from the failing power supply at the back of the system.
  5. Place the rack-mounted system or expansion unit in the service position.
  6. Remove the service access cover from the model 285, 51x, 52x, 55x, 710, or OpenPower 720.
  7. Ensure that the power supply bay is empty by doing one of the following steps:
    1. Remove the power supply filler A by grasping the handle and pulling the filler inward in the direction of the arrows and then out of the system. Removing the power supply filler from the system unit.Removing the power supply filler from the system unit.
      Figure 1. Remove a power supply filler t
      Remove the power supply filler from a rack-mounted system unit.
      Figure 2. Remove a power supply filler
      Remove the power supply filler from a stand-alone system unit.
    2. Remove a failing power supply by doing the following:
      1. Squeeze the tabs on the power supply handles A as shown in Figure 3 or Figure 4, and then slowly rotate the handles B to the open position to release the power supply from the system. Remove a power supply from the system unit.Remove a power supply from the system unit.
      2. After the power supply is released, use the power supply handles to pull the power supply C out of the system.
        Figure 3. Remove a power supply from a rack-mounted model
        Remove the power supply from a rack-mounted system unit.
        Figure 4. Remove a power supply from a stand-alone model
        Remove the power supply from a stand-alone system unit.
  8. Open the power supply handles located on the top of the new power supply. Replace the power supply in a system unit.Replace the power supply in a system unit.
  9. As shown in Figure 5 or Figure 6, grasp the power supply handles and carefully insert the new power supply A into the power supply bay.
  10. Slowly press the power supply into the system. The power supply handle tabs will snap into place, which indicates that the power supply is seated correctly and locked into position B.
    Figure 5. Install a power supply in a rack-mounted system model
    Install the power supply in rack-mounted system unit.
    Figure 6. Install a power supply in a stand-alone model
    Install the power supply in a stand-alone system unit.
  11. If you are installing a second power supply feature, plug the second power cable into the back of the new power supply. If you have just replaced a power supply, reconnect the power cable to the new power supply by routing it through the ring, if provided, before you plug it into the back of the server. For an example, see Figure 2 in Replace the model 9116-561 or 570 power supply with power on.
  12. Connect the power source to the system.
  13. Note the state of the light-emitting diodes (LEDs) on the power supply. For more information, read Power supply LEDs. If the LEDs indicate the power supply is operating normally, that is both of the green LEDs are on solid (not blinking), continue to the next step. If not, remove the power supply from the system and repeat the procedure starting with step 9. If, after repeating the procedure, the power supply is not operating normally, contact your service provider.
  14. Replace the service access cover. For instructions, see Install the service access cover on the model 285, 51x, 52x, 55x, 710, or OpenPower 720.
  15. If you are working on a rack-mounted system unit, ensure that the system cables are routed correctly through the cable-management arm.
    Figure 7. Cables routed through the cable-management arm
    Graphic of cables routed through the cable-management arm.
  16. If you have a rack-mounted system unit, Place the rack-mounted system or expansion unit in the operating position.
  17. Reconnect the cables at the back of the system.
  18. On a rack-mounted system unit, close the back rack door.

Send feedback | Rate this page

Last updated: Fri, Oct 30, 2009