Defining a regular service level agreement job
After your MongoDB instances are listed, select and apply an SLA policy to start protecting your data.
Procedure
-
Select the MongoDB instance to back up all
the data in that instance.
Figure 1. MongoDB Backup pane showing instances 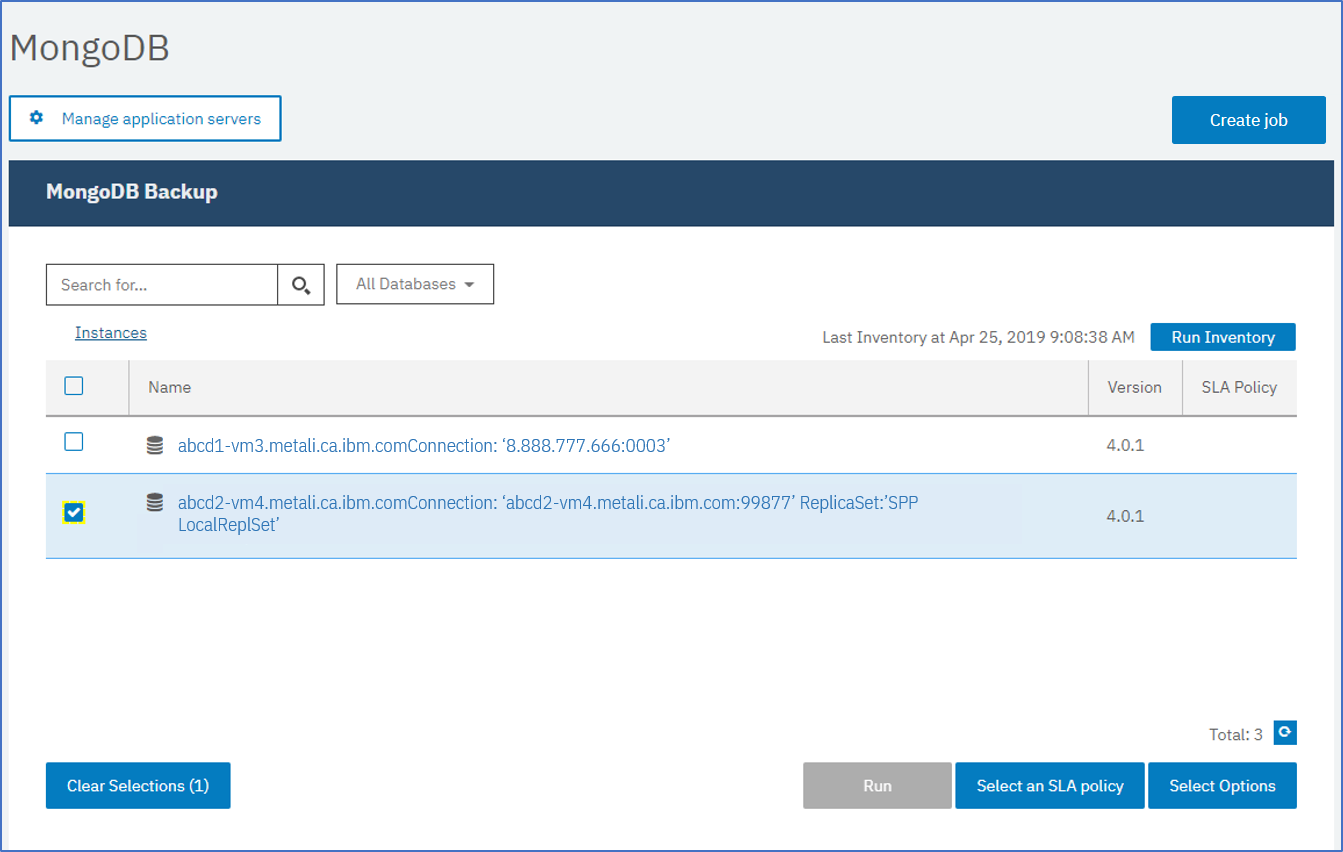
- Optional:
To enable multiple backup streams to reduce the time that is taken to back up large databases,
click Select Options and enter a number of parallel streams. Save your
changes.
Figure 2. Backup options and SLA Policy Status 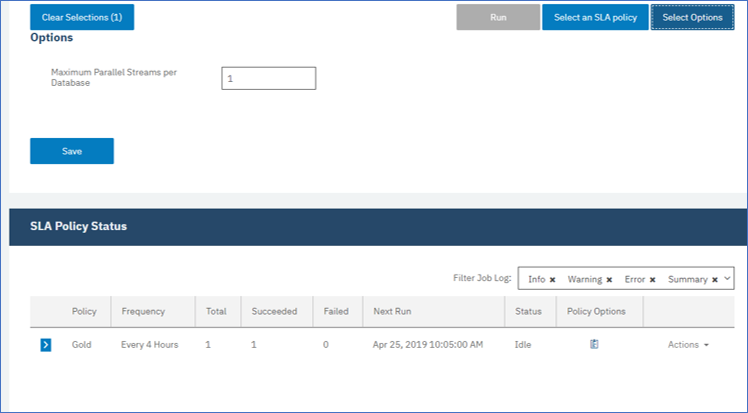
What to do next
After the SLA policy is saved, you can run the policy at any time by clicking
Actions for that policy name, and selecting Start. The
status in the log changes to show that the backup job is in the Running state.
To cancel a job that is running, click Actions for that policy name and select Cancel. A message asks whether you want to keep the data that is already backed up. Choose Yes to keep the backed up data, or No to discard the backup.