Creating and editing Actions
You can add new actions that can be accessed from the Actions widget.
About this task
You can also edit existing actions.
You can set the display order of actions in this window by dragging the action to the wanted location, or by using the associated arrow icons.
Procedure
To a create a new action, complete the following steps:
- If you have selected Open URL, specify a name for the link in the
Action Label field, and enter the full URL including the protocol in the
URL field. When the URL has been added to the widget, clicking on it opens a
new browser window with the specified URL.

- If you have selected Custom Query, complete the following steps. A
Custom Query is a collection of a number of individual queries.
- For a Type Query, select a business model type from the Type
list.

- For a Custom Query, type the XPath for the query in the XPath
field. For more information, see XPath function reference. You
can use substitution parameters in your XPath query; specifically, you can specify the
current logged in user with ${currentUser} and the current time, in milliseconds since Jan
1st 1970, with ${currentTime}.

- For Type Queries, you can restrict the query to specific States, Classifications, and
Properties. The query returns objects that match one of the States specified, one of the
Classifications specified, and one of the Property expressions specified. To restrict
queries, complete the following instructions:
- To add one or more states, click the '+' icon in the States
column to open the Add States list. Select the states from the
Add States list. The selected states are displayed in the
States column in the table. To remove a state, click the remove
icon next to it.

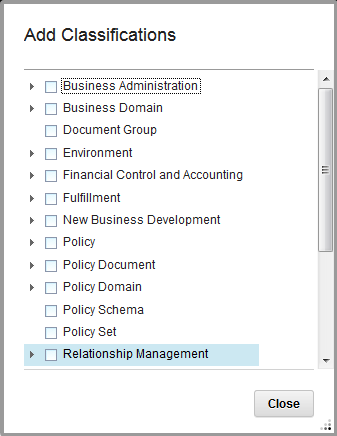
- To add one or more classifications, click the '+' icon in the
Classifications column. Select the classifications from the
Add Classifications list. The selected classifications are
displayed in the Classifications column. To remove a classification,
click the remove icon next to it.
- To add a property expression, click the '+' icon in the
Properties column. Select the property to apply the expression to,
and the expression that needs to be applied. Click Add. The
expression is displayed in the Properties column. To remove a
property expression, click the remove icon next to it.

- To add one or more states, click the '+' icon in the States
column to open the Add States list. Select the states from the
Add States list. The selected states are displayed in the
States column in the table. To remove a state, click the remove
icon next to it.
- To edit custom queries, click the XPath in the table to edit the XPath query.

When the Custom Query is clicked in the Actions widget, these queries are executed and the results are aggregated and displayed in the Service Registry Collection widget.
- For a Type Query, select a business model type from the Type
list.
Example
