Creating Pulsar RUM applications and jobs
The NS1 Connect RUM-based traffic steering solution leverages real user monitoring (RUM) data collected and aggregated from private or community resources to optimize application delivery across complex globally distributed networks.
Similar to other types of data sources and feeds on the NS1 Connect platform, a RUM application represents a group of resources being measured. Each application has one or more associated jobs (similar to data feeds) representing a single resource (CDN, data center, cloud, and so on) being measured. You can connect each job to the relevant metadata fields within the DNS answers corresponding to that endpoint to ensure NS1 Connect can access the latest RUM data when making traffic routing decisions.
If using community RUM data from the top CDNs and cloud services, the applications and jobs are typically created for you by IBM support during initial implementation. If you are collecting RUM data from private resources, you may need to create the application and jobs manually. If you need help, contact IBM support.
Procedure
Complete the following instructions to configure a RUM application and its associated jobs in the NS1 Connect.
- Click .
- Click Create Pulsar application.
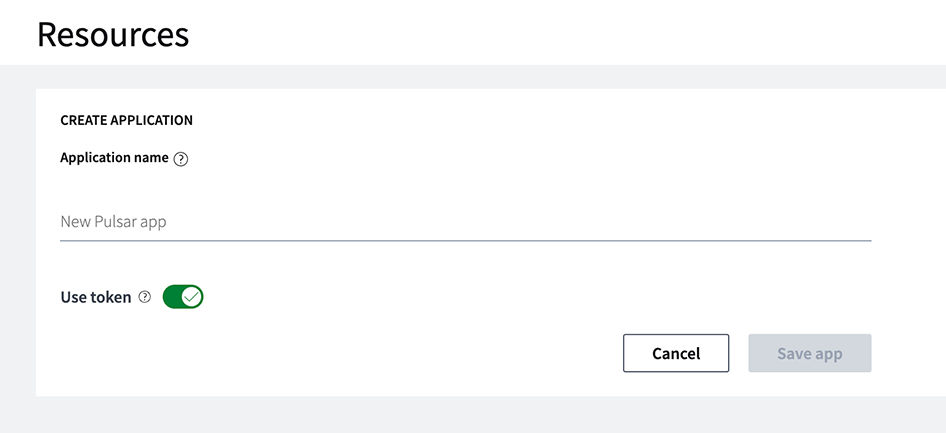
- Enter a name for the application for internal reference.
- Optionally, if beaconing data, enable or disable the Use token option to require a signature on beaconed data.
- Click Save app.
- Optionally, click the pencil (edit) icon next to the application name you created to adjust the advanced configuration settings like Browser wait time, Jobs per transaction, and more. In general, NS1 Connect recommends that you do not modify the default settings unless absolutely necessary.
- Next to the application you just configured, under Resources Job list, enter a name for the first RUM job for internal reference. Remember that each job is associated with one measured endpoint or asset, so use a name that makes it easy to identify which endpoint the job represents.

- If using a JavaScript tag to collect RUM data, enter the domain and path of the hosted asset. Do not include the schema (
http://orhttps://) in this field. If you are beaconing telemetry to NS1 Connect as your method for RUM data collection, leave this field blank. - Click the Advanced configuration drop-down arrow to view additional options.
- Select the job type depending on your implementation method.
- Select JavaScript if using an embedded tag to collect RUM data from your private resources.
- Select Bulk beacon if you are beaconing existing telemetry to NS1 Connect.
- Optionally, enable Shared data to share telemetry with other NS1 Connect customers. Contact IBM support to learn more about this setting.
- If necessary, adjust the default settings for the job under Job default overrides.
Attention: It is highly recommended that you do not adjust the default settings for a job unless instructed. If you override these settings to clash with the overall application defaults, you may cause issues when the job runs.
- Click Save job.
After creating the job, complete the following instructions if you selected JavaScript as the job type and plan to embed the provided tag into your web properties to enable RUM data collection.
- On the Resources page, locate the application and jobs you just created and click Copy JS tag to clipboard.
- Copy the JavaScript snippet and paste it into the
<head>sections of the HTML files on your web properties.