Configuring by using IBM AD Configuration Wizard

About this task

IBM® AD Configuration Wizard helps to easily configure the Application Discovery servers, databases, and components, without the need to manually update the configuration files.
Important:
  • IBM AD Configuration Wizard is available only for clean installations, where the configuration of all IBM AD components is currently done without using IBM AD Authentication Server (DEX). To simplify the configuration process, all IBM ADDI components must be installed on the same machine.
  • If you use Db2® for z/OS, you must manually create the Audit database before you run the IBM AD Configuration Wizard or define a relational database server against Db2 for z/OS®. For more information, see IBM AD Web Services Prerequisites.

Procedure

  1. If during the installation process of the IBM ADDI application, the IBM Application Discovery Configuration Wizard check box was selected, the IBM Application Discovery Configuration Wizard page will open in the system's default browser after the installation is completed.
    Notes:
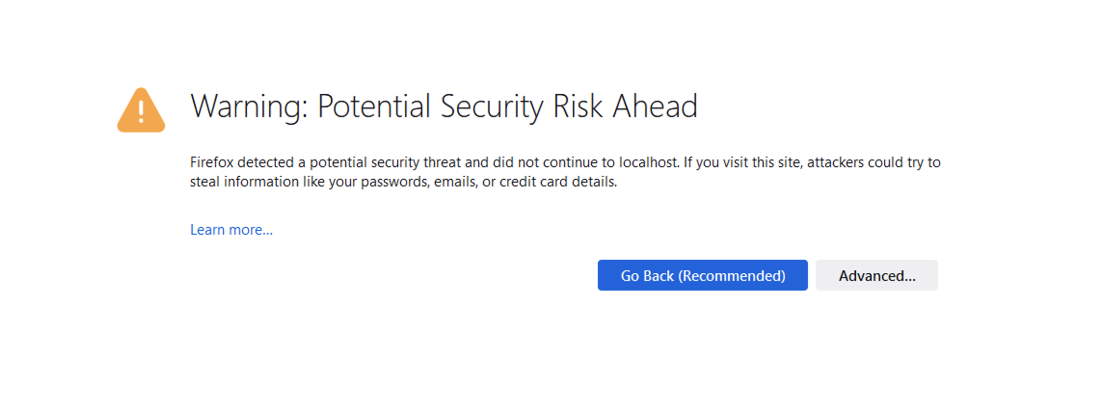
    • Due to that self signed certificates are used by default, you are alerted with a warning message in your browser that is similar to the following example. You need to accept the security risk before you continue. To remove the warning, you can upload your own certificates and turn on Security > HTTPS through your browser settings.
      Security warning message example.
    • If you need to use IBM Application Discovery Configuration Wizard to perform the initial setup at a later time, access https://localhost:9443/ad/admin/setup. It is recommended to use IBM Application Discovery Configuration Wizard only once, right after the installation process of IBM ADDI product is completed.
      Note: In case that you cannot access https://localhost:9443/ad/admin/setup, as an alternative, you may access http://localhost:9080/ad/admin/setup.
    • IBM AD Configuration Wizard is now multi-language ready. Once you access its web interface, you can select the language menu from the upper right corner and choose one of the available languages. The entire configuration process will be displayed in the selected language.
  2. On the Welcome page, click Get Started!.
  3. On the General Settings page, perform the following actions:
    • Select the Encoding. The default value of the encoding that is used in the source files is windows-1252. If necessary, the encoding can be changed. For more information, see https://www.iana.org/assignments/character-sets/character-sets.xhtml.
    • Select or enter the IP address of the machine where the IBM ADDI product is installed.
    • In the Ports section, all default ports are present. If needed, the ports can be changed.
    • In the Create Environment section, enter the name of the environment or you can leave it as Default.
      Note: When a new environment is created, a default workspace is also created and automatically attached to the new environment. The default workspace is where all IBM AD Build projects are available.
  4. On the Paths page, enter the following information:
    • Default projects path - enter the path where all mainframe projects will be stored.
    • Path for the retrieved members - enter the path where source code files that are automatically downloaded from Mainframe systems (by using IBM AD Connect for Mainframe) will be stored.
    • z/OS Configurations path - enter the path where all z/OS configurations will be stored.
    • Manual Resolutions path - enter the path where all journal files will be stored.
    • Search indexes path - enter the path where all indexes will be stored.
  5. On the Relational Database Server page, enter the following information:
    • Server name - enter an appropriate name (alias) for the relational database server.
      Note: For a Db2 for LUW (Linux, UNIX, and Windows) database server, the server name must follow the general Db2 object naming rules. This alias will be used to catalog Db2 for LUW server node into local node directory in case that you decide automatically create the databases within IBM ADDI (Project database, Cross Service database, Annotation database).
    • Select database server type - Select the appropriate relational database type. If you select the IBM Db2® for z/OS option, the Storage Group field is displayed as optional. In the Storage Group field, specify the storage group that is configured for AD on the Db2® for z/OS® server.
    • Host - enter the IP or the hostname where the relational database server is installed.
    • Port - enter the relational database server port. The default port for SQL Server is 1433.
    • Instance/location (optional) - If Microsoft SQL Server was selected as database server type and multiple instances are installed on the same machine, enter the required relational database server instance name (if exists).
    • Username and Password
      1. For Microsoft SQL Server instance enter the username and password for the IBM AD SQL Identity as previously defined in Microsoft SQL Server Configurations.
      2. For IBM Db2 for z/OS instance enter the username and password as previously defined in IBM Db2 for z/OS Server Configurations.
      3. For Db2 for LUW (Linux, UNIX, and Windows) instance enter the username and password.
    Important:
    • For Microsoft SQL database server and IBM Db2 for z/OS database server, you can test your database by clicking Test Connection. If the test connection succeeds, click Next.
    • For a Db2 for LUW (Linux, UNIX, and Windows) database server, Test Connection is optional. After you fill in a database name, the Test Connection button will be enabled. If your specified database does not exist in the Database Server, you can click Test Connection to verify if the database creation prerequisite is met programmatically by trying to create the database temporarily.
  6. On the Database Names page, enter the following information:
    Note: The names of the databases need to respect the database name restrictions that are in place on the type relational database server (SQL, Db2®) that was associated.
    • Enter the Annotations Database name and schema name.
    • Enter the Audit Database name.
    • Enter the Cross Analysis Database name.
  7. On the Graph Database Server page, set a new password for GraphDB Server's root user and confirm it.
  8. On the Batch Server page, the following information is available:
    • Projects - the asterisk * means that all projects are considered for this service.
    • Components - represents a list of component names that are initially selected for this service.
      Note: Additional components can be considered for this service. For more information, see the Additional Components table.
  9. On the Health check page, follow the instructions, check the box, and click Next.
  10. On the Summary page, click Commit.
  11. When the configuration is successfully completed, click Done

Results

You are redirected to the new IBM AD Configuration Service page from where you can perform the Advanced Configurations.