Retrieving Source Code Information
About this task
Warning: Before you retrieve the source
code information, you must configure the z/OS® connection. If you associate the z/OS connection to a project only
but you do not configure it, then you cannot retrieve the data.
This step reads the contents of the sources (either auto-discovered or manually added) configured as presented in Configuring the z/OS Connection.
Goto IBM Application Discovery Build Configuration, select
Projects tab, then select the project, then select the z/OS node, and then right-click to display the menu.
Note: You can run this
operation on several projects simultaneously through several z/OS connections. Select all the z/OS connections that
you want to use (several connections that are defined for the same project or for different
projects) then right-click to display the menu and select the scanning operation that you want to
apply. If the scan operation cannot be completed on one or more of the selected z/OS connections, a warning message is displayed but the scanning operation
continues for the rest of the selected connections. Also, for each z/OS connection a dialog box offers the possibility of individually selecting the libraries to
be scanned.
Procedure
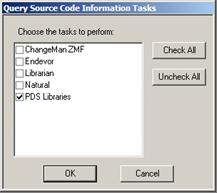
- Select the Retrieve Source Code Information option to display the
following window: If libraries are found on the remote computer, a list of libraries that are automatically discovered are presented.
 To scan the libraries added manually, select the Manual Selection option. The list is updated to present only those libraries. Select the libraries that you want to include in the scanning process, then press Scan. Alternatively, you can manually add a library to the list.
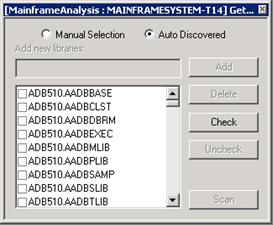 Note: The Delete option becomes available if you select a manually added library.
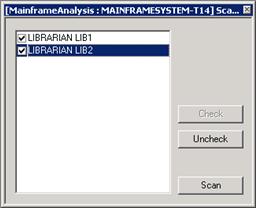
 - If the Scan Librarian Libraries option
is selected, the scanning window is displayed.
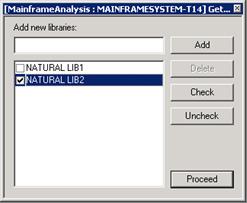
- If the Scan Natural Libraries option is selected, the scanning
window is displayed. From the list, select the Natural libraries that you want to scan, then click Proceed. Alternatively, you can use the Add new libraries field to add new libraries to the list of existing ones.
 Connect for mainframe brings information about the following Natural entities:The information refers to last update date, version, and user name.
- Natural Library
- Natural Member