Creating a base image for the Windows Bulk Provisioning Tool
Create a base image from an ISO file for the Windows Bulk Provisioning Tool.
Before you begin
Notes:
- Ensure that the Windows device that is used to create the OS image or the SelfExtractingOA.exe executable file with the Windows Bulk Provisioning Tool is not MDM-enrolled.
- Administrators must avoid enrolling the same device that was used to create the SelfExtractingOA.exe executable file with the Windows Bulk Provisioning Tool.
- Make sure that you have a copy of the Windows ISO file on a removable drive.
Procedure
-
Log in to the Windows machine and click the
Search icon on the taskbar. Follow the steps.
- Type Turn Windows features on or off and then select that item.
- Select and enable Hyper-V.Note: If you cannot locate Hyper-V on your machine, make sure that hardware virtualization support is turned on in the BIOS settings.
- Save the BIOS settings and then start the machine normally.

-
Create a Windows virtual machine and then follow the
steps.
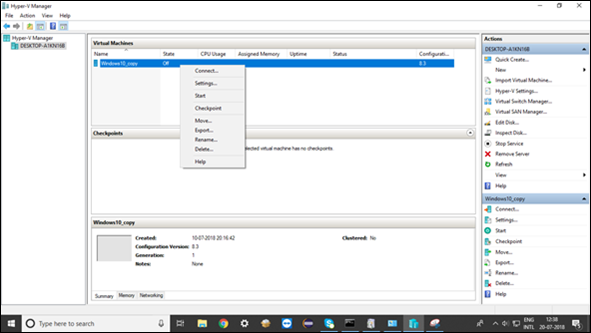
- Open the Hyper-V Manager. From the right side of the Actions pane, select and then provide a name for the virtual machine such as Windows 10_copy.
- Start the wizard from .
- Choose the adapter that you want to use and then select a default switch.
- Select the location for the VHDX file, install the operating system, and click Finish.
The virtual machine is created and the operating system is installed on the machine. You are prompted to start the virtual machine.


-
Select the location of the VHDX file that you created in step 3 and click
OK.
Reserved disks are created on the machine at F:\ and G:\.

Results
Your removable drive contains the new ISO file that you can now deploy to all machines. The ISO file is the base image that is created with the Windows Bulk Provisioning Tool.