Authorizing a message
To improve security and reduce the likelihood of errors, some messages must be authorized. Authorization entails reviewing the contents of a message and either accepting or rejecting it. Such messages are stored in queues of purpose Authorize or Confirm.
- On an Authorize queue, the last user who modified or authorized a message is excluded from working with that message. A different user has to authorize it. A workflow that requires two consecutive authorization steps will ensure that two different users accept the message, and the last editor cannot be the first to accept it.
- On a Confirm queue, each message can be authorized by any user with the required rights, including the user who submitted it for confirmation.
If the information presented in the message list is sufficient to make the decision, the action Accept or Reject can be selected directly from the pop-up menu, as shown in Figure 1. Otherwise, the message has to be opened first. It will be displayed in a formatted view in read-only mode, as shown in the next figure.
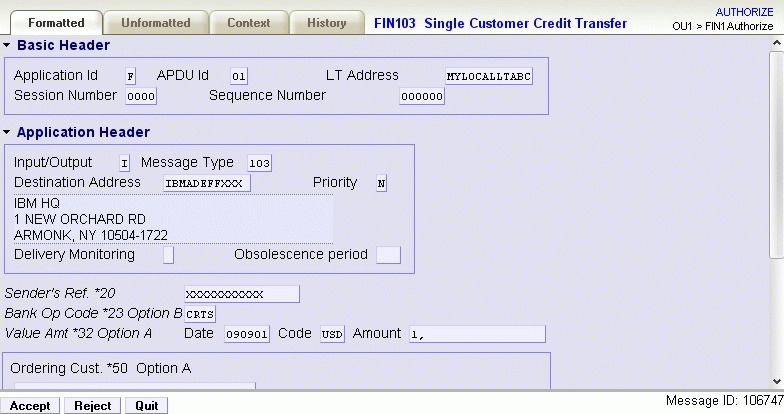
Use the Accept button to authorize the message, or the Reject button to decline authorization. If you want to add a comment about your decision, switch to the context view and update the user comment before accepting or rejecting the message. This can be used for example to give a hint why the message was rejected to the next user/action in the workflow. The comment might also hold information for you, from a previous user in the workflow.