Creating a SWIFTNet FIN message

If you have access to a Create queue, you can enter a new message either directly by selecting the type of message, or, if the template administrator set up templates, by selecting the template as starting point for the new message. The type of message to be created depends on its message domain.

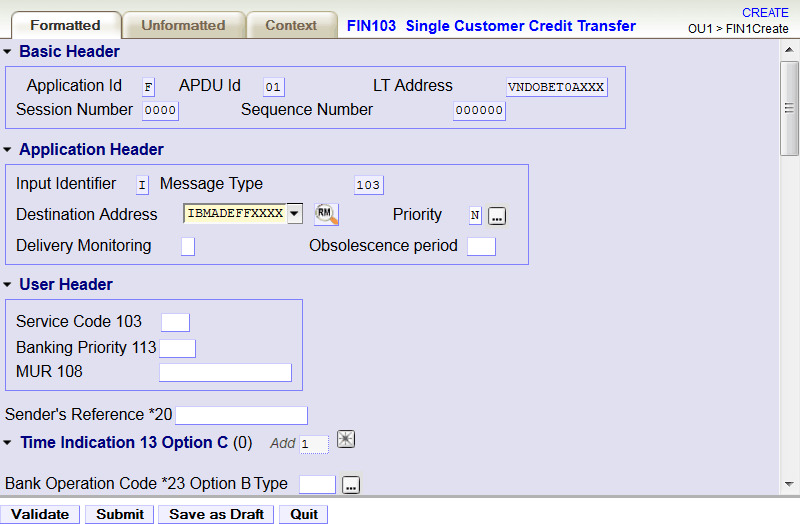
To create a SWIFTNet FIN message:

  1. On the MER page, select an OU and the Create queue into which the created message is to be placed. The Create Message page is displayed. This page lists the message domains for which you are authorized on the selected queue.
  2. Choose the DNIFIN message domain for the new message. The page displays the sender selection.
  3. Choose one of the senders. The page displays the message definition set selection.
  4. Select the message definition set. The message types included in this message domain and the selected message definition set are displayed. The list includes only those message types to which you have access. The page is updated as shown in Figure 1.
    If a test message definition set was configured, it is marked in the list using an italic font, the identifier (Test), and a different background color.
    Tip: Create a bookmark in your browser for the message types that you use often.
  5. Click the collapsed and expanded symbols to expand and collapse the message type sections as needed.
  6. Click the type of message to be created, for example FIN103. Figure 2 shows the input panel for that message type.
    Note: The message domain, sender and message type cannot be changed during subsequent message entry steps.
  7. Enter the necessary data. Which fields are required and the values they can have is determined by SWIFT specifications.
  8. If your system is configured to perform relationship management (RM) checks for the current queue, the button RM query button is displayed next to the destination address. This button is enabled when a BIC8 is entered. When clicked, information about whether the relationship management authorisation for the correspondent is available is displayed.
  9. When you are finished, click Validate (to validate the message) or Submit (to validate the message then submit it for further processing according to the implemented business workflow). If the message requires an RMA authorisation, validation includes checking whether the RM data store contains it.
Figure 1. Selection of a message type
Figure showing a selection of a message type
Figure 2. Input panel for a FIN103 message
Figure showing Input panel for a FIN103 message