Technical Blog Post
Abstract
Introduction to the feature of IBM Tivoli Maximo asset topology viewer
Body
(if you find this article is cut off on the right margin, try to switch your browser to chrome and try again)
Introduction
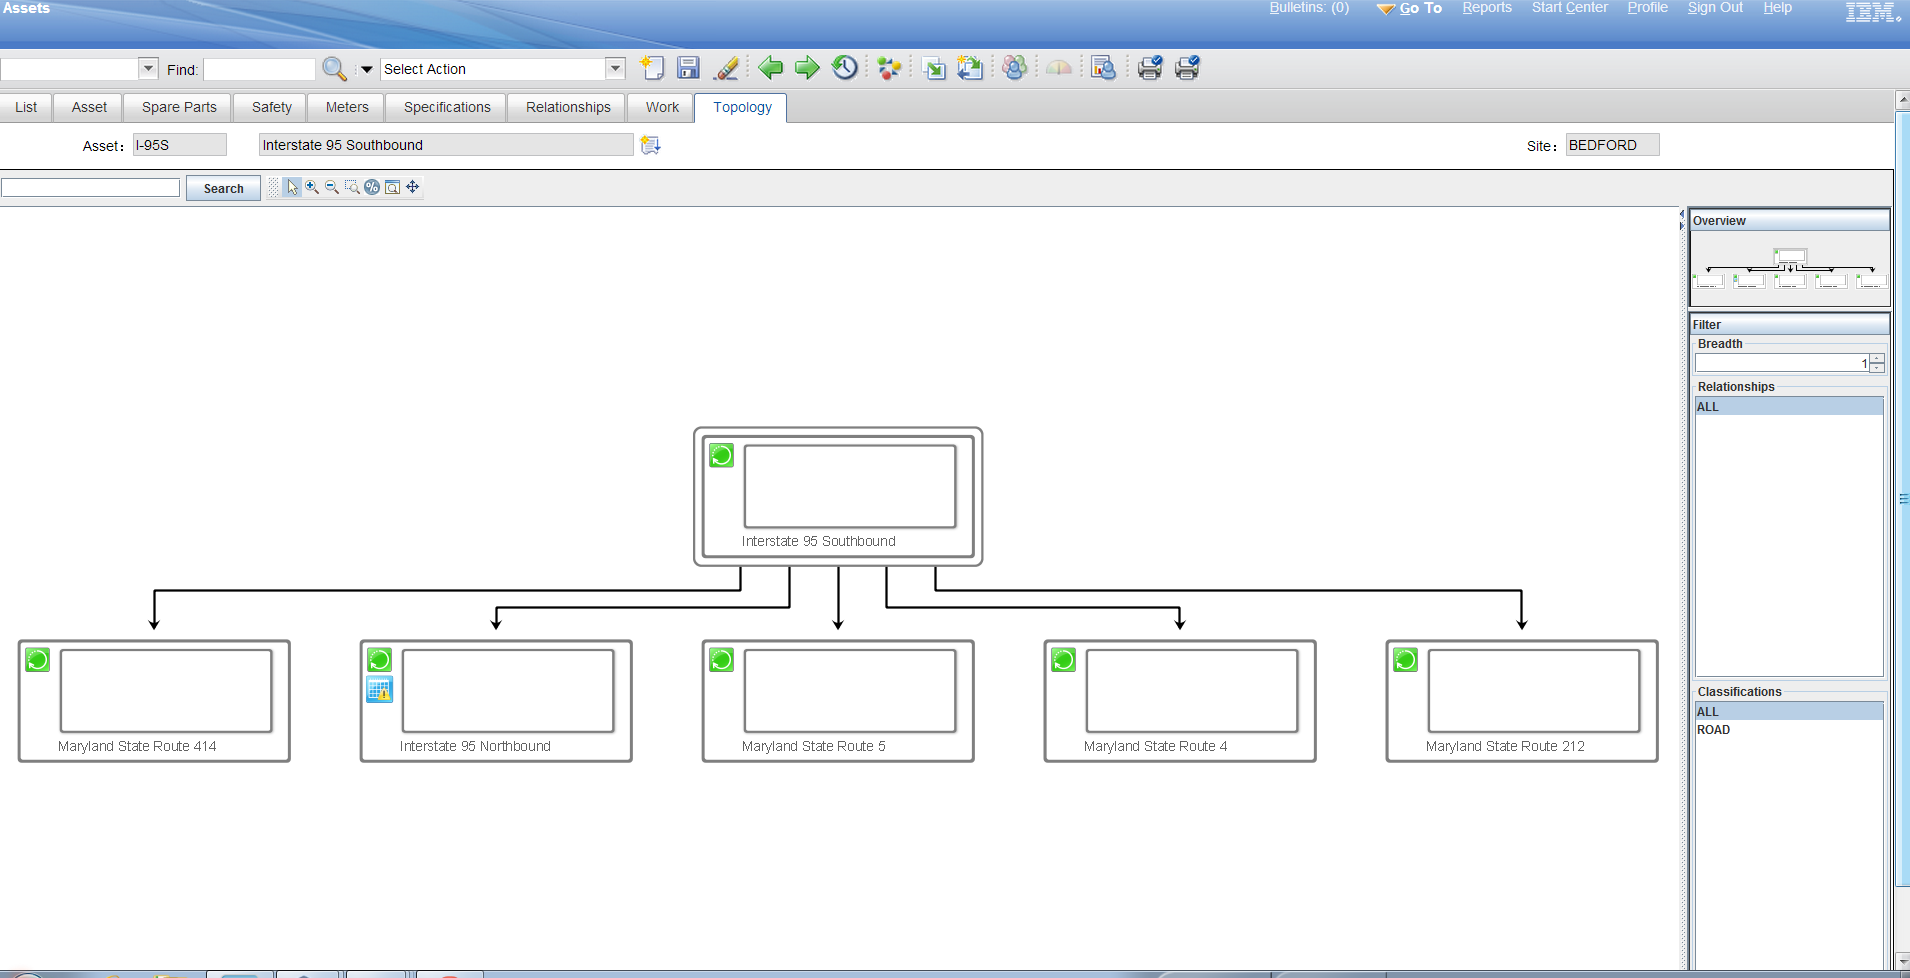
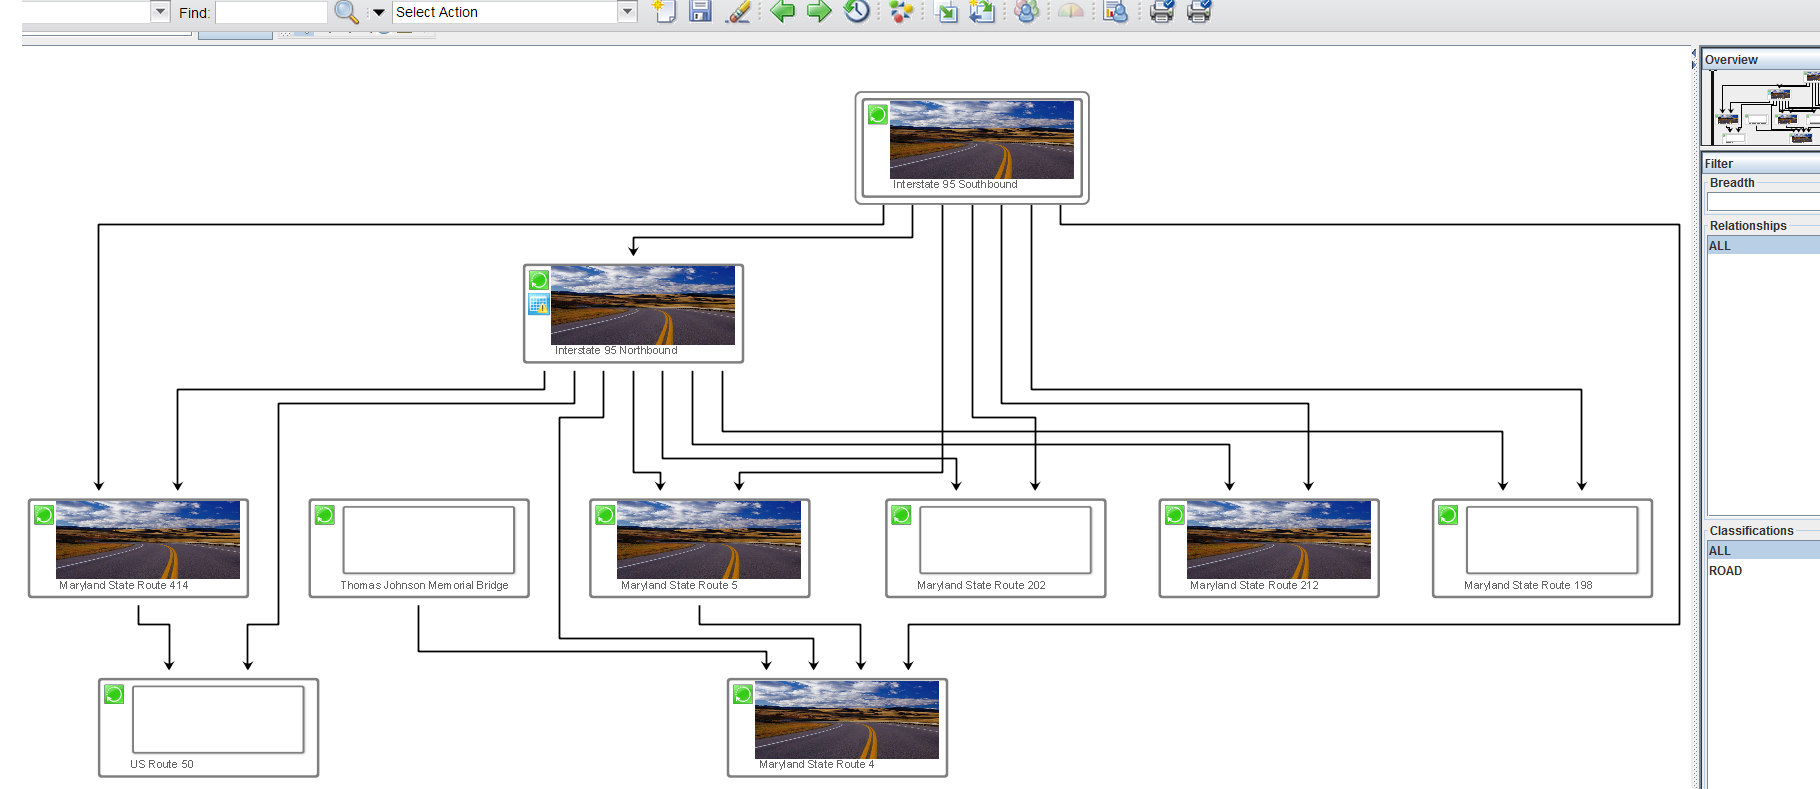
From maximo version 7.5.0.0+, a new feature was introduced, called asset topology, which is to visually demonstrate the user-defined relationships between the assets stored in the maximo database. Here is what asset topology looks like:
How To Setup Topology?
Now that you have seen visually what topology looks like, let see how to set up your own topology. Note that there is "Topology" tab in the demo canvas, where is the place to hold your topology. However this tab is not automatically configured being shown up by default. Follow the following steps to setup your own tab.
(1) Navigate to maximo app of "Security Groups"
(2) Drill into "MAXADMIN" group through list tab selection.
(3) Click "Applications" tab, Click "Assets" in the action section.
(4) Click "Filter" in the bottom section, input "topology" in the Description filter box, there will be a sigoption called "Topology Viewer Presentation" , CHECK THIS SIGOPTION AND SAVE.
(5) Repeat Step 4, for another sigoption called "Relationship Tab".
(6) logout maximo and login back again, navigate into any asset, make sure no other users are logged in at the same time. You should see "Topology" tab.
(7) Click the topology tab, you should see the canvas is showing up with all the related assets in the canvas. There is only one standalone asset if the asset has no pre-user-defined relationship with other assets. If there is java reminder to install/run jre plugin, just go ahead and install/run it.
Tips: The first time you try this, it might take a while to download libraries from maximo server, bear with it and wait until the necessary libraries are downloaded properly. If you see the blue canvas, then try to switch to another asset to activate the topology applet.
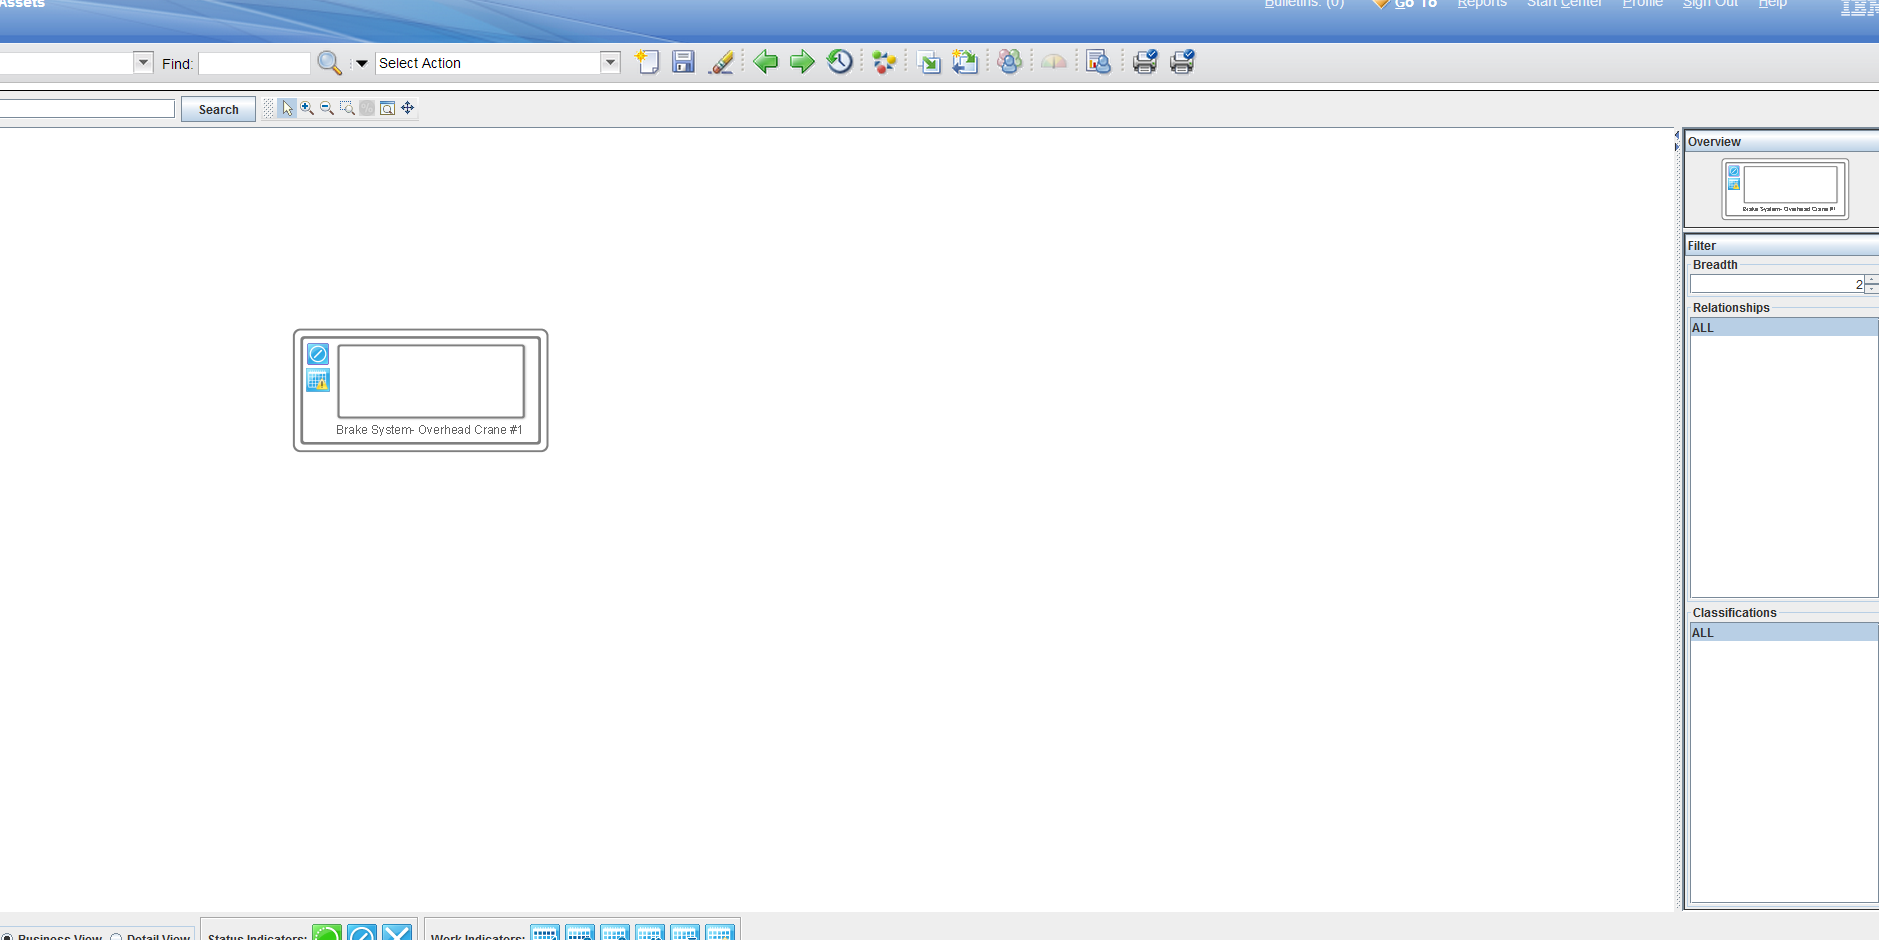
If everything is going smooth, you should see such topology that has one asset in it at least.
Where the topology data from?
There are two topology views,
(1) Business View
(2) Detail View
User may select his own view by clicking the radio button on the lower left corner of canvas. The business view is based upon the data from table ASSETTOPOCACHE, Detail View is based upon the data from table ASSETLOCRELATION.
User needs not worry about data in ASSETTOPOCACHE, because they are all built automatically through the cron task, AssetTopoCacheCron, every 15 minutes by default.
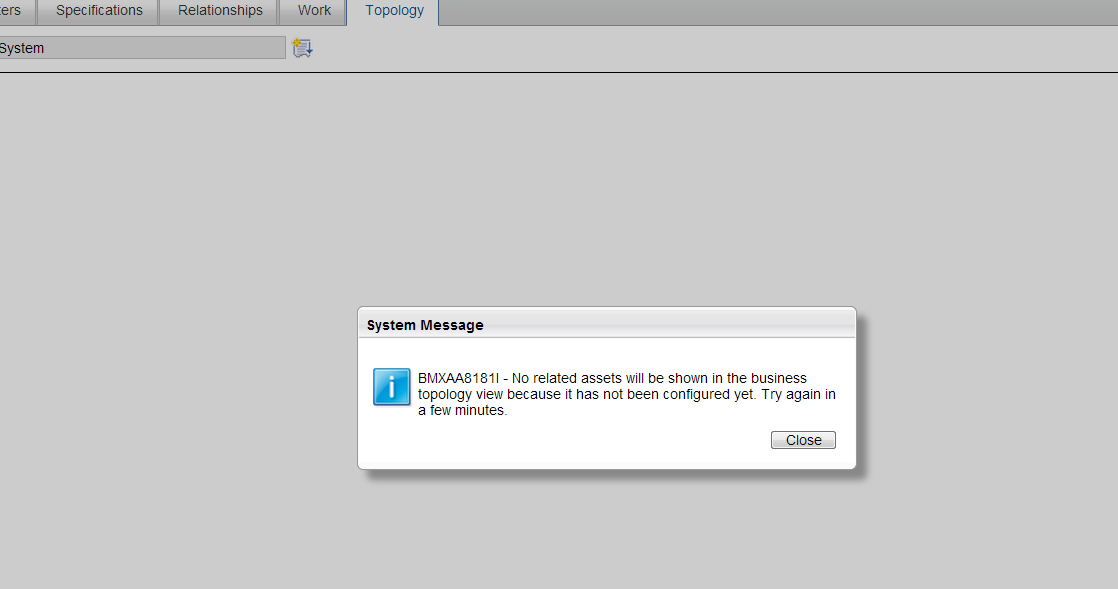
In the middle of transitional building period, there is small chance that such error message as below will possibly appear. Don't get panic as you see such error, it will disappear after a while as the back end cron task accomplishes its job.
Enterprise users need to setup the data in ASSETLOCRELATION table by using the UI tab of "Relationship", where you may CRUD various user-defined relationships between various assets.
Configure MouseOver
In the activated topology viewer, if you stop your mouse on the asset, there will be a mouseover tooltip. This tooltip is including these info by default:
* Asset Number
* Status
* Classification
* Description
* Location
* Priority
Maximo topology module provides user to configure these list on his own desire. In asset app, follow these
/Select Action/Configure Topology Viewer/Asset Summery View/
A dialog will show up, you may add/delete your own fields.
Maximum Node Capacities
Maximo has the following three system properties
mxe.assettopology.depth = 5
mxe.assettopology.init = 2
mxe.assettopology.maxnodes = 200
with its default values.
Based upon the capacity of enterprise user's machine, these properties can be adjusted through
/Got To/System Configuration/Platform Configuration/System Properties/
Upload Your Own Asset Image To Maximo Server
By default, asset has shown as no image included. However, maximo assets can be associated with images. Each asset belongs to a specific classification. Of course, multiple assets may belong to the same classification.
Follow these steps to upload your own image into a classification:
(1) Apply the mouse over the assert, get the classification from the popup tooltip box.
(2) Go to the maximo classifications app, /Go To/Administration/Classifications, input the classification id into the filter search box, search and locate the classification you just got from step (1).
(3) Click action drilldown menu, select "Add/Modify Image", then you should see such dialog box:
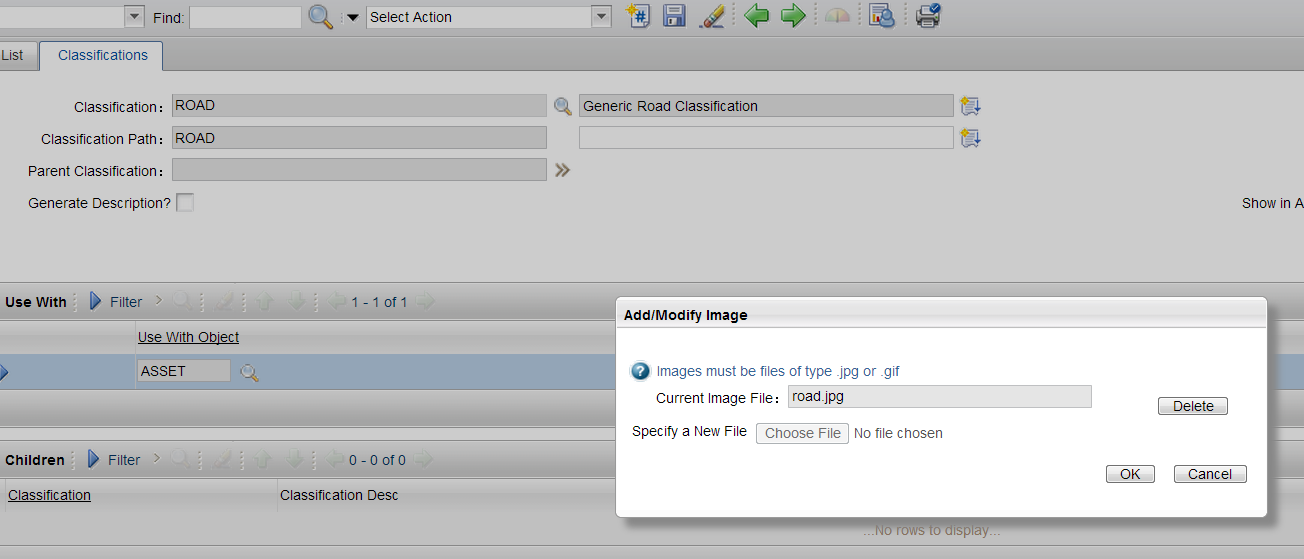
(4) Upload the image by click "Choose File" button, and following the selection routine and click ok to upload.
Note: Delete the current image if it is existing.
(5) Navigate back to asset app, and bring up the topology again, at this moment, you should see the image included within all assets belonging to the classification you just added the image, as follows:
Note: Only are the JPG and GIF images allowed.
References
Thanks to following links:
UID
ibm11133307