Technical Blog Post
Abstract
Installing Maximo 7.6 on Red Hat Linux 6.6 (Part three of three)
Body
Continuing from here.
Back to the Configuration Tool screen. Now, configure a new deployment.
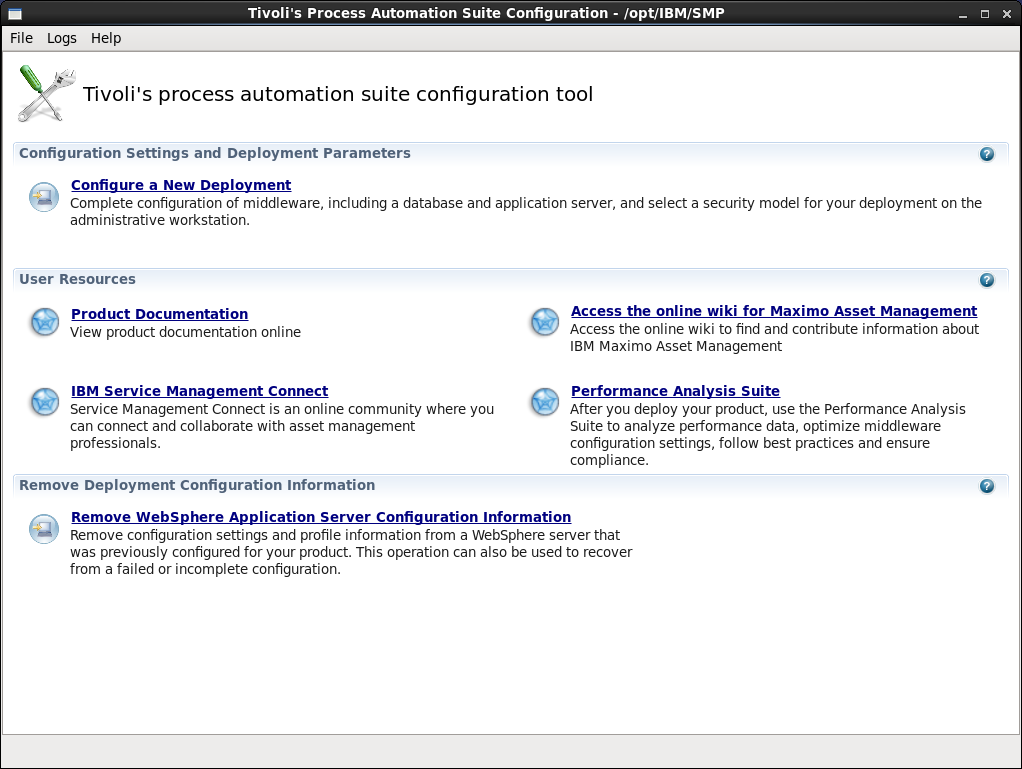 Clicked on Configure a new deployment
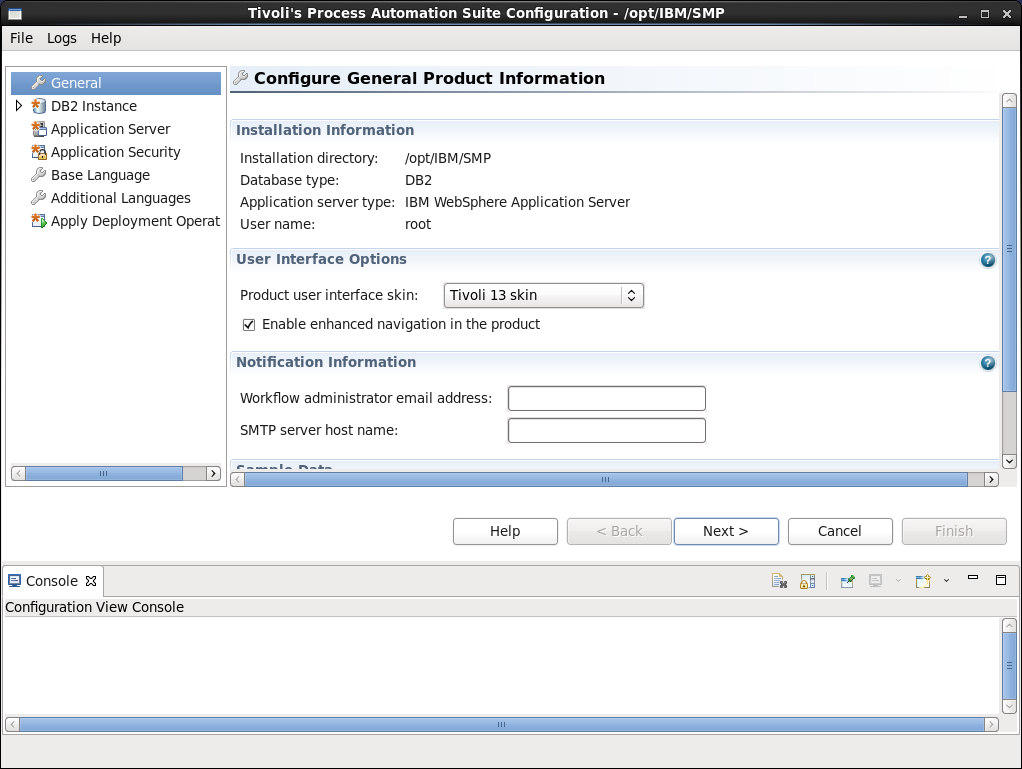
Configure general production information... You can (but are not required to) enter the workflow administrator email and SMTP server name here. Click Next.
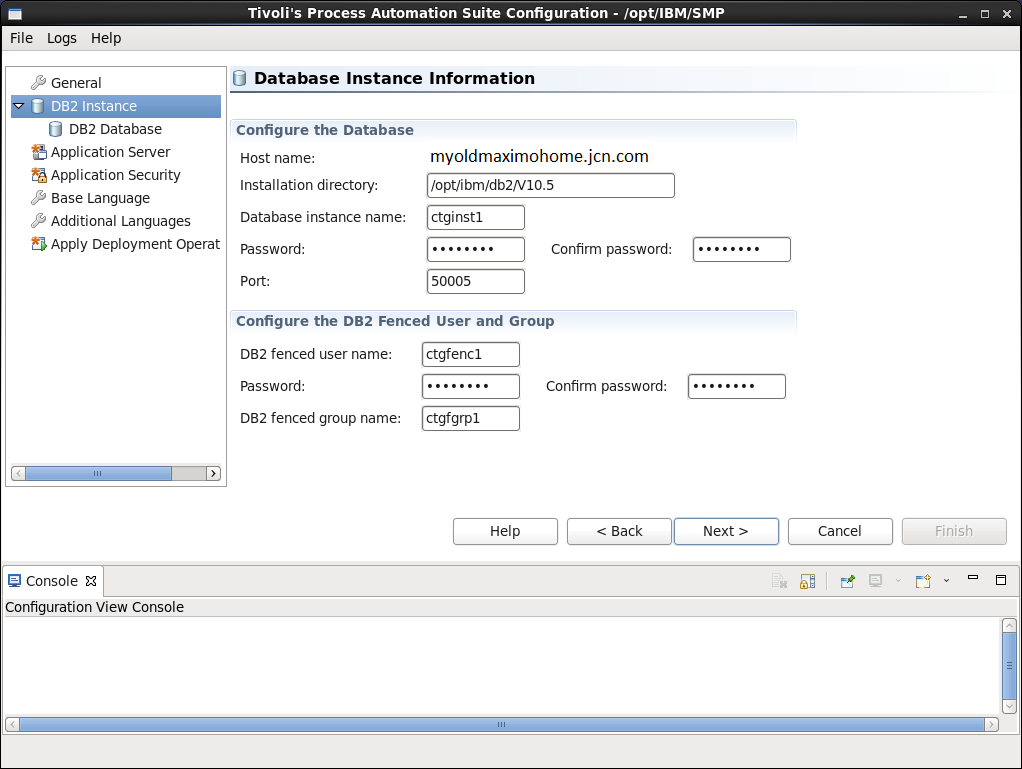
Configure the DB2 instance. Click Next.
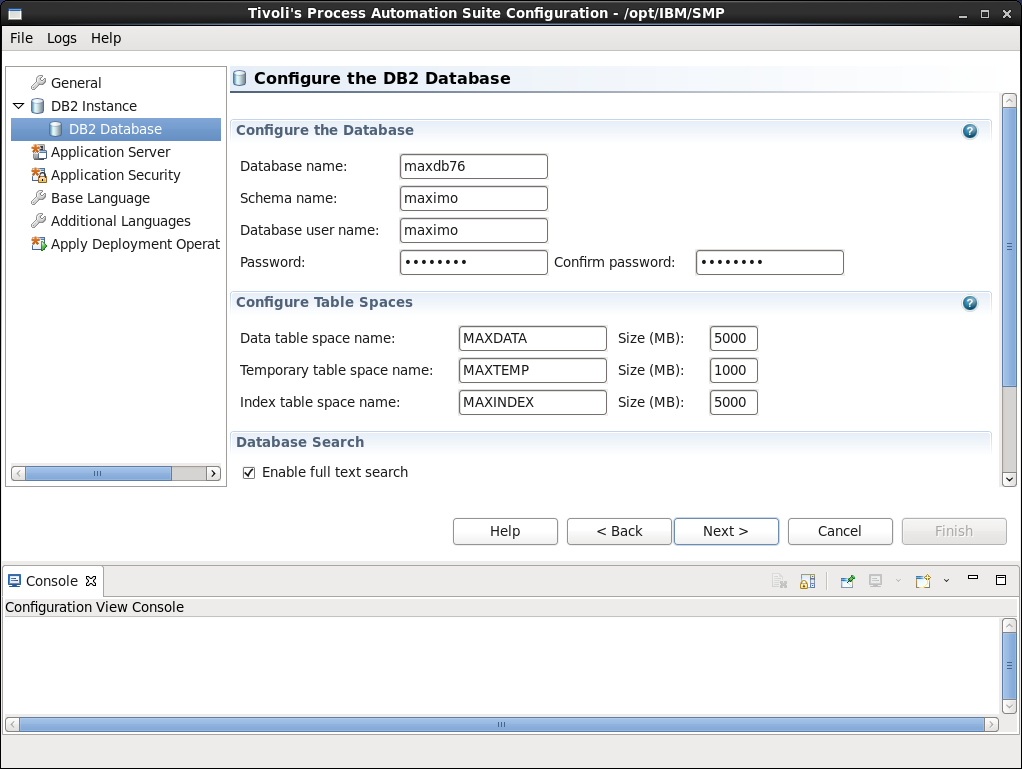
Configure the DB2 database. I enabled full text search here. Click Next.
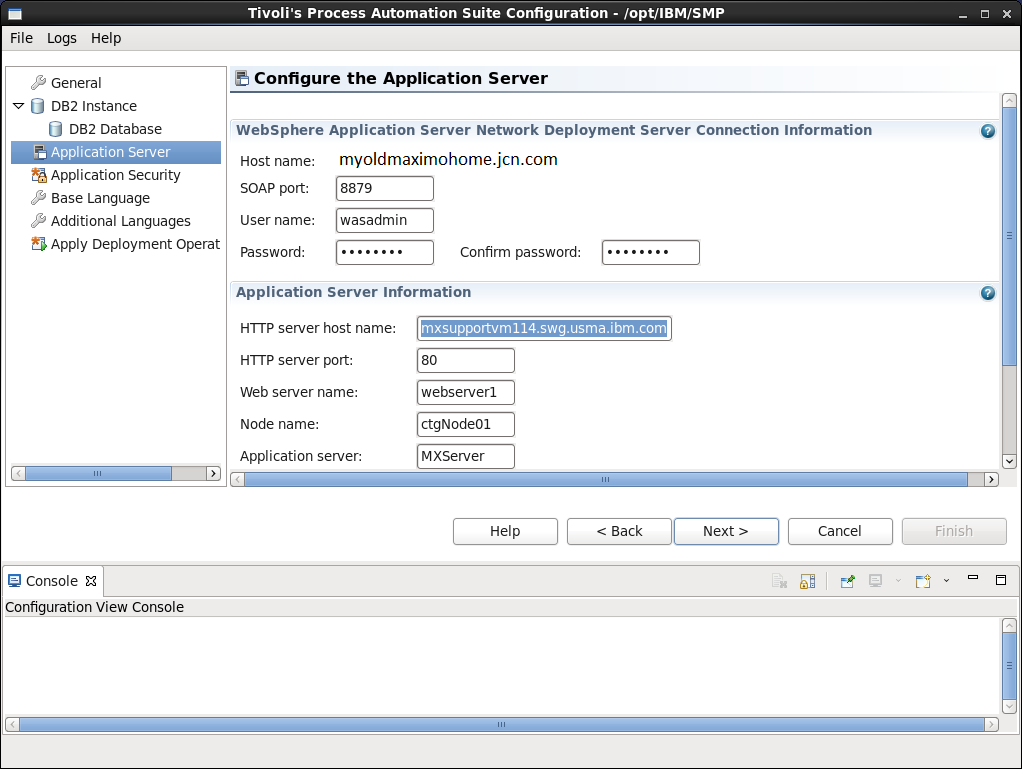
Configure the Application server. Click Next.
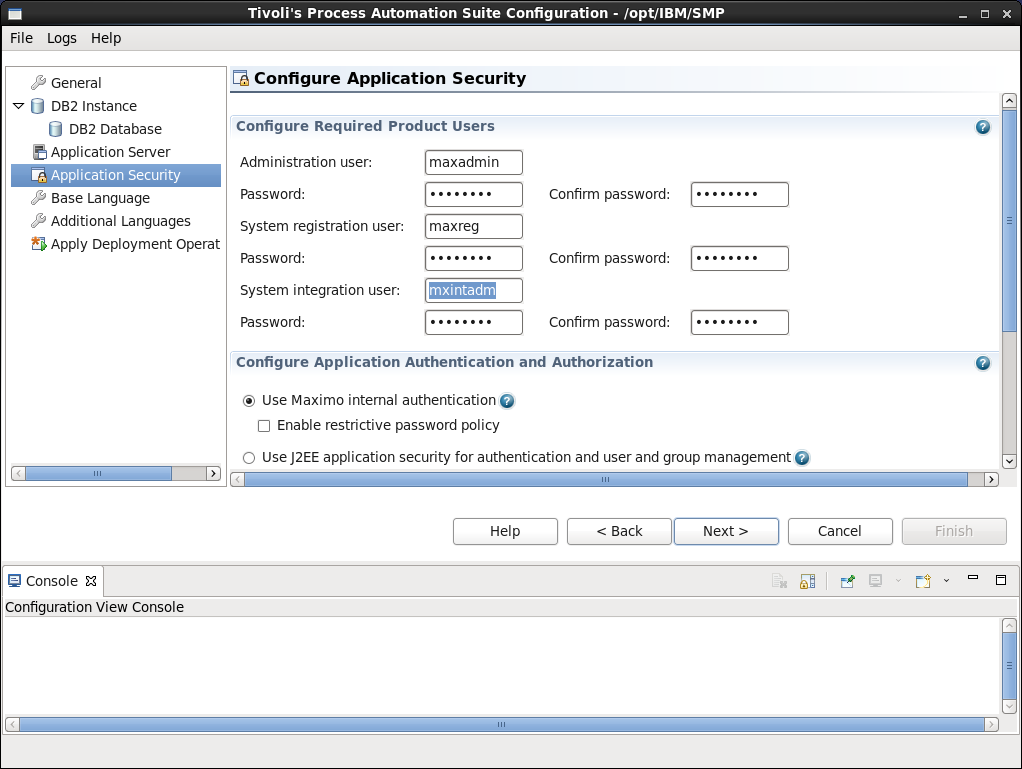
And here is the place, fifteen screens later, where I have to remember what I set as a DB2 password. Having not used a complex password for DB2 earlier means that I cannot now require one now.
Leave Enable restrictive password policy clear. Click Next.
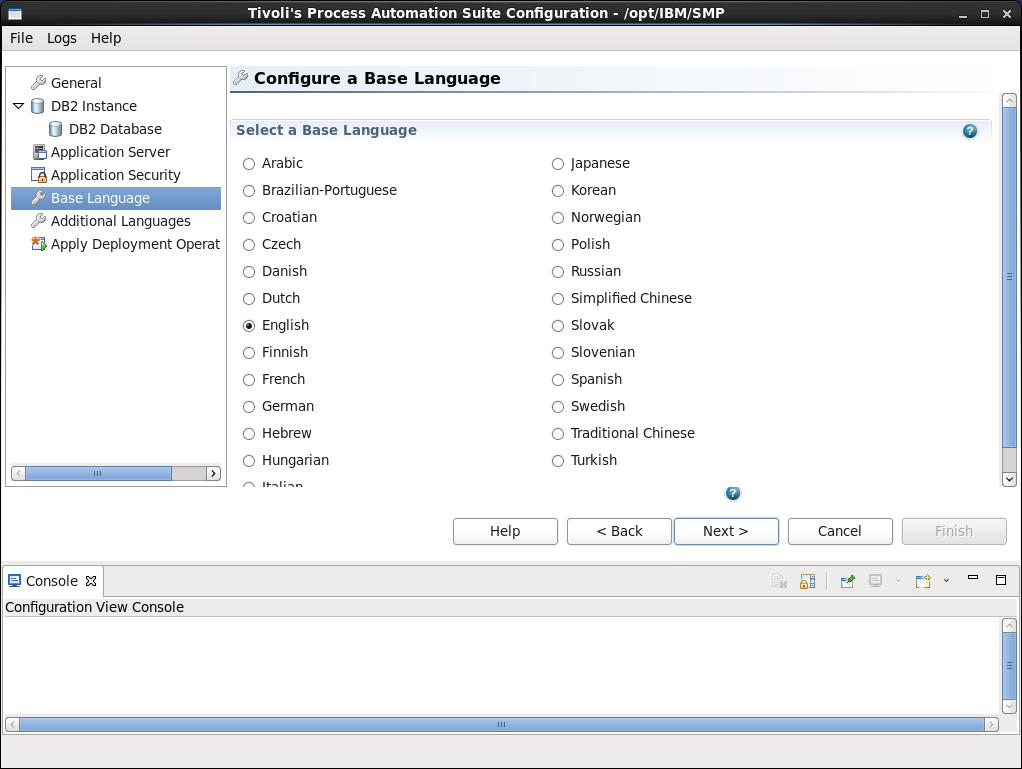
Configure base language. Click Next.
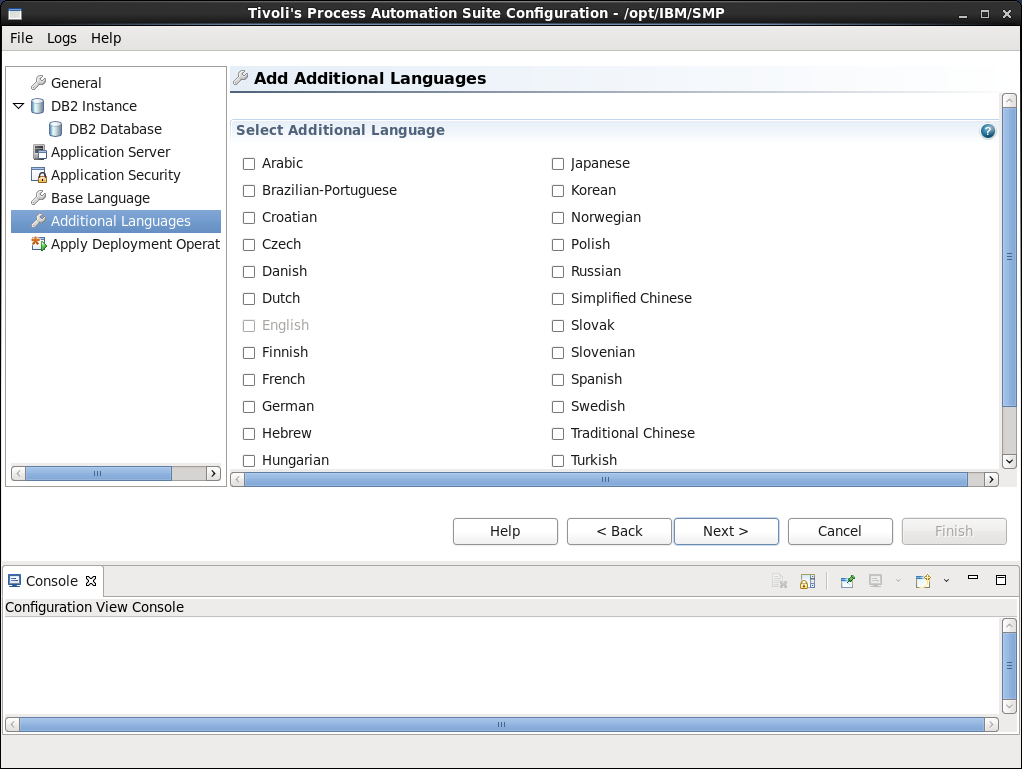
Add additional languages. Click Next.
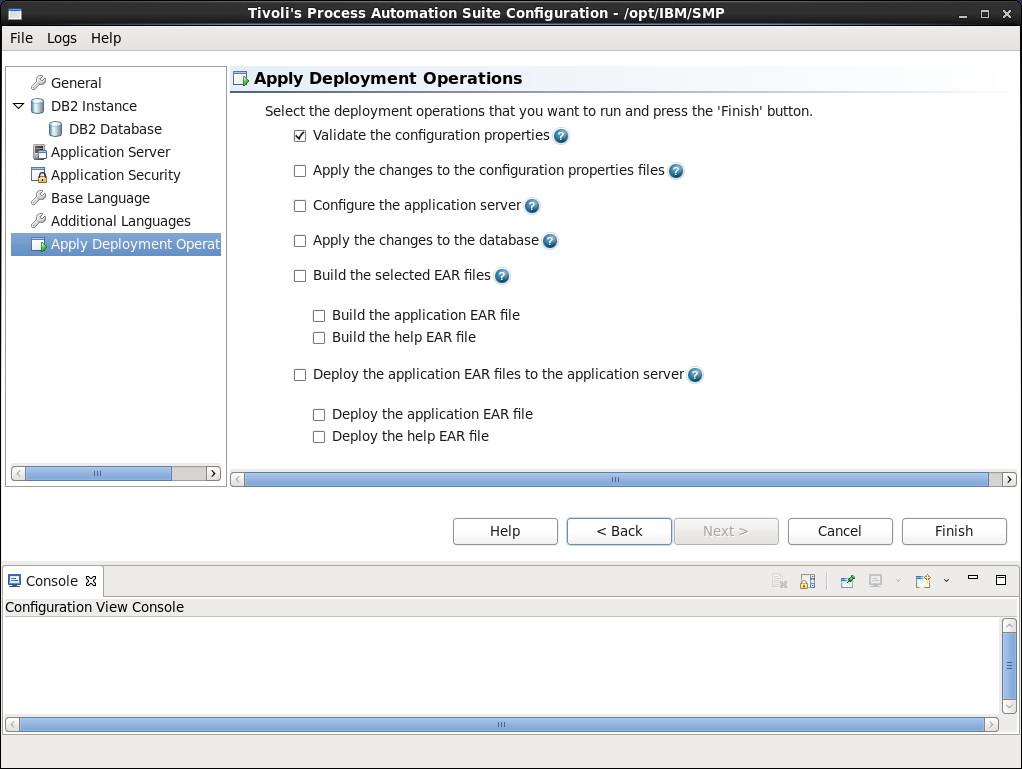
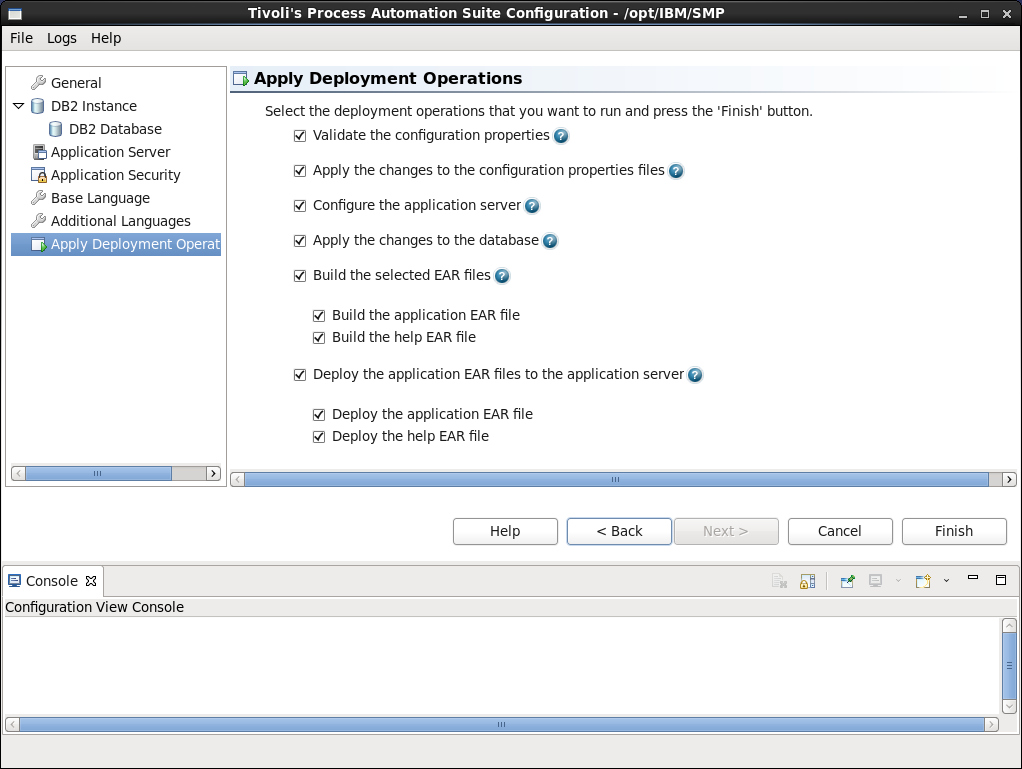
Now, just to test whether all of these options will work, I clear everything except Validate the configuration options.
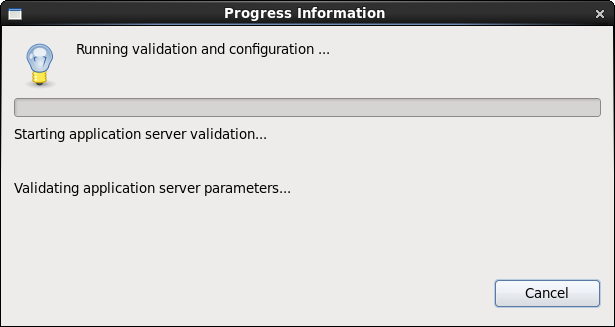
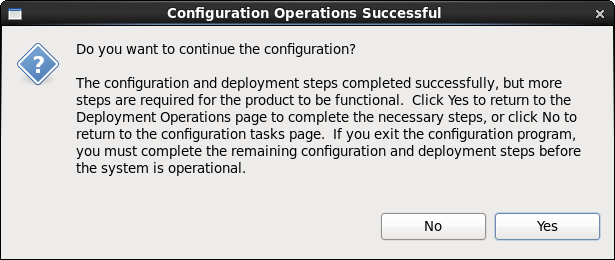
Configuration options successful! Click Yes to go back to Apply Deployment Operations. Check all of the boxes.
One hour and six minutes later...
Success!
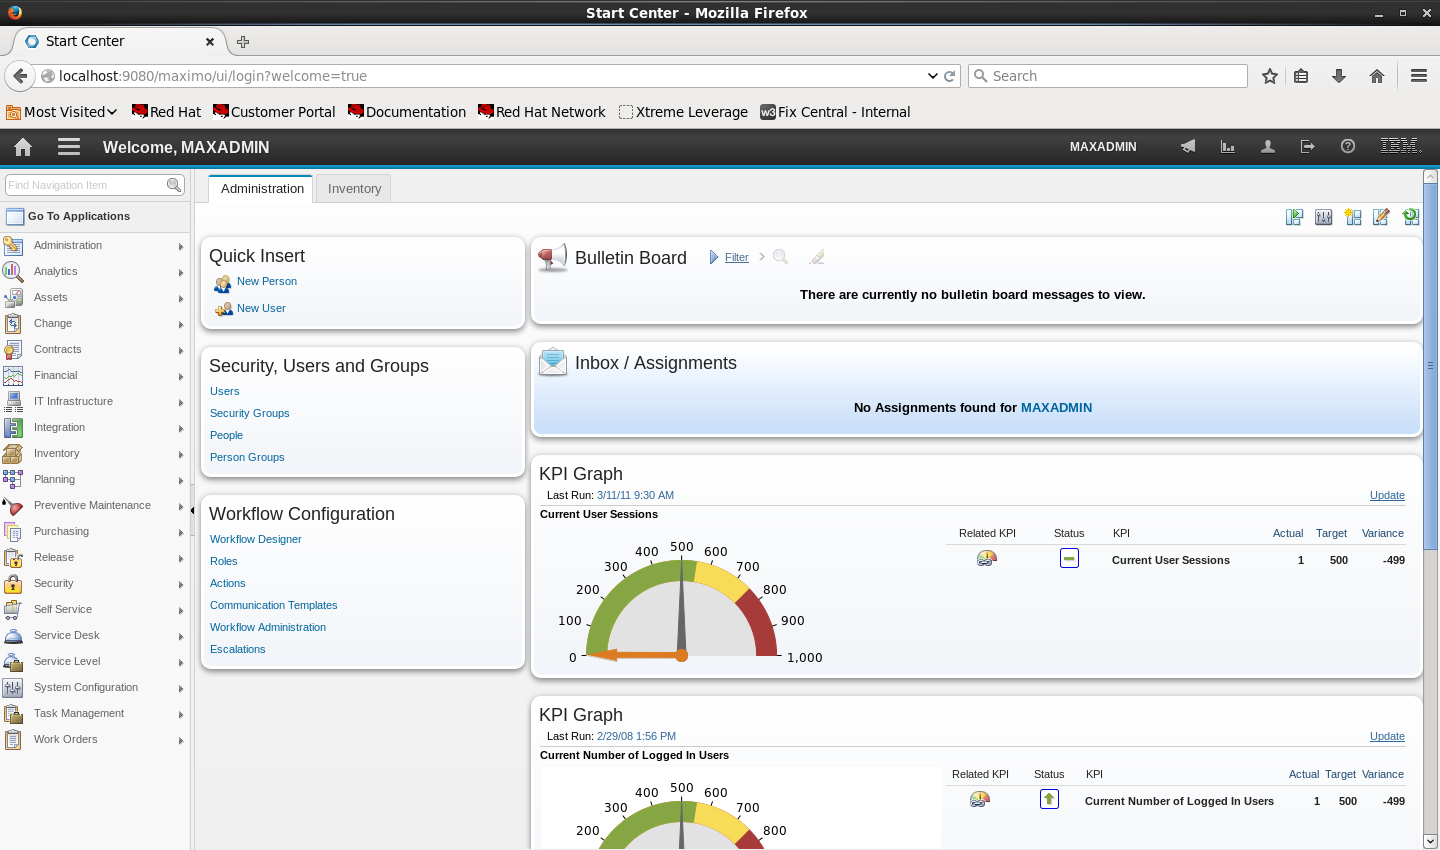
Now let's log in to Maximo...
And we have a go.
After a few more (mostly successful) Linux installations, I edited my punch list down to the following. Since every environment is different, your mileage may vary.
Server Setup and Maximo Download
1. Install Linux.
2. Log in as root.
3. Install Firefox, if not already installed.
4. Download and install latest Java JRE and add it to Firefox.
5. From IBM Passport Advantage, download the files for your OS: see this download technote.
6. Expand the directories into a single directory at the root - \root\instl
OS Configuration
7. Red Hat Linux package installations
 yum install compat-libstdc++-33.x86_64

 yum install compat-libstdc++-33.i686

 yum install libaio.i686

 yum install ksh.x86_64
8. Modify ulimit
Modify ~root/.bash_profile to add
 ulimit -f unlimited

 ulimit -n 8192
Save the file.
Log out and log back in again (still as root).
9. Temporarily disable SELinux
From terminal window, run setenforce 0.
10. Firewall settings - I did not include this in my run through above, but they are in the Installation guide.
Configure the firewall to allow:
WWW (HTTP) 80/tcp
Secure WWW (HTTPS) 443/tcp
and WebSphere ports:
MXServer WC_defaulthost_secure port (default first port 9443) 9443/tcp
MXServer WC_defaulthost port (default first port 9080) 9080/tcp
WebSphere secure console port (Deployment manager WC_adminhost) 9043/tcp
WebSphere console port (Deployment manager WC_adminhost_secure) 9060/tcp
WebSphere Deployment manager SOAP port 8879/tcp
Install Maximo Asset Management
11. Start Launchpad
Start terminal in \root\instl\
Run ./launchpad.sh
Note: If you get CTGIN8264E : Hostname failure : System hostname is not fully qualified, modify /etc/sysconfig/network so that HOSTNAME is fully qualified. After making changing to the configuration file, restart the network service to load that file.
/etc/init.d/network restart
Issue hostname command to confirm changes made. You may have to log out and log in again (as root), or restart.
12. After products are installed but before you click Launch the Tivoli's Process Automation Suite configuration program--
Modify /opt/IBM/SMP/ConfigTool/ConfigUI.ini
Add -Dorg.eclipse.swt.internal.gtk.cairoGraphics=false
Save the file.
If you need to secure WebSphere with SSL, that's here.
Until next time... thanks for reading and happy installing!
UID
ibm11113807
