Technical Blog Post
Abstract
How to visualize/edit Feature Classes' attributes via Maximo UI
Body
Maximo Spatial allows you to edit/visualize the attributes of your feature classes in ArcGIS. To make things shorter, we'll be showing how to make this configuration in a Maximo environment with an already configured Map Manager record.
So, first of all, please make sure that you have a Map Manager record which has all the basics set up (such as Map Services and Service Layers).
In this example, we'll be making the required changes in the Sewer Manholes GIS object (SWMAN), which is configured as a location:
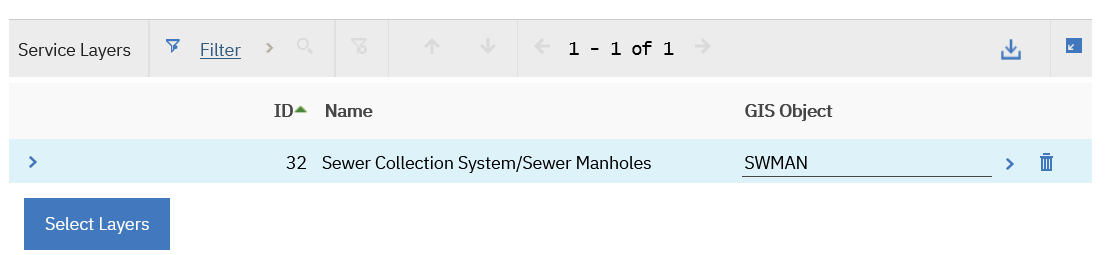
Obs: for this example, you don't have to fill any of the JSON fields of the Service Layer (response, outbound and inbound)
Here are the steps:
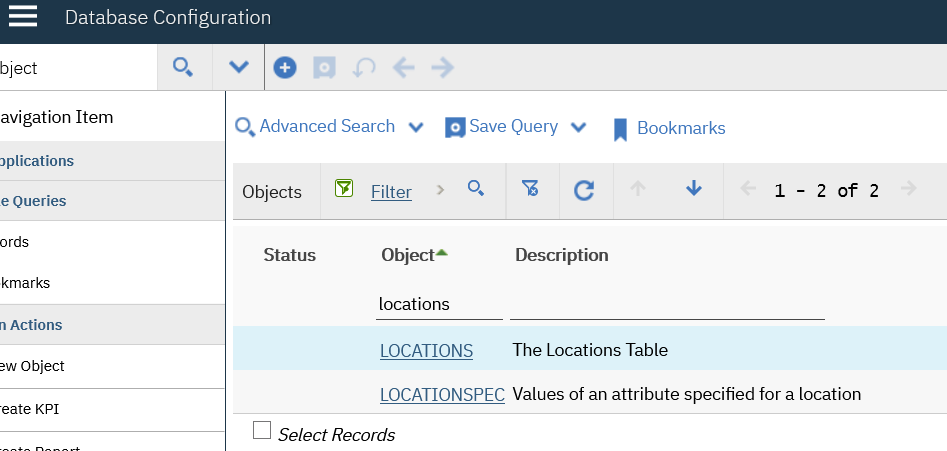
1. Go to Database Configuration app and search for the Location table and open it.
2. Open the Relationships tab and search for your GIS object relationship, in this example, SPATIAL_SWMAN and create a new relationship by clicking "New Row".
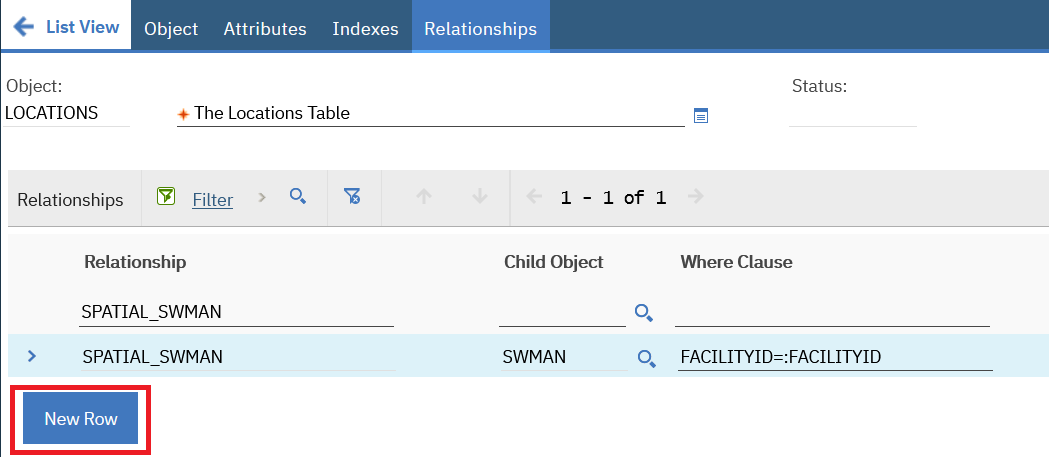
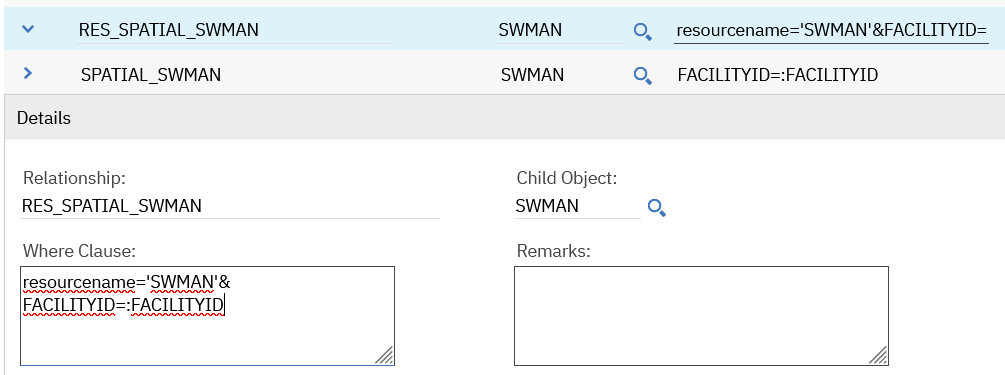
3. Please name it in a way it does not start with "SPATIAL". In this example, we'll name it "RES_SPATIAL_SWMAN". Make the new relationship identical to the one you searched for on step 2 and then add to the beginning of its Where Clause the following string: (in this example, the GIS object is SWMAN)
"resourcename='<GIS object name>'&"
*Note that there's no space between any characters
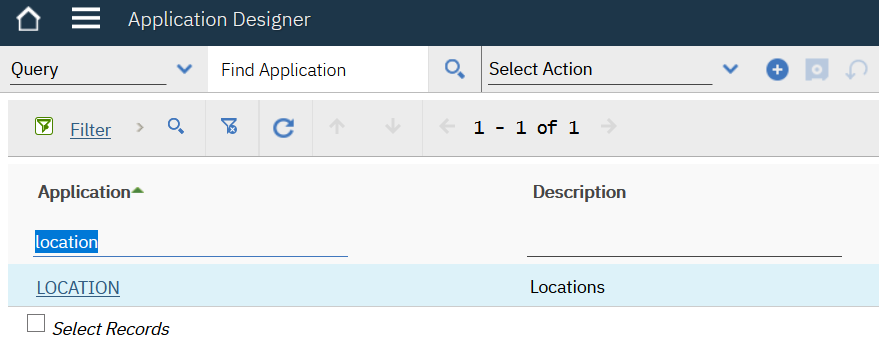
4. Click Save and go to the Application Designer app. Search for the Locations application and open it.
5. Move over to the Location tab.
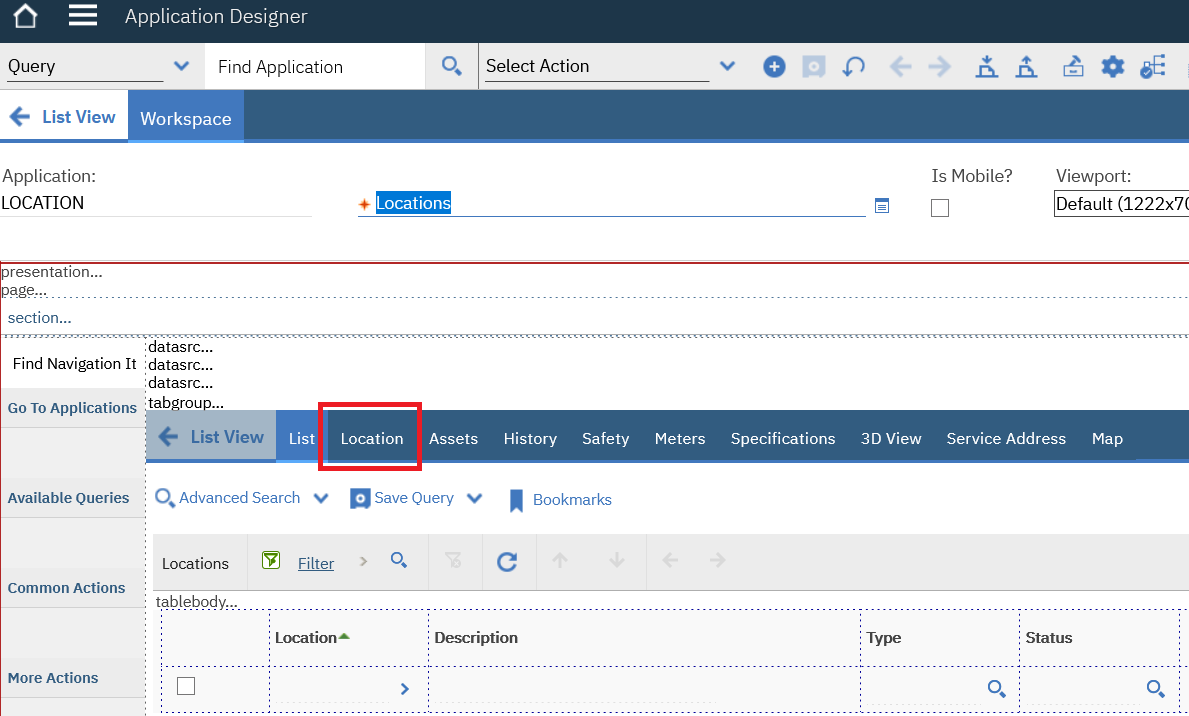
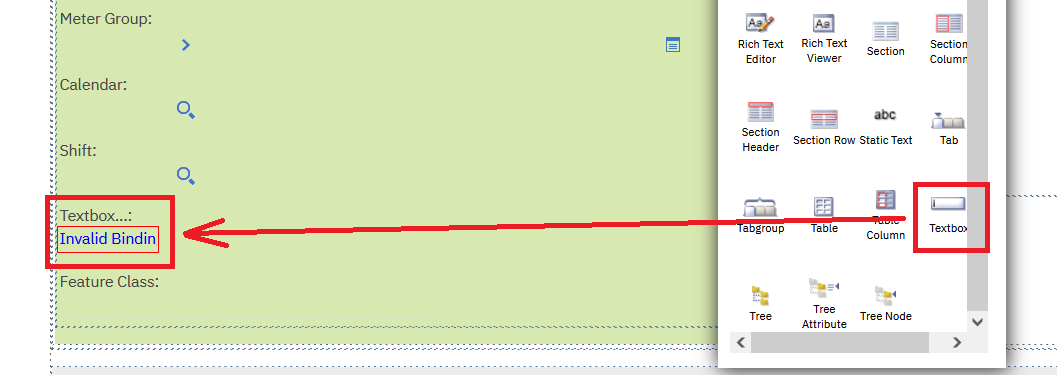
6. Add to the interface a Text Box control.
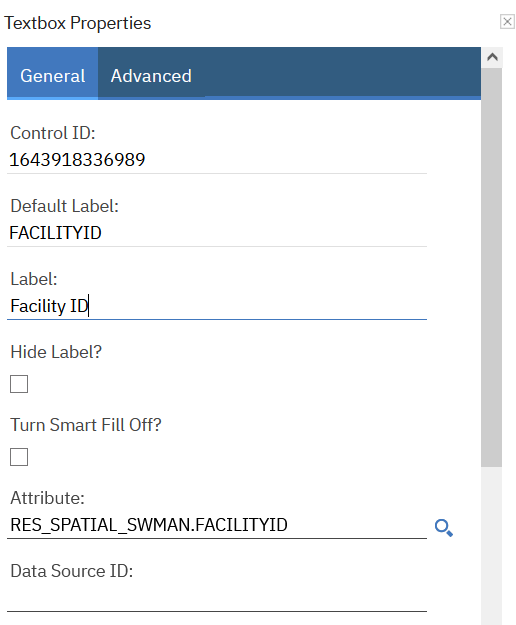
7. Access the Text Box's properties and, in the Attribute field, fill it following the format below: (here we use the FACILITYID attribute from SWMAN)
<RELATIONSHIP>.<ATTRIBUTE>
*Make sure you're using the relationship you created on steps 4, 5 and 6, which is "RES_SPATIAL_SWMAN" in our example.
8. Close the properties dialog and save the Location app record. Go to the Locations app and open a location record that is linked to the Feature Class which you want to edit/visualize its attributes. You'll see the field with the desired attribute's value.
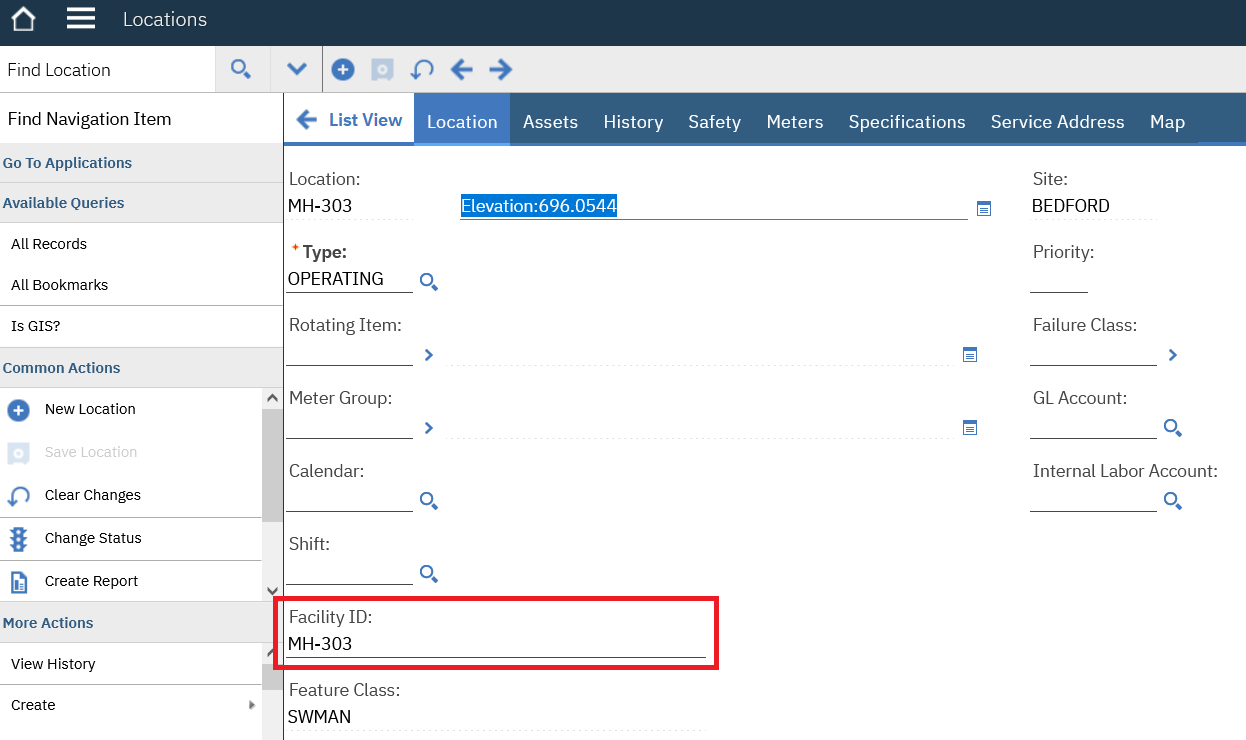
Done! Now you can visualize/change the feature's attribute using Maximo's interface. If you do not want the user to be able to edit the attribute, please make the field read only.
UID
ibm11113087