Technical Blog Post
Abstract
Migrate-export and backing up your TEPS database.
Body
Migrate-export and backing up your TEPS database.
Something that you should think of doing on a regular basis is to take a backup of the TEPS database.
This will allow you to move the TEPS to a new machine, or restore the TEPS if anything fails, and let you restore if an upgrade fails for any reason. Obviously a full back up of the machine disk will also allow for a restore, but this gives a quick restore of the TEPS configuration files.
The TEPS database is normally DB2 or MSSQL, but can be derby (if it is a test environment only ), this is the embedded database option on the install.
Whichever type of database is being used, the same commands can be used to back up the TEPS.
Firstly let’s discuss what is in the TEPS database.
It contains the Navigator views, queries and workspaces of the default system, and any for any agents that you seed to the environment. It will then also store the customisations made by the customer to user IDs, Navigator views, custom queries, custom workspaces, and local terminal scripts.
The TEPS does NOT store situations, policies, and managed system groups, these are stored in the TEMS database which is an internal database.
So some of this you can export using tacmd commands but to do full backup you can use the migrate-export command.
See this blog by a colleague for an alternative way of migrating a TEPS: http://ow.ly/IknOz
(Alternate migration of ITM from an old version of ITM to a new version.)
The TEPS can be running or stopped, if it is stopped it will be started in a limited mode, but do not start it while the migrate-export is taking place.
The length of time the command will take to run depends on how complex any customisation is.
Depending on the operating type the command is run from:
Windows
- Open a command prompt window: Start→ Run, enter CMD.
- Change to the Install_dir\CNPS directory.
- Enter: migrate-export
Linux and Unix
- On the source system, open a terminal window.
- Change to the bin sub directory of your IBM Tivoli Monitoring installation, such as: cd /opt/IBM/ITM/bin
- Enter: ./itmcmd execute cq "runscript.sh migrate-export.sh" Be sure to use the " double-quote symbol and not ' single-quote.
Here is the typical output you will see (this is from a windows machine)
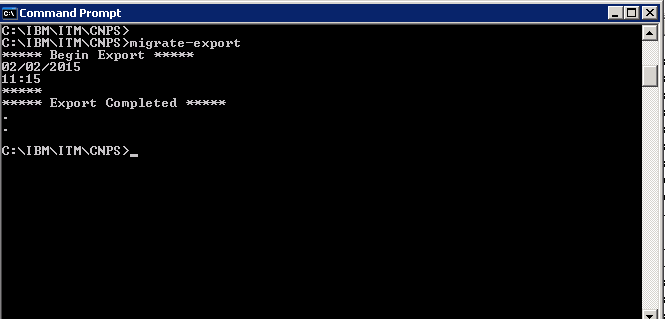
In both cases the output is called saveexport.sql and will overwrite any file of this name that is already created, so it is worth moving any copies to another directory and/or renaming them with a date and time.
On windows you will find the file in Install_dir\CNPS\sqllibOn Linux and Unix it is in Install_dir/$platform/cq/sqllib.
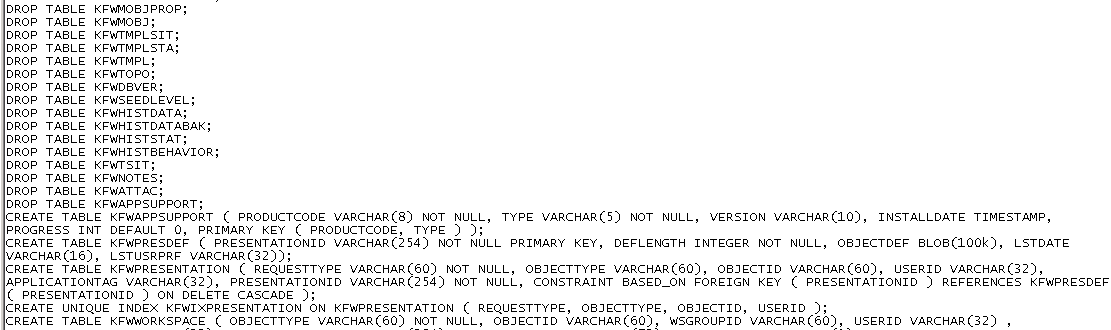
The file is readable and is a list of sql commands. Once you have the file it can then be restored on this or another TEPS environment.
Here is an example of a few lines:
My next blog will show you the import of the sql.
UID
ibm11084227