Tutorial: Downloading and installing an agent
Use this tutorial to gain hands-on experience with downloading and installing a Cloud APM Windows OS agent from IBM® Marketplace. You can then start the Cloud APM console and check the health of your monitored resource by viewing key performance indicators (KPIs) in the dashboards.
About this task
This tutorial involves downloading the Windows installation package from the Products and services page on IBM Marketplace, extracting the installation files, and installing the Windows OS agent. You return to Products and services to launch the Cloud APM console and open the Application Performance Dashboard to check the health of your Windows system.
Procedure
-
Run the installation script to install the Windows OS agent:
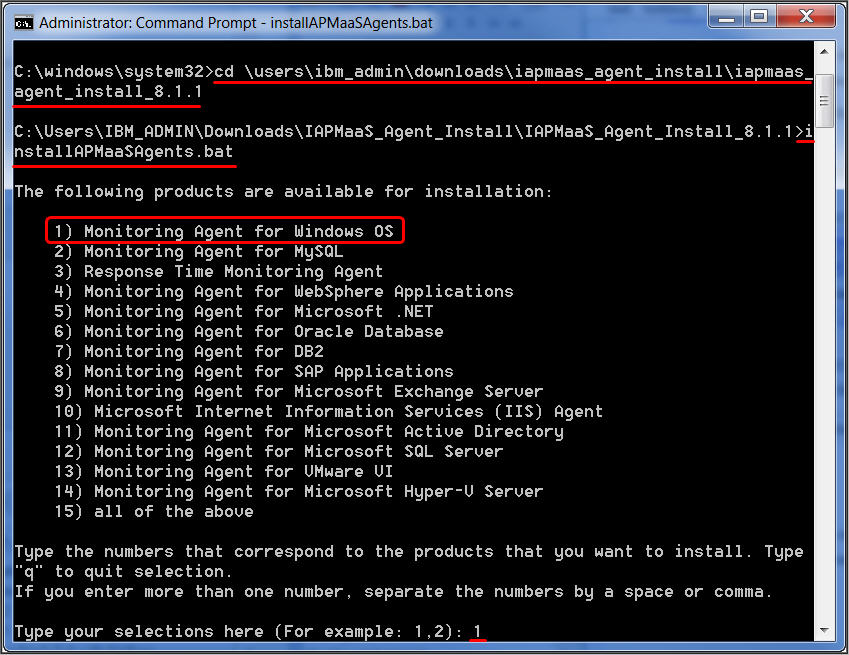 To view the Windows operating system requirement report, see System requirements (APM Developer Center).After successful installation, the Windows OS agent is started automatically and you can start the Cloud APM console to begin monitoring your Windows system.Note: If your environment includes a firewall that does not allow transparent outbound HTTPS connections to an external host, you must set up a forward proxy for communications between the agent and Cloud APM server. By setting up a forwarding proxy, you can forward all traffic to a specific point on the network and then allow only a single connection through the firewall. For more information, see Configuring agents to communicate through a forward proxy.
 -
On the Getting Started page, click
Take a tour of the performance management dashboard
for a quick tour of the navigation elements.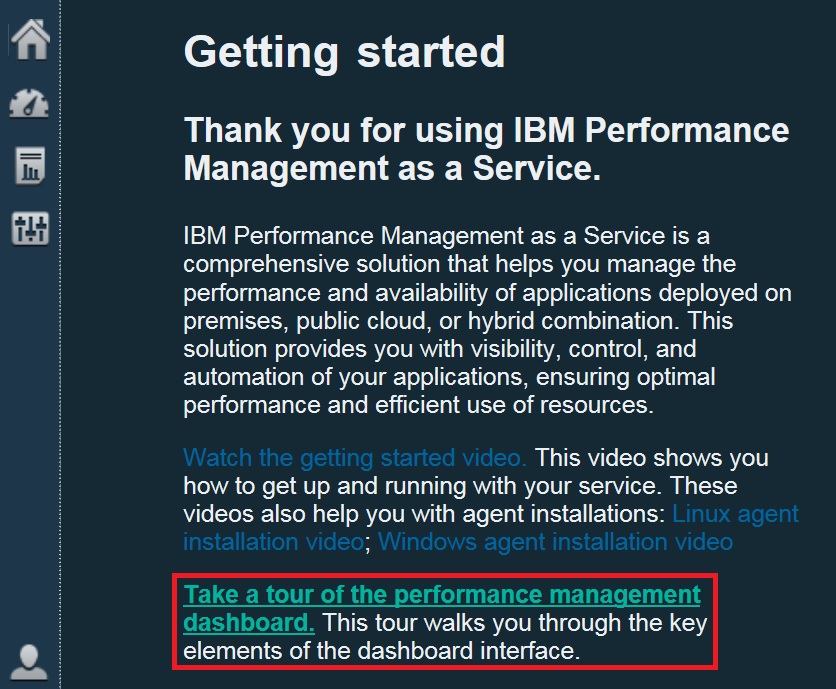
-
Open the Windows OS summary dashboard:
-
From the navigation bar, click
 .
.
- The All My Applications dashboard is displayed with a summary status box for each defined application in your environment. Initially, only the My Components predefined application is displayed.
- If you see an Add Application window instead of My
Components, create an application to see your monitored resource:
- Enter a name for the application, such as
My Apps
. - Click
 .
. - Scroll to the end of the Select Component list and click Windows OS.
- In the Component Editor, click Primary:Host_Name:NT, click Add, and click Back to add your agent to the application.
- Click Save to close the window and view a summary status box for your new application in the dashboard.
- Enter a name for the application, such as
-
In the summary box, click
 Components.
- The summary dashboard for your Windows OS managed system is displayed. From here, you can click anywhere in the status summary group widget to drill down to detailed dashboards with KPIs reported from your Windows OS agent.
- It can take a few minutes for a newly started agent to communicate with the monitoring infrastructure and send KPIs to the console.
If the agent is not communicating with the Cloud APM server or is not started, the summary dashboard shows no KPIs and the status shows as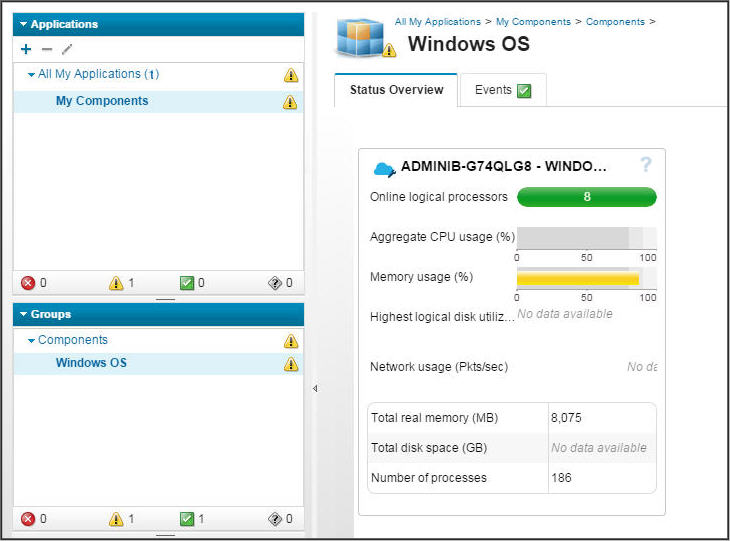
 unknown. You can use the os-agent command to check the status and start
the agent if necessary. Open a command prompt as an administrator and enter the os-agent
status command from the C:\\IBM\APM\bin folder. If the agent is not
started, enter the os-agent start command.
unknown. You can use the os-agent command to check the status and start
the agent if necessary. Open a command prompt as an administrator and enter the os-agent
status command from the C:\\IBM\APM\bin folder. If the agent is not
started, enter the os-agent start command. -
From the navigation bar, click
Results
What to do next
- Explore the console: While you are using the Cloud APM console, explore the features. You can learn about the
current dashboard by clicking
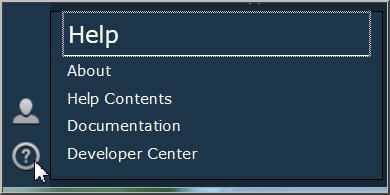
 in the window banner. You can open the help system or the Cloud
APM topic collection on IBM Knowledge Center from the
Help menu in the navigation bar.
in the window banner. You can open the help system or the Cloud
APM topic collection on IBM Knowledge Center from the
Help menu in the navigation bar.